You can animate a Daylight system's time of day. This is a good way to create a shadow study.

In this tutorial, you will learn how to:
- Use a Daylight system to create animated shadows.
- Use viewport shadow settings to investigate the shadows cast by the buildings in a single city block.
- Use mr Sky (mental ray Sky) to provide sky color.
- Render selected frames for later inspection or presentation.
 Diagnose Video Hardware. This displays a dialog with details about your graphics configuration, including GPU Model Shader Support, which shows the Shader Model version number. The viewport controls for Legacy Direct3D or OpenGL viewports are somewhat different from the controls for Nitrous viewports. If your graphics hardware doesn’t support SM3.0, you can skip this tutorial. Or you can do the first procedure, where you animate the daylight, then skip to the last procedure, which uses the mental ray renderer.
 Skill level: Beginner
Time to complete: 30 minutes
Preparation for This Tutorial
- If you have not already downloaded the tutorial files (MAX scenes and other assets), download them now and unzip them into a project folder called \Autodesk 3ds Max 2016 tutorials. See Where to Find Tutorial Files.
- On the Quick Access toolbar, click
 (Project Folder) and set your current project to Autodesk 3ds Max 2016 Tutorials.
Set up the scene:
- On the Quick Access toolbar, click
 (Open File), navigate to the \scenes\rendering\cityscape folder, and open
cityscape.max.
Note: If a dialog asks whether you want to use the scene’s Gamma And LUT settings, accept the scene Gamma settings, and click OK. If a dialog asks whether to use the scene’s units, accept the scene units, and click OK.
(Open File), navigate to the \scenes\rendering\cityscape folder, and open
cityscape.max.
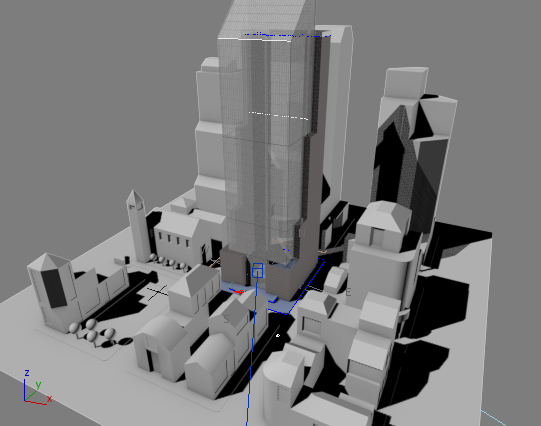
Note: If a dialog asks whether you want to use the scene’s Gamma And LUT settings, accept the scene Gamma settings, and click OK. If a dialog asks whether to use the scene’s units, accept the scene units, and click OK.The scene consists of a city block, with a skyscraper at the center. The scene also contains a Daylight system. The system is set to position the scene at the latitude of San Francisco, California, with sun position set at 0700 hours, about the time of dawn on a winter day.
 Tip: Lighting and Rendering the Villa in Daylight takes you through the steps of creating a Daylight system.
Animate the daylight:
- On the main toolbar, turn on
 (Select Object).
 - In the Top viewport, click the sun object to select it.
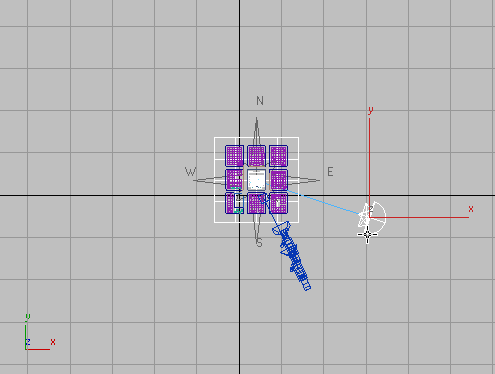
Daylight01 appears in the name field on the command panel.
- Go to the
 Motion panel.
 - Turn on
 .
. The button, the track bar, and the border of the active viewport all turn red.

- Drag the time slider to frame 60 (or click
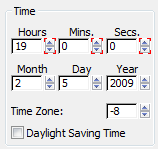
 (Go To End)), and then on the Control Parameters rollout, change the Hours value to 19.
 The spinner arrows of the Hours, Minutes, and Seconds fields are now bracketed in red, indicating that you have set a key to animate the time of day.
When you use Auto Key to set a key at frame 60, 3ds Max also sets a key at the start frame, frame 0. So the sun is now animated to range from 0700 to 1900 hours, or 7 A.M. to 7 P.M. Because there are 61 frames in the animation, the sun reaches the top of the hour every five frames.
- Turn off .
- Drag the time slider.
You can see the movement of the sun.
- Click
 (Go To Start) to return to frame 0.
Use viewport lighting to view the scene:
- Activate the Camera02 viewport, and
 maximize it.
 - Click the Shading viewport label menu (the one that now reads "[ Realistic ]"), and choose Lighting And Shadows Illuminate With Scene Lights.
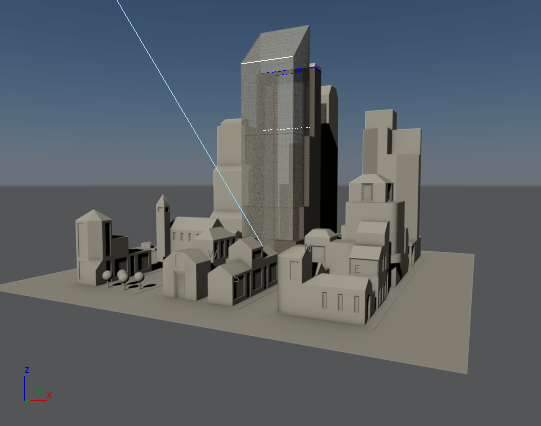
Now the scene is illuminated by the mr Sun light that is part of the daylight system, and the Camera02 viewport shows the lighting early on a winter morning.
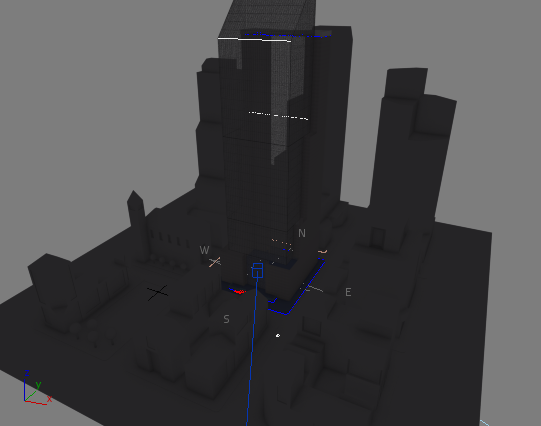
- Drag the time slider.
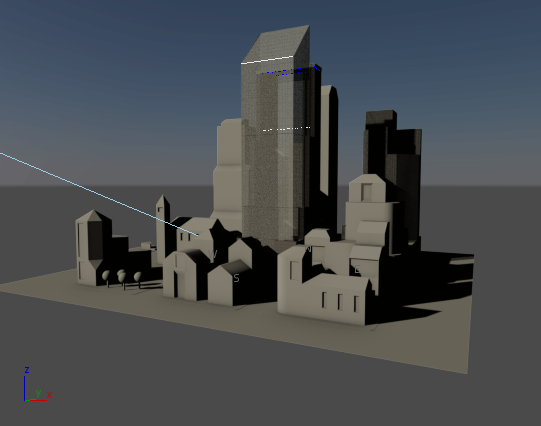
As the sun progresses across the sky, shadows in the viewport move across the cityscape.
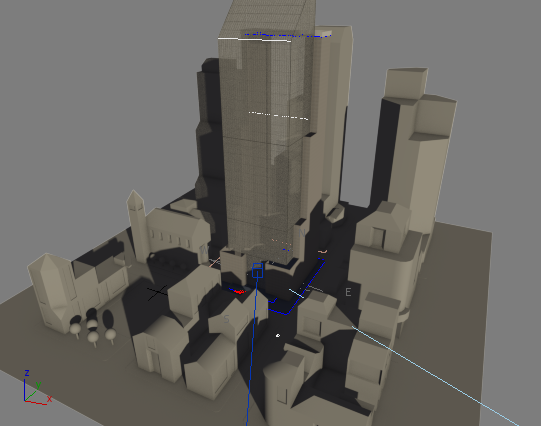
0900h
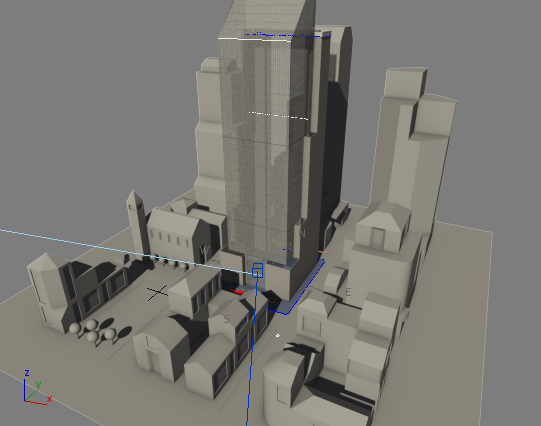
1200h
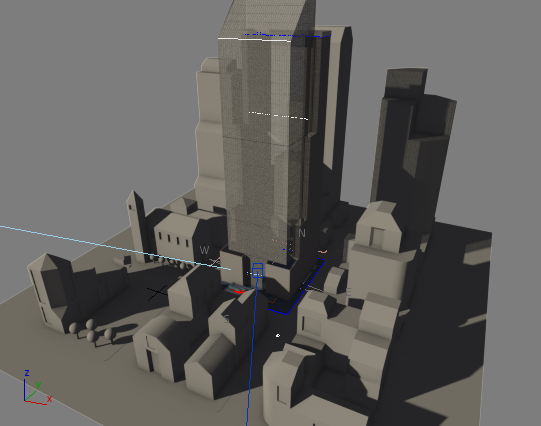
1500h
View the effects of mr Sky:
- Click the Point-Of-View (POV) viewport label (which currently reads “[ Camera02 ]”), and choose Cameras Camera01.
This is a more oblique view of the city block.
- Click the Shading viewport label menu, and choose Viewport Background Environment Background.
3ds Max shows the sky and horizon. The sky is colored according to the time of day.

0900h
1200h
1500h
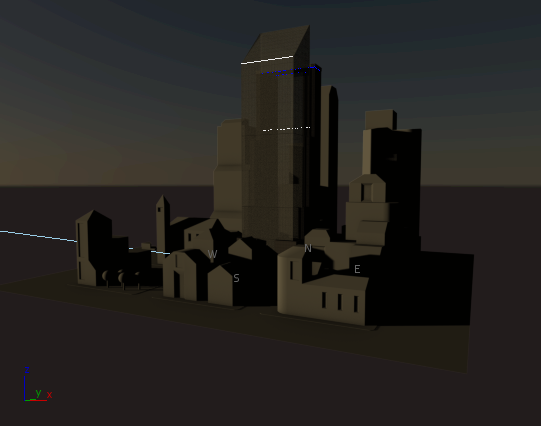
1648h
One advantage of using mr Sky as the sky light for the Daylight system, is that this light changes color depending on the time of day.
The angle of Camera02 is too high to get a good view of the sky, so first you change views.
Save your work:
- From the
 Application menu, choose Save As. In the file dialog, name the file my_shadows.max, then click Save. Tip: Always save your scene file before you render.
A completed version of this scene is saved as cityscape_animated.max.
To see a version of the animated shadow study, play this movie:
(Optional.) Render snapshots of the shadow study:
- On the main toolbar, click
 (Render Setup).
 3ds Max opens the Render Setup dialog. The Common panel is active.
- In the Common Parameters rollout Time Output group, set the range from frame 5 to frame 45 (0800 to 1600 hours). Also set Every Nth Frame to 5.
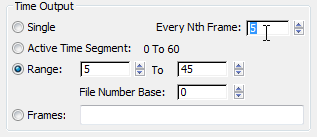
You will render nine snapshot frames over the course of the main daylight hours.
- In the Output Size group, click the 800 x 600 button.
Smaller sizes render more quickly, but the shadows don't show up as well.
- Scroll down to the Render Output group. Click the Files button.
3ds Max opens a Render Output File dialog. By default, 3ds Max saves renderings in the \renderoutput folder for the tutorials. You can change this location if you like.
Choose JPEG as the output type, and enter thirdstreetblock as the file name, then click Save.
Accept the defaults for the JPEG file format.
Tip: Even when you create an animation, rendering to sequentially numbered still image frames can be a good idea. If you need to correct mistakes, you can correct individual frames without having to re-render the entire animation. - Make sure Camera01 is the active viewport, then click Render.
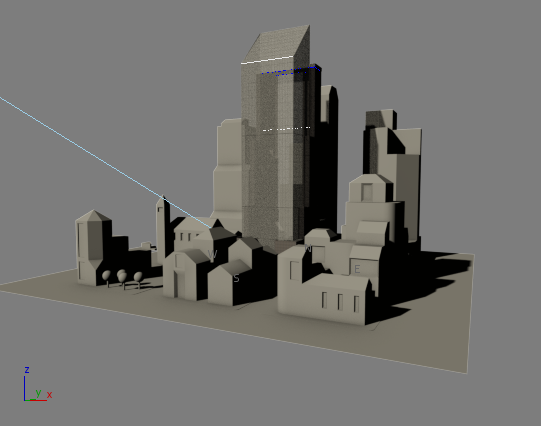
3ds Max renders the individual frames. Each frame has the file name you entered, followed by a sequence number that equals the frame number.
Fully rendered frame from the snapshot set
You might want to experiment. For example, changing the Daylight system’s month to a month in summer will show more hours of daylight, and shadows that have a different orientation.
A hardware-shaded viewport is great for interactive display. But hardware shading doesn’t include the full detail of a rendering. Also, sometimes hardware shading generates artifacts, as you can see in the previous graphic of the viewport with noontime lighting. For further study, or to make a presentation, you might want to render the shadows.
You can turn the shadow study into an animation, but for this tutorial, you will render only selected frames.
At 0700 hours, when the animation begins, and 1900 hours, when it ends, the scene is too dark to be interesting. So you will render selected frames from a smaller range.
Save your work:
- Save the scene as my_cityscape_shadows.max.
Summary
To create a shadow study you can use Auto Key to animate a Daylight system’s time of day. With hardware viewport shading, you can view shadows. The sky light mr Sky provides sky color. You can also use the renderer to create fully detailed frames, or an animation.