In this section we'll examine SDV1, which represents the damage state of the composite material. We'll also be able to see how the elements are removed from our model as failure propagates.
- After the job has completed, click from the main toolbar and open Tutorial_6_UD_Abaqus_xs.odb This will open the output database file and switch to the visualization module.
- Select SDV1 from the drop list of variables in the Field Output dialog.

- Adjust the Deformation Scale Factor () and enter a value of 1 in the Deformation Scale Factor field. Click OK.
- The default contour type is set to Banded, but the Quilt type is more useful for viewing SDV1. To switch from Banded to Quilt, select from the main toolbar and select Quilt as the Contour Type. The plot should look similar to that shown below. Minor differences are usually the result of mesh variations.
- Use the Display Groups to isolate each layer in the model and examine SDV1 as the coupon is loaded in tension.
Recall that when SDV1 = 3, fiber failure has occurred. It should come as no surprise that we don't ever see SDV1 = 3 in the results. Because we used the FIBER type element deletion criteria, the elements are deleted immediately upon fiber failure.
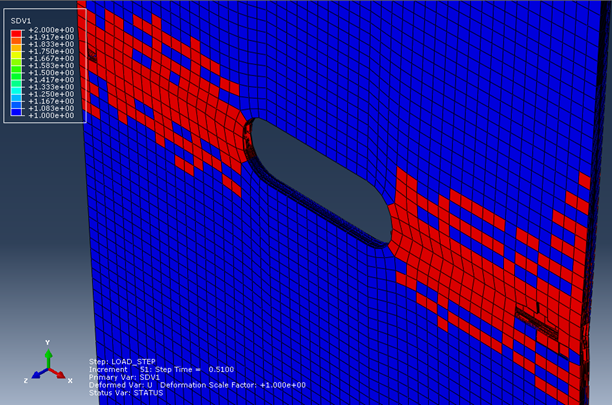
We see that failure propagates outward from either edge of the notch. The coupon ultimately splits in two between increment 50 and 51. By using the Job Monitor feature, we were able to end the analysis at increment 54, saving us from running 46% of the load history.