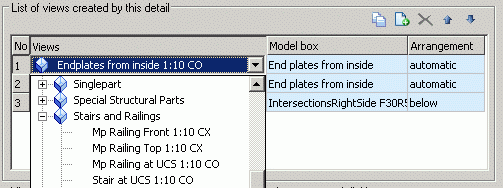
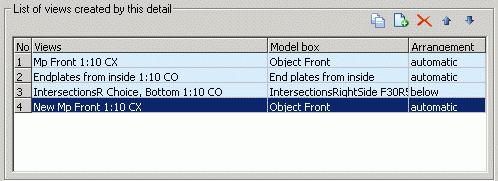
The views created by the selected drawing style are listed in a table.
For each view, a predefined model box and arrangement may be selected. View properties are displayed by double-clicking a view in the table. For more information, refer to View Properties.
The toolbar contains all the necessary management functions:
| Button | Function |
|
|
Create a new view |
|
|
Add an existing view |
|
|
Delete the selected view |
|
|
Move the selected view up the list |
|
|
Move the selected view down the list |
Create a new view
A new view is created by copying a view from the list.
- Select a view from the list.
- On the properties panel, click Create a new view
 .
. - Enter the name for the new view.
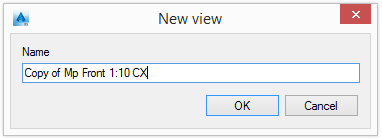
The new view appears in the tree and in the list.
A model box and a view arrangement may be assigned to the newly created view. This does not affect the original view.
Add an existing view
- On the properties panel, click Add existing view
 .
. 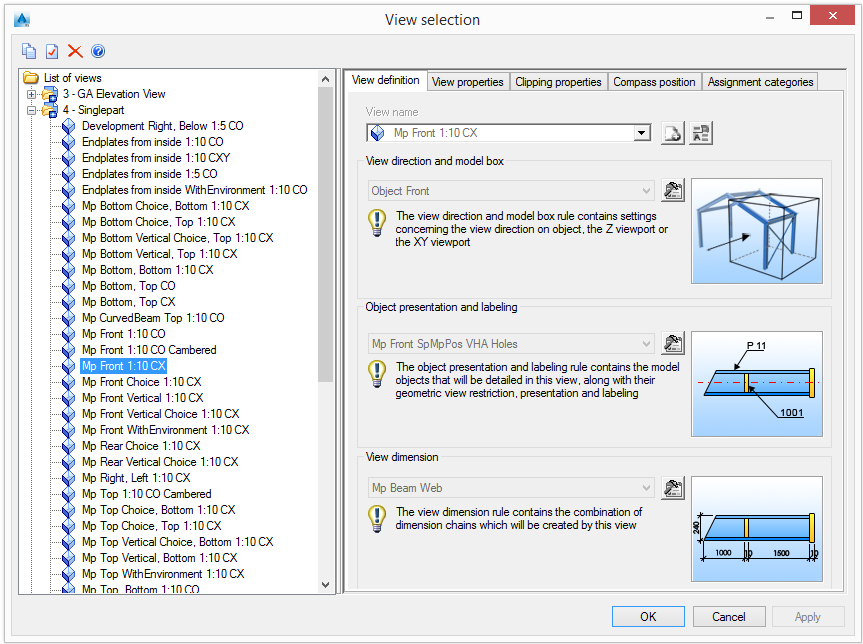
- Select a view from the tree and click OK.
The selected view appears in the tree and in the list.
A model box and a view arrangement may be assigned to the newly added view. This does not affect the original view.
Delete a view
- Select a view to delete from the list.
- On the properties panel, click Remove view
 to delete the view.
Change the order
The order of views in the list is modified using the two arrow buttons, ![]() and
and ![]() .
.