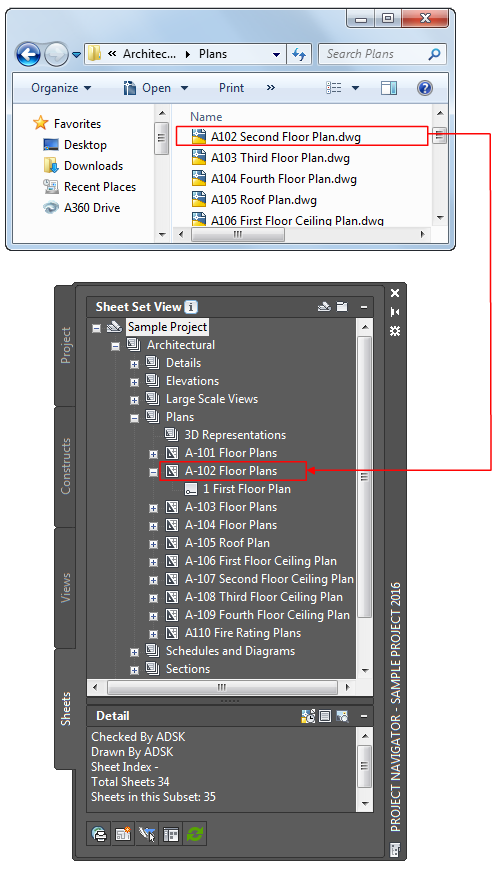
Use this procedure to create a new category in your project by dragging a folder from Windows Explorer into the Drawing Explorer of the Project Navigator palette. This adds a folder and its contents to your project.
- On the Quick Access toolbar, click Project Navigator
 .
. - Navigate to the tab for the category type you want to create.
- If you want to create a sheet category, click the Sheets tab, and click
 (Explorer View).
 - Start Windows Explorer and position it next to the Project Navigator.
- Select the folder in Windows Explorer from which you want to create a category.
- Place the folder in the Drawing Explorer of the selected tab of the Project Navigator:
If you want to… Then… move the folder out of its current location drag the folder to the desired location. copy the folder from its current location press Ctrl and drag the folder to the desired location 
Dragging a folder from Windows Explorer to Project Navigator
Note: If the folder you are dragging onto the Project Navigator palette contains drawing (DWG) files, you are prompted to add each one as a project file. For example, if you drag a folder into the Elements category in the Drawing Explorer, the Add Element dialog box displays prompting you to add each DWG file within that folder as an element.