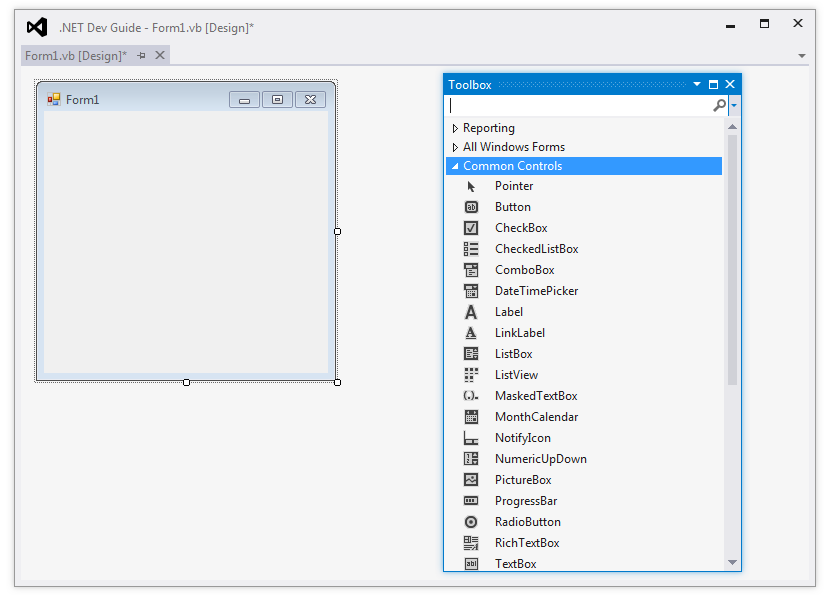
The Windows Form Designer allows you to create custom dialog boxes for your project.
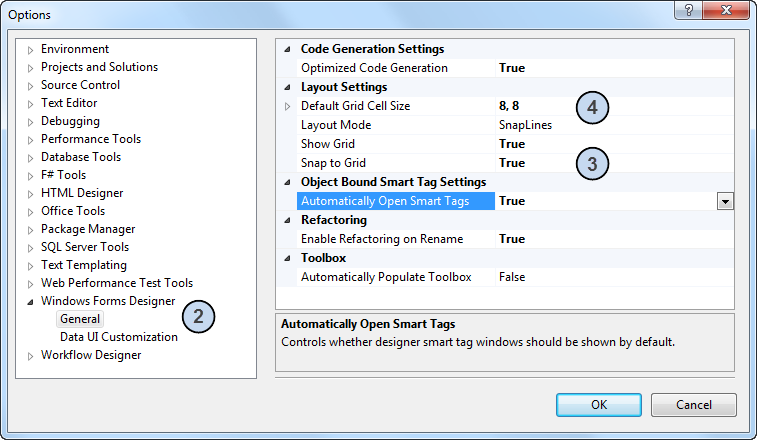
To add a control to a form, click the desired control from the Toolbox window to activate the tool, and then click over the form in the Windows Form Designer to place and size the control. You can align controls with a grid or other controls by setting the appropriate setting form from the General category under the Windows Form Designer folder in the Options dialog box. The General category allows you to control other grid related settings such as size and layout mode.

Each form that you design has the standard Maximize, Minimize, and Close buttons. These buttons are implemented as part of the Windows Form item template. You change the appearance and style of the dialog box by selecting the form object in the Windows Form Designer and then using the Properties window.
To add code to the form or a control event, double-click the form or control once it is placed on the form. This opens the Code window for form and adds the default event for the control. Use the right-most drop-down list at the top of the Code window to select a different event when you want to add it to the Code window for the form or control.
Procedures
- In Microsoft Visual Studio, click Tools menu
 Options.
 - In the Options dialog box, expand the Windows Forms Designer folder node in the Options tree and select General.

- In the Properties pane, click Snap To Grid and select True from the drop-down list.
- In the Default Grid Cell Size, enter a grid spacing value using the format width,height.
- Click OK.
To enable snap and set the size for the grid