Prior to configuring and amending the actual representation and layout structure of the "New" Blank Default Paper Worksheet, users must take into consideration the actual printer settings. The Autodesk Fabrication applications can be configured either to print a hard paper copy or an electronic version for example a *.pdf file.
- With the required worksheet layout active, select
 "Set-Up Paper Layout".
 - The "Paper Layout" dialog opens.

- Select the drop-down menu beneath the "Printer" title, the drop-down menu will indicate four options to select from:
a) Nest Printer
b) Report Printer
c) Label Printer
d) Custom Printer
- Select "Custom Printer" then "Properties", the "Custom Printer" dialog opens.
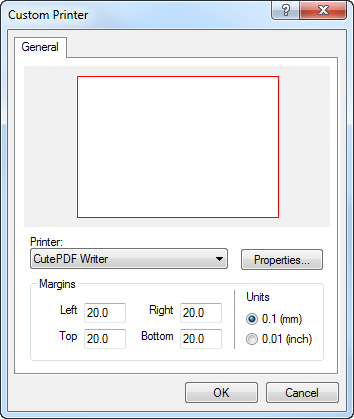 Note: For electronic (*.PDF) worksheets, a suitable PDF writer plug in will need to be installed, please also note printer selection will vary dependent on type of printer installed to the local / networked system.
 - Select the "Printer" drop-down menu, to indicate the pre installed printers available for selection.
- Select "PDF Printer of Choice" then "Properties".
- The "PDF Printer of Choice" document properties dialog opens.
 Note: Depending on the selected Printer installed, these options / settings will have variations. Please ensure to check the appropriate printer software help provided from your supplier.
 - Within the "PDF Printer of Choice" documentation properties, configure the below settings:
- Orientation : "Landscape"
- Select "Advanced" tab, The "Pdf Printer of Choice" Advanced document settings dialog appears:
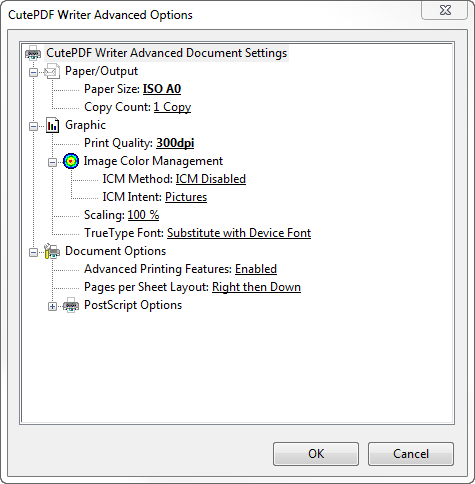
- Within the "Advanced" tab >> "Graphic" >> Select the "Print Quality:" drop-down menu to illustrate the available "dpi" for selection : this ranges from 72 dpi to 4000 dpi, Select "300 dpi".
- Select "OK" to save the settings and close the "PDF Printer of Choice" Advanced Options dialog.
- Repeat the Select "OK" on the previously opened dialog:
- "PDF Printer of Choice" document properties
- Now the Paper space Worksheet has been configured the end result "Custom Printer" dialog will be illustrated as below:
- Select "OK" to Save and close the dialog.