You can create text rolls, which are commonly used for credit rolls. A text roll is a layer of text that rolls from the bottom to the top of a clip for a series of frames. In a text roll, you can use special fonts as well as coloured, animated, and tabulated text.
You can include logos of sponsors, contributors, and products in text rolls. For example, you can create a list of credits that uses a green, sheared font for all contributors' names and includes a single, larger capitalized letter spinning on an axis at the beginning of each title line. The contributors' names can appear in a white, semi-transparent, Courier-type font.
A text crawl scrolls text horizontally across the frame. For example, you can create a list of phone numbers that scroll from left to right across the bottom of the screen during a telethon broadcast.
To access the Roll/Crawl menu:
- In the Text menu, click Roll/Crawl.
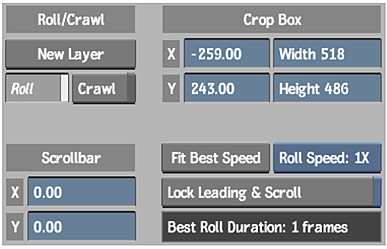
The Roll/Crawl menu appears.

The Roll/Crawl controls are described as follows.
To create a text roll or crawl:
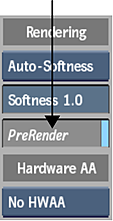
- In the Text Setup menu Rendering section, enable PreRender, and then select Interlaced from the Render box.

- In the Text menu, select Interlaced from the Render box.
- Enable Auto Key.
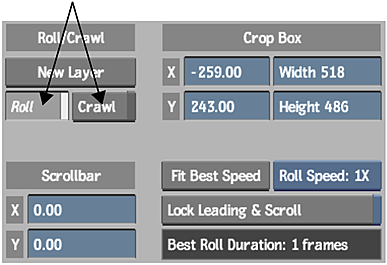
- Click Roll/Crawl to enter the Roll/Crawl menu.
- Go to the first frame of the clip, and enable Roll or Crawl.

- Click New Layer and add the text you want to use for the text roll or crawl.
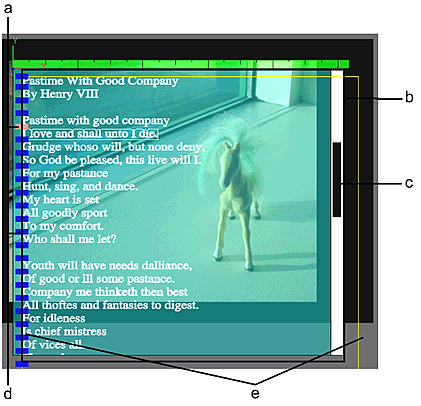
A shaded layer appears in the image window with a vertical scrollbar for a roll or a horizontal scrollbar for a crawl. The shaded area represents the crop box area. The following is an example of a text roll.

(a) Red indicates currently selected paragraph (b) Crop box (c) Scrollbar (d) Blue indicates paragraphs in text roll layer (e) Yellow border delimits text
- To set the start position of where the text appears in the text roll or crawl, use the Scrollbar X and Y fields or drag the scrollbar up or down (roll), or left or right (crawl).
- Go to the frame where you want the text roll or crawl to finish and set the end position by dragging the scrollbar or using the Scrollbar X and Y fields.
- If you want to calculate the ideal number of frames for the text roll, choose a roll speed: 1X, 2X, 3X, or 4X.
The suggested duration appears in the Best Roll Duration field. You can either change the number of frames in your clip to match the one in the Best Roll Duration field, or you can leave the clip as is.
- If the suggested duration is acceptable, enter it in the Duration field and then click Fit Best Speed.
The roll is created and the Scrollbar position and Leading are changed (if required) and locked.
- If the suggested duration is not acceptable, click Fit Best Speed.
The roll is created and the Scrollbar position and Leading are changed (if required) and locked.
- Click Render to render the text roll and view the results.
When you play the clip, the text rolls or crawls through the image area from the first position to the final position.
Note: When rendering text rolls and crawls, use PreRender in the Text Setup menu to render the roll or crawl relatively fast while bypassing the animation. Check the message bar to see whether PreRender is enabled.Tip: When creating credit rolls, the anti-aliasing on the text should be turned on.