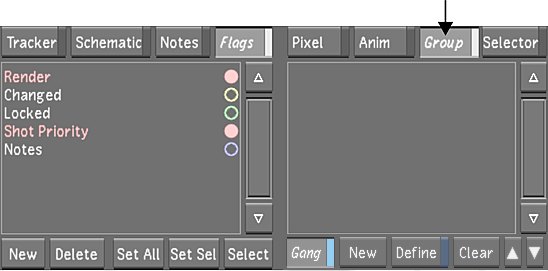
Use the Group tool to select shots to group and the parameters to include with the grouping. Any change made to one shot in the group propagates to the other shots in the group, provided that the changes are to parameters that have been included in the group.
Changes made to grouped shots are relative, not absolute. For example, if a non-grouped shot's printer light values are 25, 25, 25 and a new setup is loaded in which the printer light values are 37, 28, 10, then the shot's printer light values will be changed to 37, 28, 10. On the other hand, if the shot were part of a group, the new printer light values would be added, resulting in printer light values of 62, 53, 35. When in group mode, values are added to all the grouped shots, even those that have already been colour corrected.
To create a shot group:
- Click Group.
 Note: You can access the Group button from any menu except the Animation menu.
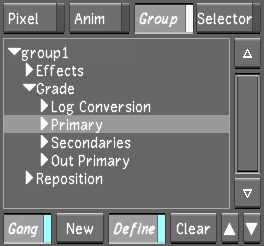
 - Click New.
A new group called group1 is created and the Define button is enabled. This allows you to add shots to the shot group and select the parameters that are applied to the grouping.

- Right-click shots in the Storyboard to add them to the group.
Grouped shots are highlighted with a yellow border.
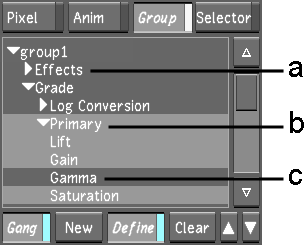
- Select the channels in the list for the parameters that you want to apply to the group:
- To select all channels in a directory, select the directory.
- To select a subset of the channels in a directory, click the arrow to the left of the directory to expand the directory, and then select the channels.
- To deselect a directory or a channel, click it.

(a) Deselected directory (b) Selected expanded directory (c) Selected channel
- When you have finished setting up the group, disable Define.
- You can name the group by middle-clicking the group and entering a new name. Note: Spaces are not supported in naming conventions. It is recommended that underscores be used instead of spaces when working on either Linux or Windows.
- You can delete a group by selecting it and pressing Delete, while the cursor is placed over the group menu.
- You can organize the Groups in the Group List, using Up/Down arrows to move the position of the currently selected Group.
- You can activate split view with grouped shots by right-clicking the group.