You can change the duration of an animation by scaling its channel horizontally in the Channel Editor. This allows you to change the number of frames it takes for an animation to play through, without having to move each keyframe manually.
There are three ways to change the duration of an animation in the Animation Channel Editor:
- Use the X Scale tool to scale the channel using any keyframe as the origin of the scale.
- In the Tracks view, Drag the track handle to scales the track proportionally.
- Using the Duration field.
When changing the length of channels, you may want to adjust the number of frames of the clip in the Total Frames field. For example, if you shorten the length of all the clip's channels, you can then shorten the clips' frames accordingly. Or, if you scale the channels longer than the duration of the clip, you can then add frames to account for this.
To change the duration of an animation in the Channel View:
- From the Tools box, select X Scale.
- Select the keyframes or channels you want to scale.
You may have to click Frame to view the curve.
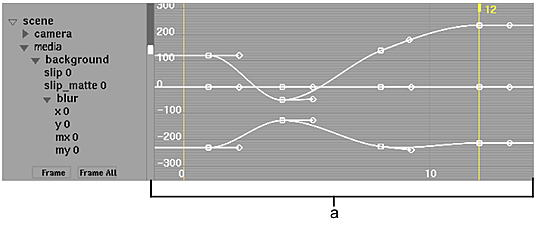
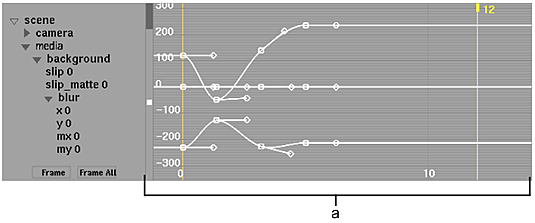
- Click the keyframe that will act as the centre of the X Scale. Drag left to decrease the value or drag right to increase the value of the other keyframes along the X-axis, relative to the selected keyframe.

(a) Original animation curve

(a) XScale used to compress curves
To scale a channel in the Track Editor:
- From the Channel View box, select Tracks.
- From the Tools box, select Select.
- Select the channels you want to scale.
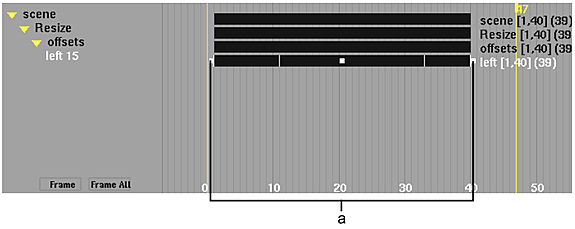
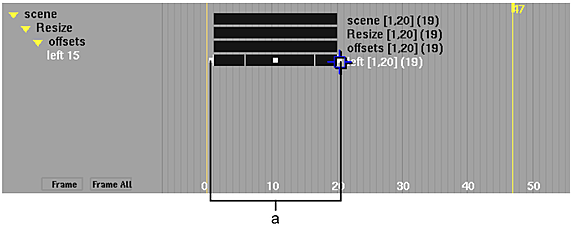
- Drag the last handle to the left to decrease the duration, or to the right to increase the duration. Note: To avoid adding keyframes between frames when scaling, press Alt-Z while scaling. If you have already scaled the track, Select Frame Snap from the Curve Functions box to snap keyframes in the selected channel to the closest frame numbers.
The track scales as you drag the handle. All keyframes are repositioned proportionally in time.

(a) Original animation track

(a) Dragging handle used to compress a track from 40 to 20 frames
Tip: You can move the handle of a folder to scale all channels in the folder. For example, moving the handle of the Scene folder (the top level folder) causes all the folders and channels in the hierarchy to be scaled by the same amount.
To change the number of frames between the current and next keyframe:
- Select a keyframe.
- In the Duration field, which is next to the Insert Key button in the Animation Channel Editor, enter a value for the number of frames between the selected keyframe and the next keyframe.