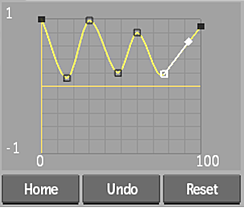
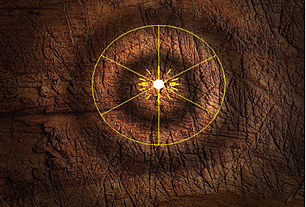
The bevel curve allows you to create unique lighting effects in conjunction with the Spread field. Since a spread value of 90° or less creates a spotlight, you can then create a bevel curve to act as a multiplier of the spotlight intensity. You have two falloff model options for working on the bevel curve in the Light Profile tab. Different settings appear depending on the model selected.
Custom Falloff Model
When selecting Custom as the falloff model, you have full control of the bevel curve. Use the options in the Tools box to add, select, delete, or move keyframes on the bevel curve. The bevel curve behaves in much the same way as an animation curve in the Channel Editor. Make sure that the spread value is less than 90°, and use the settings and the curve itself to create lighting effects.


Parametric Falloff Model
When using a Parametric model, you have access to falloff in and out settings, as well as an attenuation setting. In this case, if the spread is below 90°, you can see the falloff curve, but are not able to directly manipulate the curve as you can with the custom model.