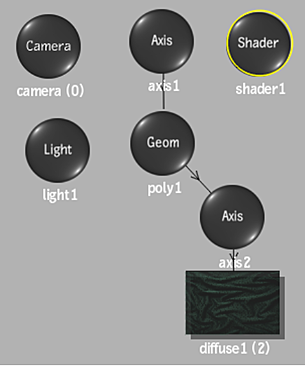
You can add a shader to your scene to apply to all objects in the scene. You also have the option of selectively applying a specific shading algorithm, or turning shading off completely. You can use multiple shaders in an Action scene, but only one shader can be applied to each object. Even if no shaders are present in the schematic, Action uses an implicit default shader that applies to the whole scene.
To add a shader to the scene:
- Do one of the following:
- Drag the Shader node from the node bin and place it in the schematic.
- Drag the Shader node from the node bin and place it in Result view.
- Double-click the Shader node. You do not need to be in Schematic view to add a node in this manner.
A shader is added to the scene. If you select a surface or 3D geometry in the scene before adding the Shader node, a shader inclusion link is automatically applied. You can also apply inclusion and exclusion links manually. See Applying a Selective Shader.

Unlike many objects, a shader is not a confined object in the perspective space, and therefore is added without an axis.
- To display the Shader menu, double-click the selected shader in the schematic, or follow the tab population rules for the Object menu (see Populating Menu Tabs of Selected Objects).
- From the Shader Type box, select a shading algorithm, or turn shading off.

See Shader Types and Settings for more information on the shader algorithms, and their settings.