Use the
Visual Effects
 panel to control a range of visual and lighting effects. Use together with
Sun, Wind, and Cloud settings
 to customize your model's appearance.
Click


 to display the Visual Effects panel.
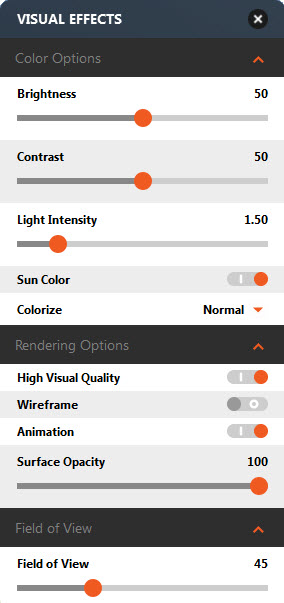
| Visual Effects Panel | Experiment with these settings to see the differences each one makes |
|
|
Examples
| Effect | Definition | Example |
|---|---|---|
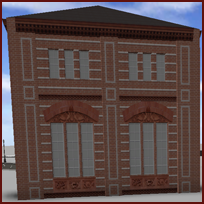
| Normal | Without any effects applied, a styled building looks like this. |
|
| Wireframe |
Wireframe reduces features to three-dimensional skeletons, displaying only lines and vertices. |
|
| Field of View |
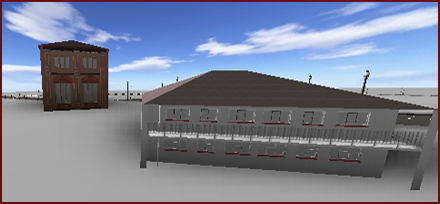
A wide FOV setting zooms out from the current view and flattens features, much like a wide-angle lens on a camera. Features appear smaller and further away than they actually are. |
|
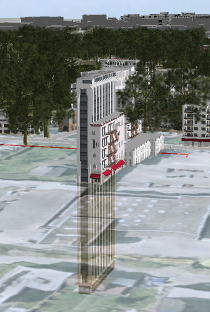
| Surface Opacity | Make the model surface transparent to see features below the terrain. |
|
| Brightness |
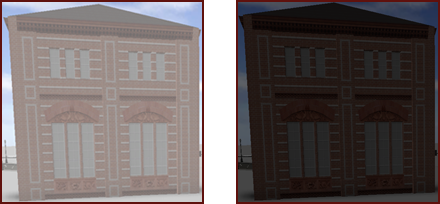
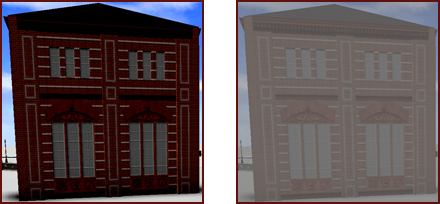
Brightness is the range between the darkest and lightest colors in the image. High brightness reduces the amount of black in colors, so the image looks like an overexposed photograph. The example on the left shows high brightness. Low brightness increases the amount of black in colors, so the image looks like a photograph taken with insufficient light. The example on the right shows low brightness. |
|
| Contrast |
When you increase the contrast in your model, lighter tones get lighter and darker tones get darker. This can produce more definition between areas of differing values, which gives the image more depth. The example on the left shows high contrast. When you decrease the contrast in your model, the distinction between light and dark is decreased. This produces a lighter, flatter look. The example on the right shows low contrast. |
|
| Sepia and Greyscale |
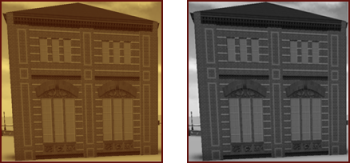
Sepia displays the model in monochromatic shades of brown. Grayscale displays the model in monochromatic shades of gray. |
|
