You specify how you want dimensions to appear by default for your current Inventor document.
Similarly, you specify default tolerance behavior on a per-document basis.
You specify dimension and tolerance default options in the Document Settings dialog box, but you can also access them in the Dimension Properties dialog box.
Specify Default Dimension Properties
- Click Tools tab
 Options panel
  Document Settings
  .
. - In the Units tab of the Document Settings dialog box, under Modeling Dimension Display, choose the degree of precision you want to apply to dimensions:
- Linear Dim Display Precision. Controls the number of decimal places in linear dimensions.
- Angular Dim Display Precision. Controls the number of decimal places in angular dimensions.
- Also under Modeling Dimension Display, choose how you want dimensions to appear in sketches:
- Display as Value. Shows the nominal dimension.
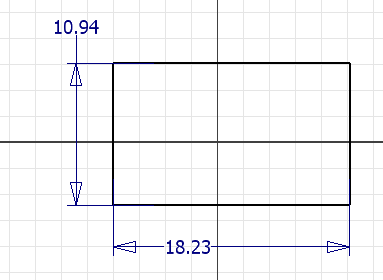
- Display as Name. Shows the dimension as a parameter name.
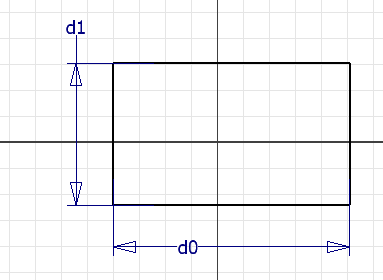
- Display as Expression. Shows the dimension as an expression.
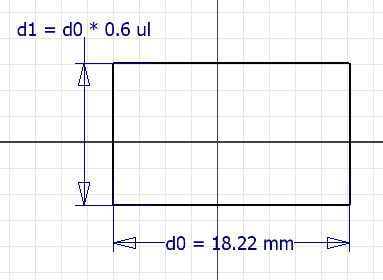
- Display Tolerance. Shows the tolerance for the dimension.
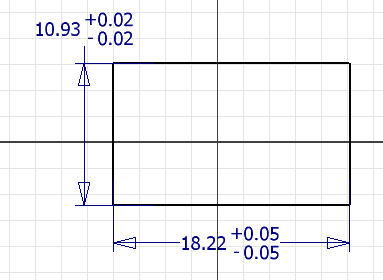
- Display Precise Value. Shows the dimension value, ignoring any precision setting.
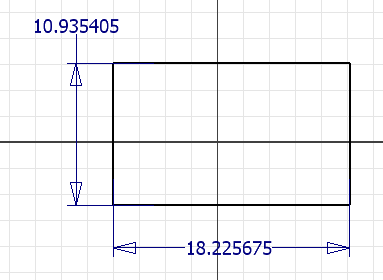
- Display as Value. Shows the nominal dimension.
- Click Apply to apply the settings and continue working in the Document Settings dialog box, or click OK to finish and exit the command. Note: You can also access and edit dimension properties by right-clicking any dimension in a sketch and choosing Dimension Properties. In the Dimension Properties dialog box, click the Document Settings tab.
Set Tolerance Defaults
- Click Tools tab
 Options panel
  Document Settings
  .
. - In the Default Tolerance tab of the Document Settings dialog box, choose either or both of the following:
- Use Standard Tolerancing Values. Uses the precision and tolerance values you set on this tab when creating dimensions. Use the Linear and Angular fields to apply tolerance settings to dimensions of specific precision.
- Export Standard Tolerance Values. Exports dimensions to drawings using the precision and tolerance values you set on this tab. Click in the Linear and Angular fields to apply tolerance settings to dimensions of specific precision.
- Click Apply to apply the settings and continue working in the Document Settings dialog box, or click OK to finish and exit the command. All dimensions in the current part document that do not have a tolerance applied update with the changed values.Note: Note: You can also access and edit tolerance settings for a document by right-clicking any dimension in a sketch and choosing Dimension Properties. In the Dimension Properties dialog box, click the Document Settings tab.