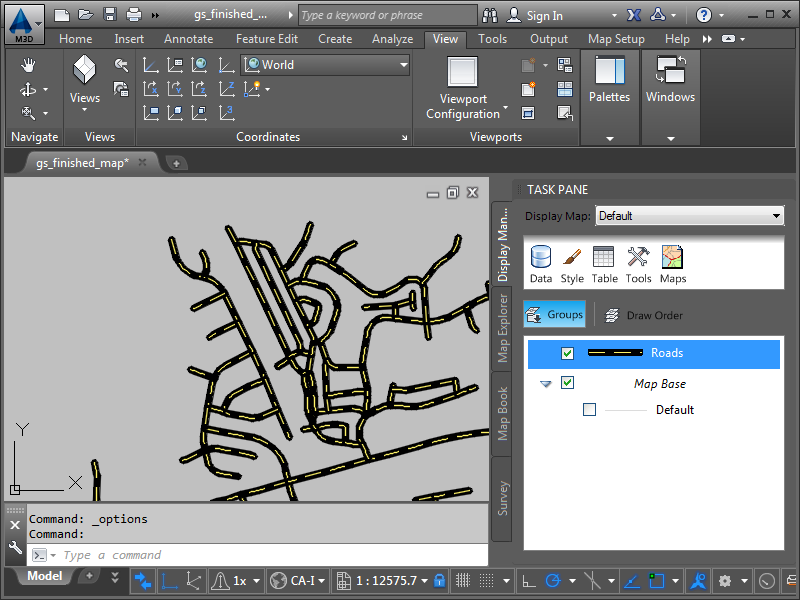
Change the appearance of the roads.
Video Tutorial
|
|
Click the arrow button in the picture to see how to create a composite style for lines. The steps for basic line styling are listed below the video. |
To style the roads using standard styles
- In Display Manager , select the layer labeled Roads and click Style in the menu area.
If you did not download the sample data for this tutorial, watch the video instead.
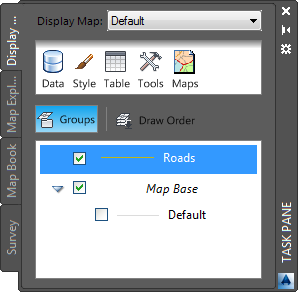
Select the Roads layer and click Style.
The Style Editor window is displayed over your map.
- In the Style Editor window, click
 for Style and select a thickness, color, and pattern for the roads.
 To create a realistic road style with dashed yellow lines, follow these steps
- Change the Unit to Millimeters.
- Change the line thickness to 2.
- Click Add Symbol to add a second line.
- Use the up arrow button to move the new line to the top of the preview.
- Select a dashed pattern for the new line.
- Change the dashed line color to yellow.
- Click Apply, and then click Close.
- Click the X at the top of the Style Editor window to close it.
- Save your work.
- Click

 Save.
Save. - Specify a name and location for your map.
Notice that map files use the file extension .dwg, just as AutoCAD drawings do. Both file types use the same basic file format.
- Click Save.
- Click
Where you are now
In the map, you can see the styled roads.