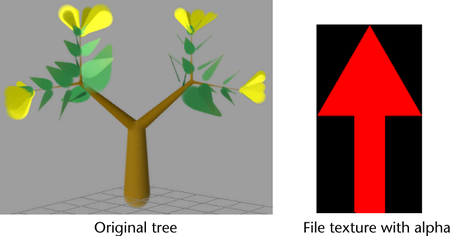
You can map textures to tubes, leaves, and flowers. The procedures that follow use the tree and file texture shown below to illustrate the effects of mapping. The file texture has an alpha channel, so the black areas are transparent when opacity is mapped.

To map a file texture to tubes and branches
- In the Paint Effects Brush Settings window, or the brush Attribute Editor, expand the Texturing panel. For details on the settings you will work with, see Texturing brush settings.
- Turn on Map Color to map the color to the texture, and adjust the scale and offset if necessary.
- Turn on Map Opacity to map the opacity, and adjust the scale and offset if necessary.
- Beside Texture Type, select File.
- In the
Image Name box, type the name of the image file you want to use for the file texture, or click the folder icon and select it.

To map a file texture to leaves
- In the Paint Effects Brush Settings window, or the brush Attribute Editor, expand .
- Under
Leaves, in the
Leaf Curl section, turn on
Leaf Use Branch Tex.
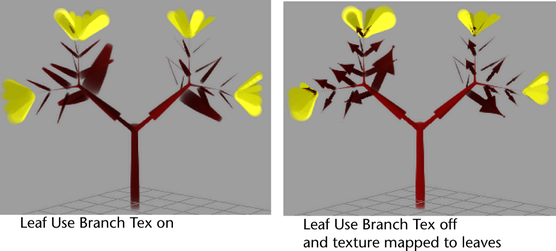
When turned on, the texture applied to the tubes and branches (in this example, the arrow), is also applied to the leaves.
When turned off, the texture is mapped to the UV coordinates of the leaf. Opacity (or alpha) is mapped automatically.
- In the
Image Name box, type the name of the image file you want to use for the file texture, or click the folder icon and select it.

To map a file texture to flowers
- In the Paint Effects Brush Settings window, or the brush Attribute Editor, expand .
- Under
Flowers, in the
Petal Curl section, turn on
Flower Use Branch Tex.
When turned on, the texture applied to the tubes and branches (in this example, the arrow), is also applied to the flowers.
When turned off, the texture is mapped to the UV coordinates of the flower. Opacity (or alpha) is mapped automatically.
- In the
Image Name box, type the name of the image file you want to use for the file texture, or click the folder icon and select it.
