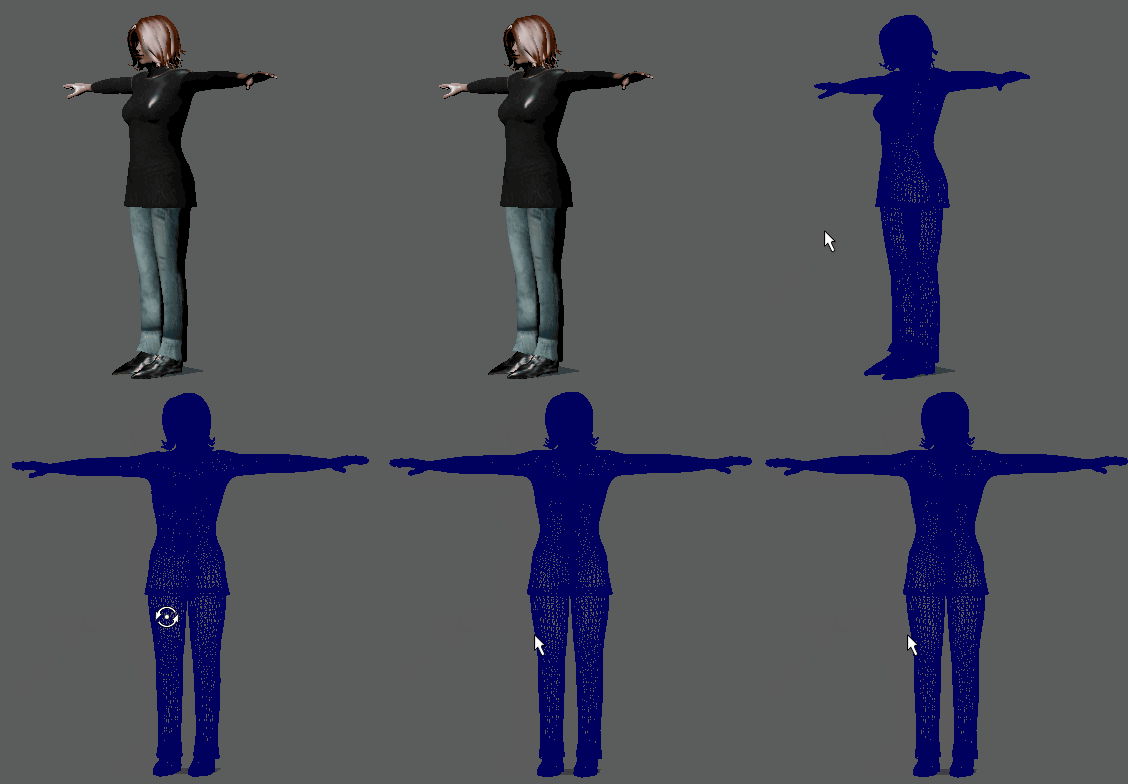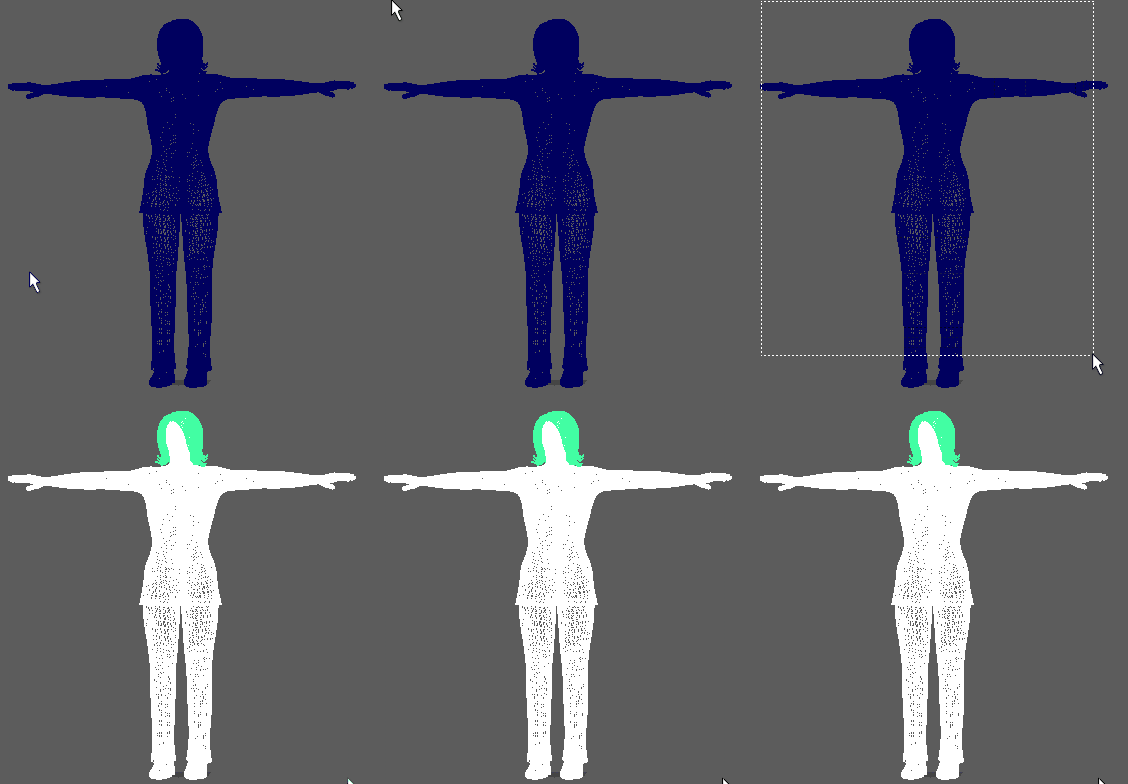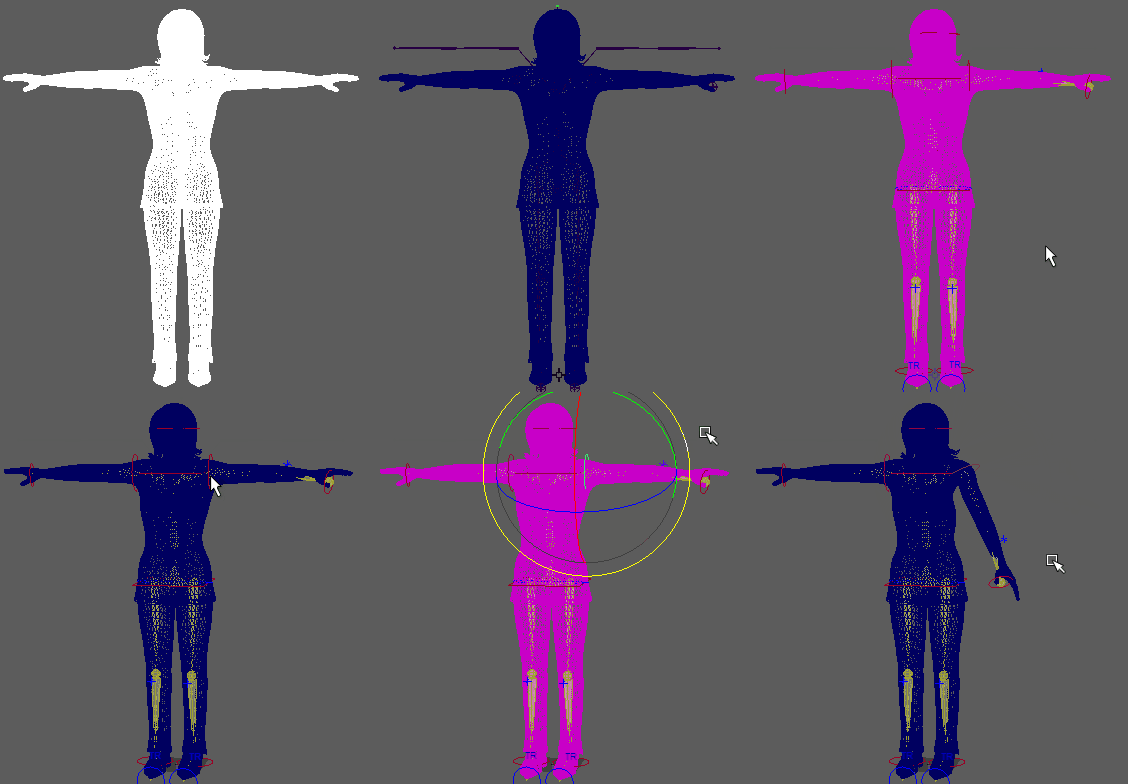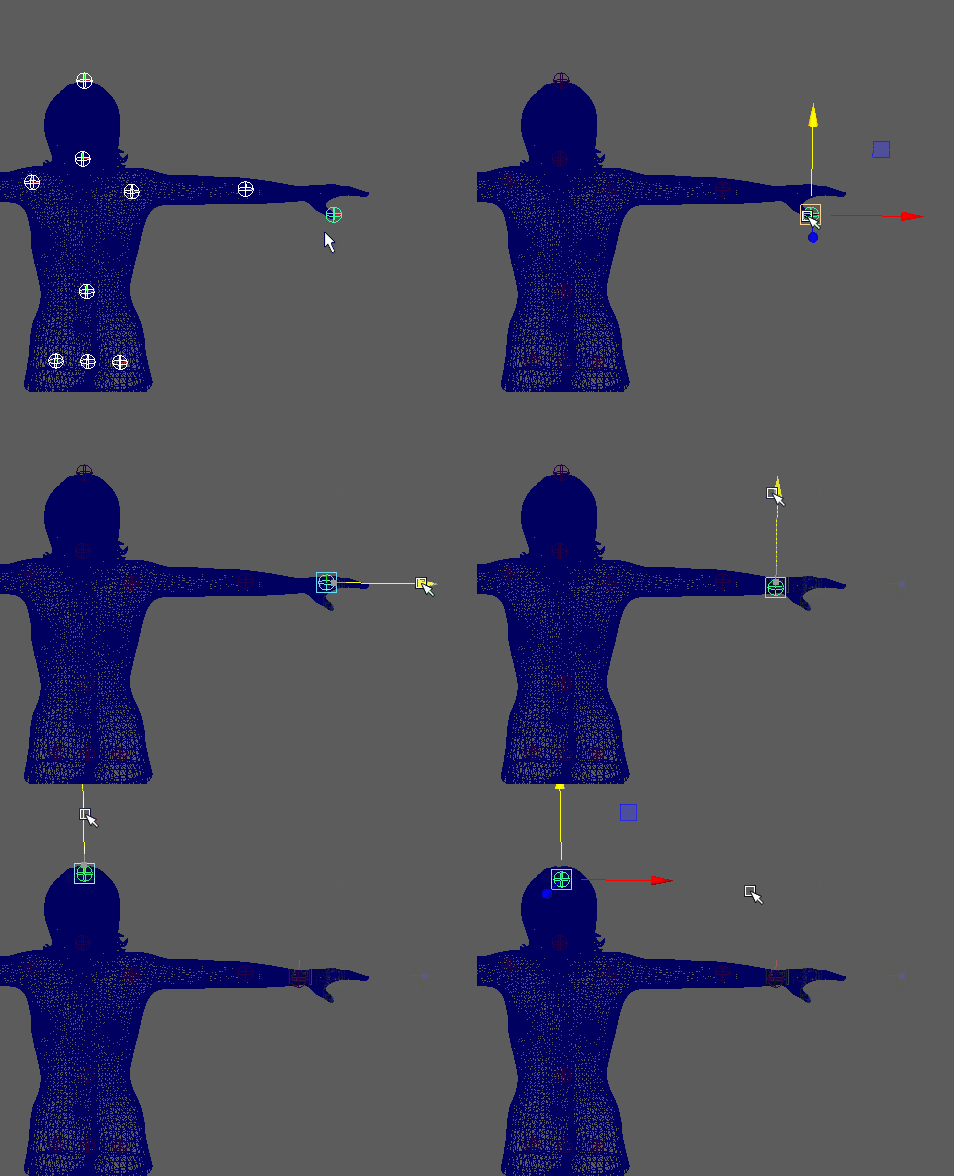
The Quick Rig tool is a quick way to create a character rig for a standard character mesh. There are two ways you can create a character rig with this tool, automatically, with the One-Click option, which is recommended for standard character meshes, or the Step-by-Step option, which gives you greater control over the automatic rig function. For a description of the Step-by-Step settings, see Quick Rig tool.
Creating an automatic character rig with the One-Click option
The Quick Rig tool is intended to be a fast way to add a character rig to an empty mesh. When you click the Auto-Rig!, Maya analyzes your mesh to create a character rig. This behind-the-scenes rigging process has many steps. To see what gets evaluated during the One-Click process, refer to the Creating a character rig with the Step-by-Step method section, below, or see Quick Rig Tool for a description of the settings.
To automatically create a rig for a standard character mesh
- Start with an empty character mesh.

- Select from the Rigging menu set. The Quick Rig tool opens. (You can also access Quick Rig from the HumanIK window Start pane or the Rigging shelf.)
- Choose the One-Click option.
- Select the mesh.

- Click
Auto-Rig!. A skeleton is created, followed by a
HumanIK control rig. The mesh is then skinned to the skeleton.

Your mesh now is ready for animating.
Creating a character rig with the Step-by-Step method
Choose the Step-by-Step option to proceed through the same phases of the automatic rig generation in the Quick Rig steps above, but step-by-step. This method walks you through the process and lets you tweak some of the Quick Rig's default settings, which gives you greater control over the automatic rig function.
For a description of the Step-by-Step settings, see Quick Rig tool
To use the Step by Step method in the Quick Rig tool to create a rig for a character mesh
- Select from the Rigging menu set.
- Choose the Step by Step option.
- Expand
1) Geometry to choose the mesh(es) for rigging and click
Select All Meshes
 to locate all meshes in the scene.
Note: Some meshes have auxiliary meshes that accompany them, for example, eyes, hair, accessories, and so on. Use the Select All Meshes
 option to make sure that these are selected as well.
- Select Add Selected Meshes
 to populate the
Geometry list with the selected meshes.
- In the
2) Guides area, choose the
Embed Method that best suits your mesh.
Note: The Imperfect Mesh Embed Method is the default as it is a general good fit for most meshes. Click the help icon
 or see
Quick Rig tool for an explanation of each segmentation method.
- Choose a resolution from the
Resolution list.
Note: Higher-resolutions take more time to process.
- Use the
Symmetry option to force the guides to align within the bounding box of the selected mesh(es).
Note: Make sure that the guides that map to center joints (hips, spine, and neck) are centered and are aligned symmetrically on shoulders, arms and legs.
- Use the Center settings to specify which guides will generate your character.
- Click
Create/Update to add guides to your character mesh. (Click Delete Guides
 if you want to start over.)
- Expand
3) User Adjustment of Guides and reposition the joint guides to better fit your mesh. (See
Quick Rig tool for a description of each guide adjustment icon.)

- When you are satisfied by the guide positions on your character, expand 4) Character Generation to generate the character skeleton and HumanIK control rig.
- Set the Skeleton Settings and set options for the skeleton's alignment and orientation.
- Click Create/Update to create a Skeleton with or without a Control Rig for your character mesh.
- Expand 5) Skinning to set options for how the rig is bound to the mesh.
- Click Create/Update to skin your character, which completes the rigging process for your character mesh.
Your mesh now has a character rig and is ready for animating. See Quick Rig tool for a description of these settings.
For information on animating your control rig, see Control rigs, effectors, and pivots.