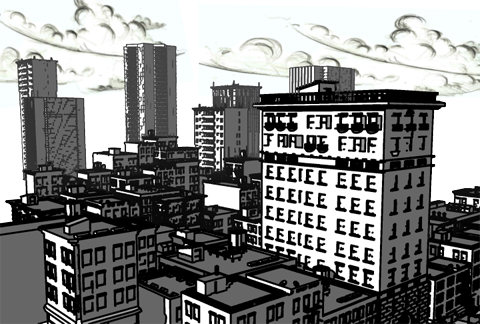
To add a (default) contour to your scene
- In the Attribute Editor of the shading group node for your material shader, select Enable Contour Rendering under the Contours section.
- In the Render Settings: mental ray tabs, Features tab expand the Contours section and select Enable Contour Rendering.
- Select how you want your contours to behave with geometry by checking the applicable options under Draw By Property Difference under the Contours section.
- Tweak the contour attributes to achieve the look that you desire.
To add a contour shader to your scene
- In the Attribute Editor of the shading group node for your material shader, map your mental ray contour shader, such as contour_shader_depthfade, to the Contour Shader attribute under the Custom Shaders section.
- Tweak the contour shader attributes to achieve the look that you desire.
- In the Render Settings: mental ray tabs, Features tab, expand the Contours section. Under the Custom Shaders section, map your custom contrast shader, for example, contour_contrast_function_levels, to the Contrast Shader attribute. Map your custom store shader, for example, contour_store_function to the Store Shader attribute.
- Tweak the contour shader attributes to achieve the look that you desire.
For a description of the node attributes for the mental ray contour shaders, see mental ray for Maya nodes.
