Point clouds consist of thousands, even millions, of points. You can enhance system performance by setting up scan regions. Scan regions also help you visualize an existing scene in different configurations by keeping only the regions you want to see turned on.
Regions typically span different imported scans. For example, a point cloud image of single 3D building may consist of several scan files. However the scan regions cannot overlap; each point belongs to only one region.
The regions are identified by different colors, which you can change. The following example shows a building with its region selected.
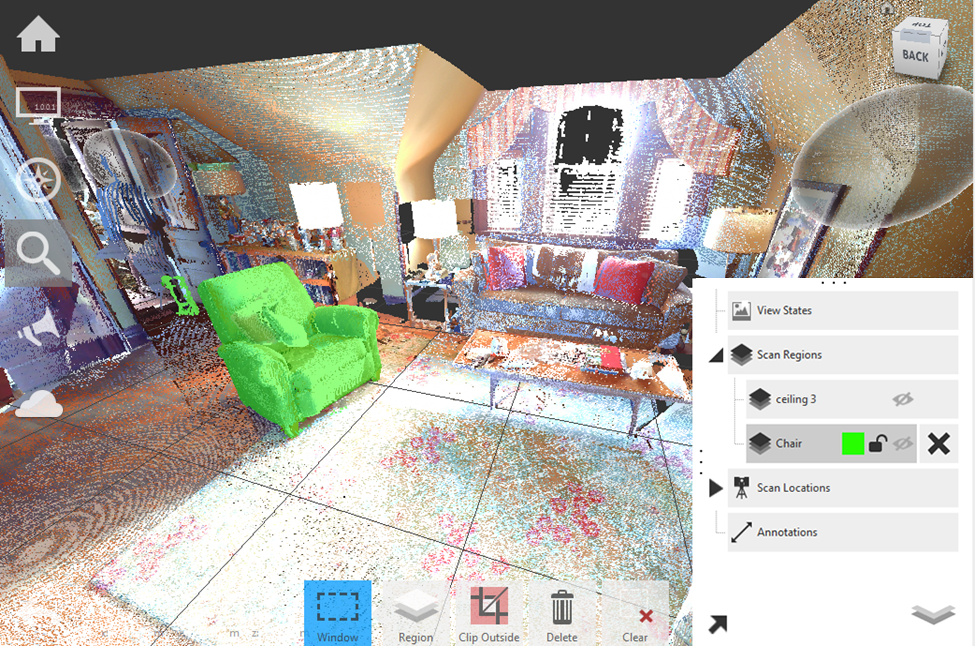
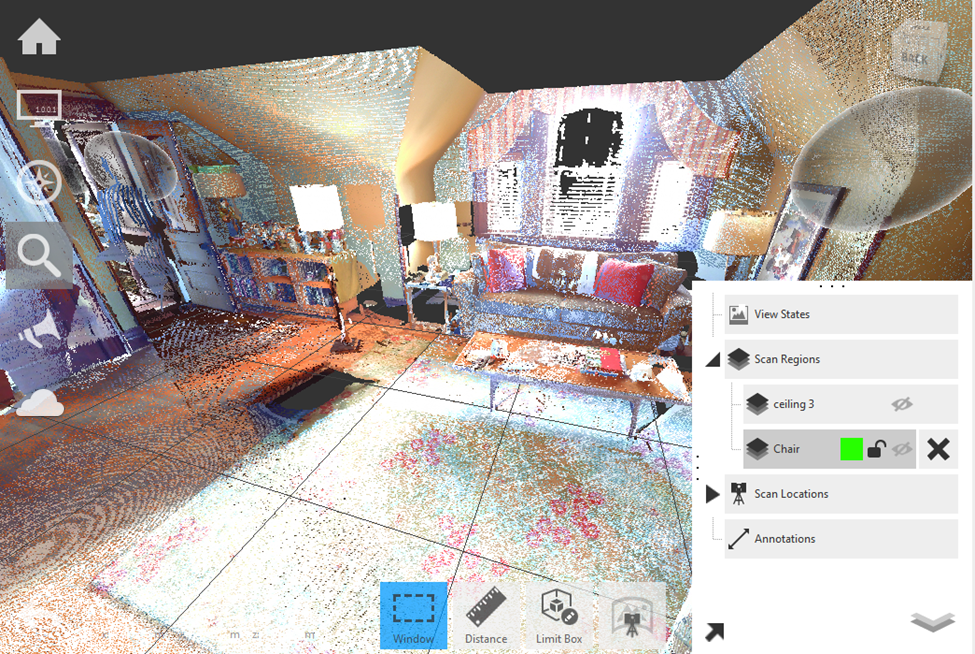
You can turn off scan regions that you want to hide so that you can visualize the space without the features in those regions. In the following example, the Scan Region "Chair" has been hidden.
Since scan regions represent 3D volumes that extrude from a 2D boundary, they are commonly created using the limit box, which can be set up to define and contain the volume. In the previous example, the limit box was created to isolate the chair before the region was created.
Creating & Editing Scan Region
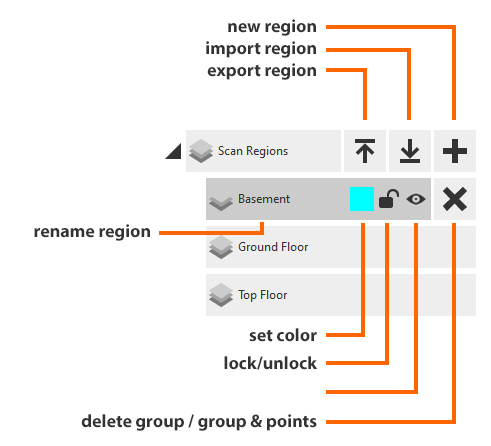
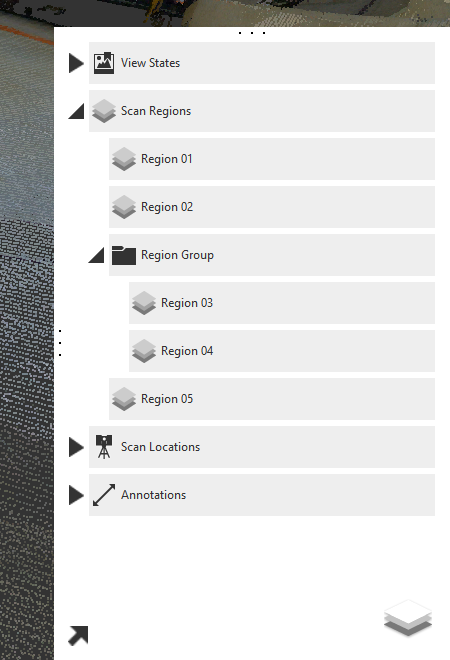
Once you have made a selection in the scene using the tools outlined in the limit box and selection sections creating a Scan Region is a snap. Open the Project Navigator if it isn't already and hover over the Scan Regions group node exposing the "Create Scan Region" button:
Simply click the button to create a new region. You will be prompted to provide a name for the region and then have options to set the region's color, toggle it's visibility, and lock it's properties. You can also delete it from here as well using the "x" icon on the right.
Grouping
Scan regions can be combined into groups by dragging/dropping existing regions over each other. Groups can be nested indefinitely to organize your data in any way you would like.

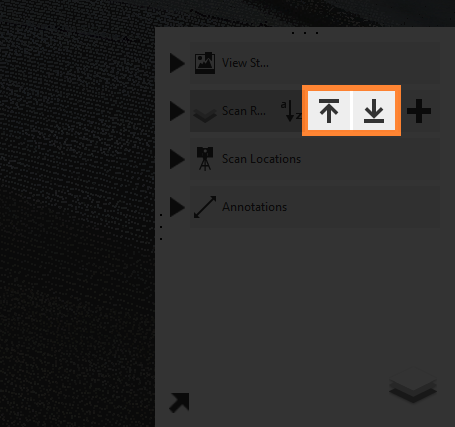
Import/Export
Scan regions can also be imported and exported with the contextual tools available on any scan region group.

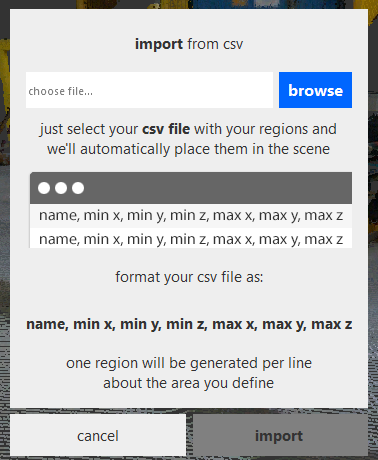
Importing of scan regions is accomplished through correctly formatted CSV files. These files should define the scan regions as follows: name, min x, min y, min z, max x, max y, max z.
New regions are generated for each line provided in the CSV file and automatically populate the project.
Scan regions can be exported as RCP, RCS, PTS, E57, or PCG file formats. Again, export is available from the contextual tools apparent on both scan region groups and individual scan regions. When exporting a set of scan regions from the group menu all regions contained within that group and any nested child groups are included in the export process.
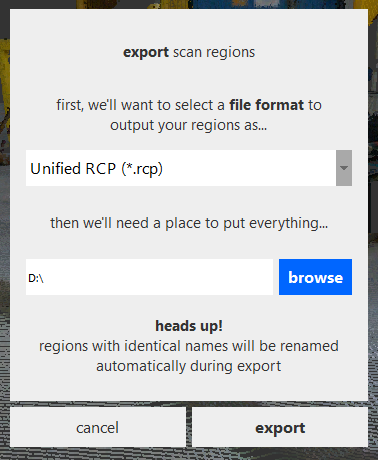
If your project has not yet been unified you are prompted to do so at this stage. Once unification has completed, export of the scan regions begin.
