Use this Quick Start workflow to perform an energy analysis based on conceptual masses when you are new to Energy Analysis for Autodesk® Revit® or you want to perform a baseline analysis using default settings.
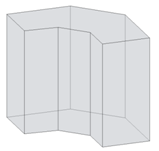
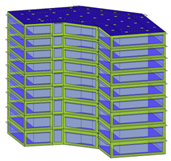
| 1. | Create a mass model.
|
You can load a mass family into a project for analysis or create an in-place mass directly in a project. |
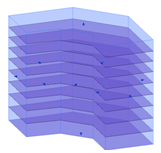
| 2. | Create mass floors.
|
In the project environment, select the mass model, and create mass floors. |
| 3. | Define energy settings.
 |
Click Analyze tab Energy Analysis panel Energy Analysis panel (Energy Settings). (Energy Settings).
In the Energy Settings dialog, specify the following:
|
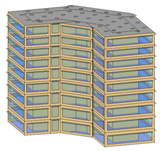
| 4. | Create and view the energy model.
|
Click Analyze tabEnergy Analysis panel (Create Energy Model). (Create Energy Model).
View the resulting energy model in a 3D view. |
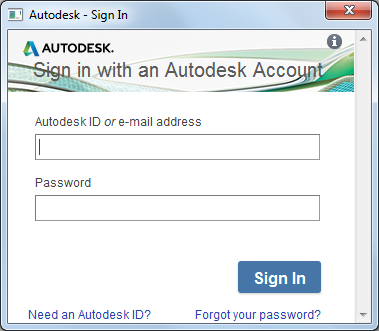
| 5. | Sign in to
Autodesk® A360.
|
To perform an energy simulation, you must sign in to
Autodesk® A360.
Click Sign In |
| 6. | Run the energy simulation.

|
Display a 3D view of the mass model, and click Analyze tab |
| 7. | Name the analysis and specify the GBS project. | In the Run Energy Simulation dialog, do the following:
|
| 8. | See the simulated elements.
|
The current view displays mass zones and mass shades, and it temporarily dims elements that are not included in the simulation. |
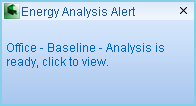
| 9. | Click the simulation name.
|
When the analysis is complete, an alert displays. Click the analysis name in the alert to view the simulation results.
Or click Analyze tab |
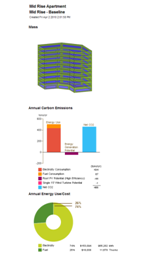
| 10. | Review the simulation results.
|
In the Results and Compare dialog, view the analysis results.
Tip: Use the Settings tab to select the charts to include in the results and to configure the display of energy analysis data on the Results tab.
|
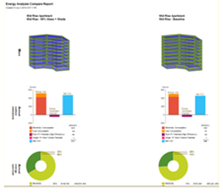
| 11. | Make changes, simulate, and compare.
|
Modify the mass model and energy settings as needed. Delete and create an updated energy model. Then repeat steps 6-7 to run a simulation on the modified model. For a side-by-side comparison of simulation results, select multiple analyses and click Compare on the toolbar. |
 (Run Energy Simulation).
 (Results & Compare), and select the analysis from the project tree.