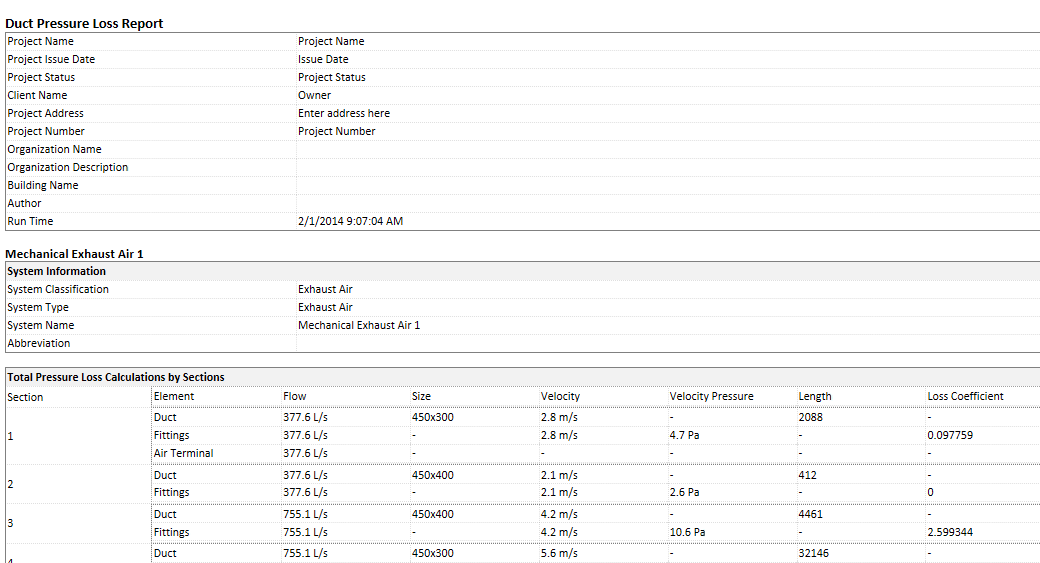
You can generate a pressure loss report for duct or pipe systems in your project.
To generate the report, first, specify the systems to include in the report, then set up the report. When setting up the report, you can specify which fields, such as diameter, height, and width, are included. You can also specify whether additional information such as system information and critical path is displayed in the report. The output from the report can be saved as an HTML or CSV file.
Selecting the systems for the report
- Select one or more systems in the drawing area and click Duct Pressure Loss Report or Pipe Pressure Loss Report.
- Select one or more systems in the System Browser, right-click and click Pressure Loss Report.
- Click Analyze tab
 Reports & Schedules panel
 (Duct Pressure Loss Report) or
  (Pipe Pressure Loss Report) and select one or more systems in the Pressure Loss Report - System Selector dialog.
 To filter the systems in the list, click System Type Filter.
You can select a system for which calculations are set to All. If calculations are set to Flow Only or None, a warning displays or the system will not display in the list.
A pressure loss report cannot be generated for a fire protection system, or a gravity flow system, such as a sanitary system.
A system must be well connected in order to generate a pressure loss report. Use the System Inspector to determine if a system is well connected before attempting to generate a pressure loss report.
Setting up the report
After you select the systems you want to include, you can set up the report.
- If you have previously saved a report format, in the Pressure Loss Report Setting dialog, you can select one from the list. Tip: To save a report format, specify the desired settings in the dialog and click Save. Enter a Format Name and click OK.
The duct pressure loss and pipe pressure loss reports each have their own report format. They are saved in the same location as the default template.
- Select from the list of available fields the ones you want to include in the report.
- Enable or disable the display of the following items as desired:
- System information
- Critical path
- Detail information of straight segment by sections
- Fitting and accessory loss coefficient summary by sections
- If desired, enable the option to open the pressure loss report after it is generated.
- Click Generate.
- In the Save As dialog, enter a file name, specify the file extension as HTML or CSV, and click Save.
