If you did not include a railing when creating a stair or ramp, you can add a railing afterwards. You can also place a railing on a floor.
When you place a railing on a component-based stair, you can choose to place it on the stair treads or stringers.
To change the railing position after placement
- Click Architecture tab
 Circulation panelRailing drop-down
 (Place on Host).
 - For placement on stairs only: On the Position panel, click Treads or Stringer.
- In the Type Selector, select the type of railing to place.
- Select the host component in the drawing area. Note: Possible host components, such as a stair or ramp without a railing, highlight as you position the cursor over them.
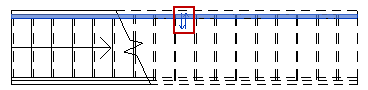
- To change the railing position between placement on the treads or stringers, select the railing in a plan or elevation view, and click the Flip Railing Direction (double arrow) control.
- To further adjust the railing position on the tread/stringer, modify the value of the railing instance property, Tread/Stringer Offset.
If you place the railing on the stringers, the default value for this property is "1/2 Stringer Width." If you place the railing on the treads, the default value is 1".)