Quickly build and control wheel arch shape.
Common wheel arch appearance and requirements
Common wheel arch is a simple but controlled semicircular (although almost never a perfect circle) opening in body side of an automobile.
It is not uncommon to start building a model at wheel arches as these provide good reference starting points
Additional styling requirements may include leaning wheel arch to the front of the car to achieve more dynamic appearance or changing shape to allow for wheel steering and suspension movements – this is also incentive to keep wheel arch geometry simple, clean, and easy to modify.
Using SpeedForm core tools and functions in context
Tools used in this workflow:
- Edit Form move, rotate, scale, and extrude
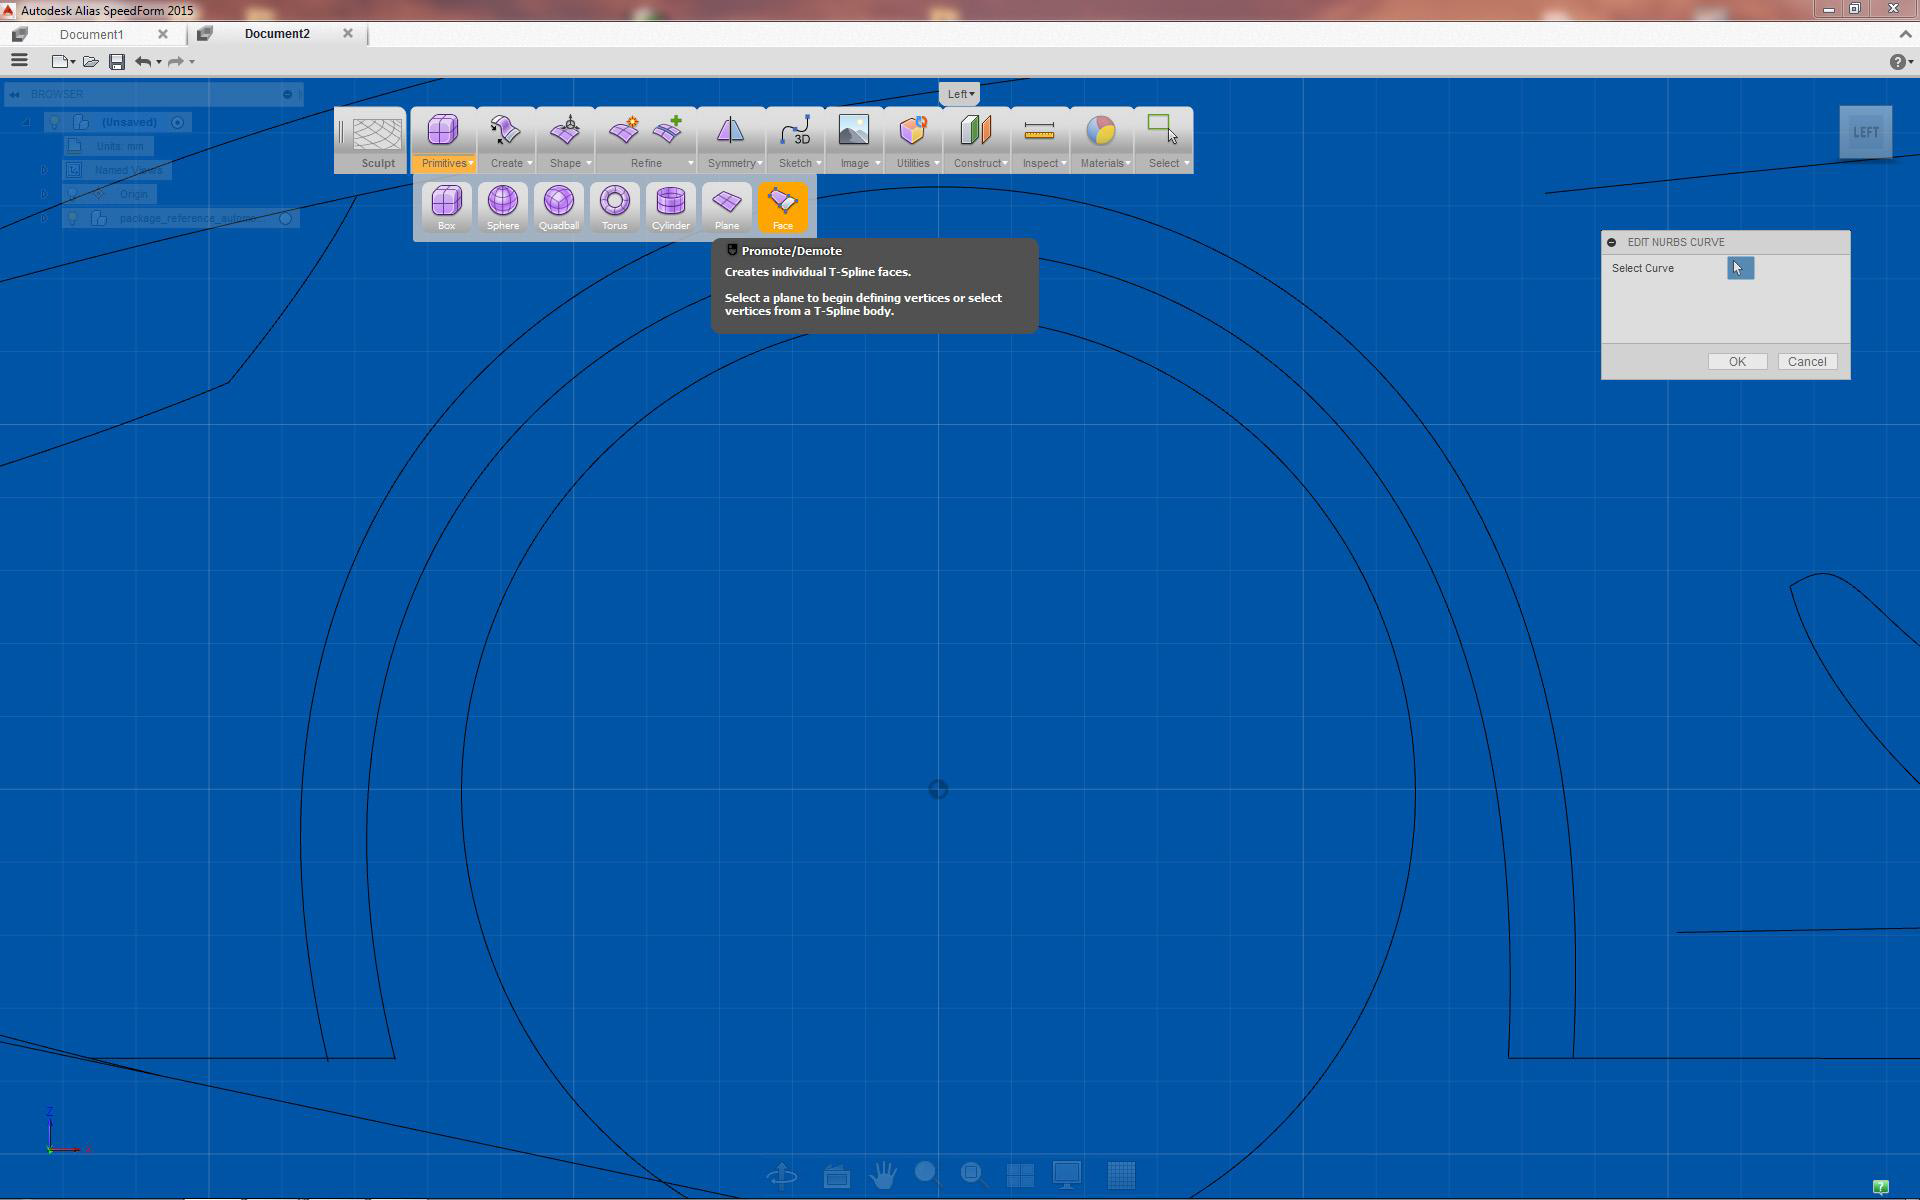
- Face (multiple sides)
Workspace setup - references
When creating wheel arch it is helpful to use circular curve as reference
Workspace setup
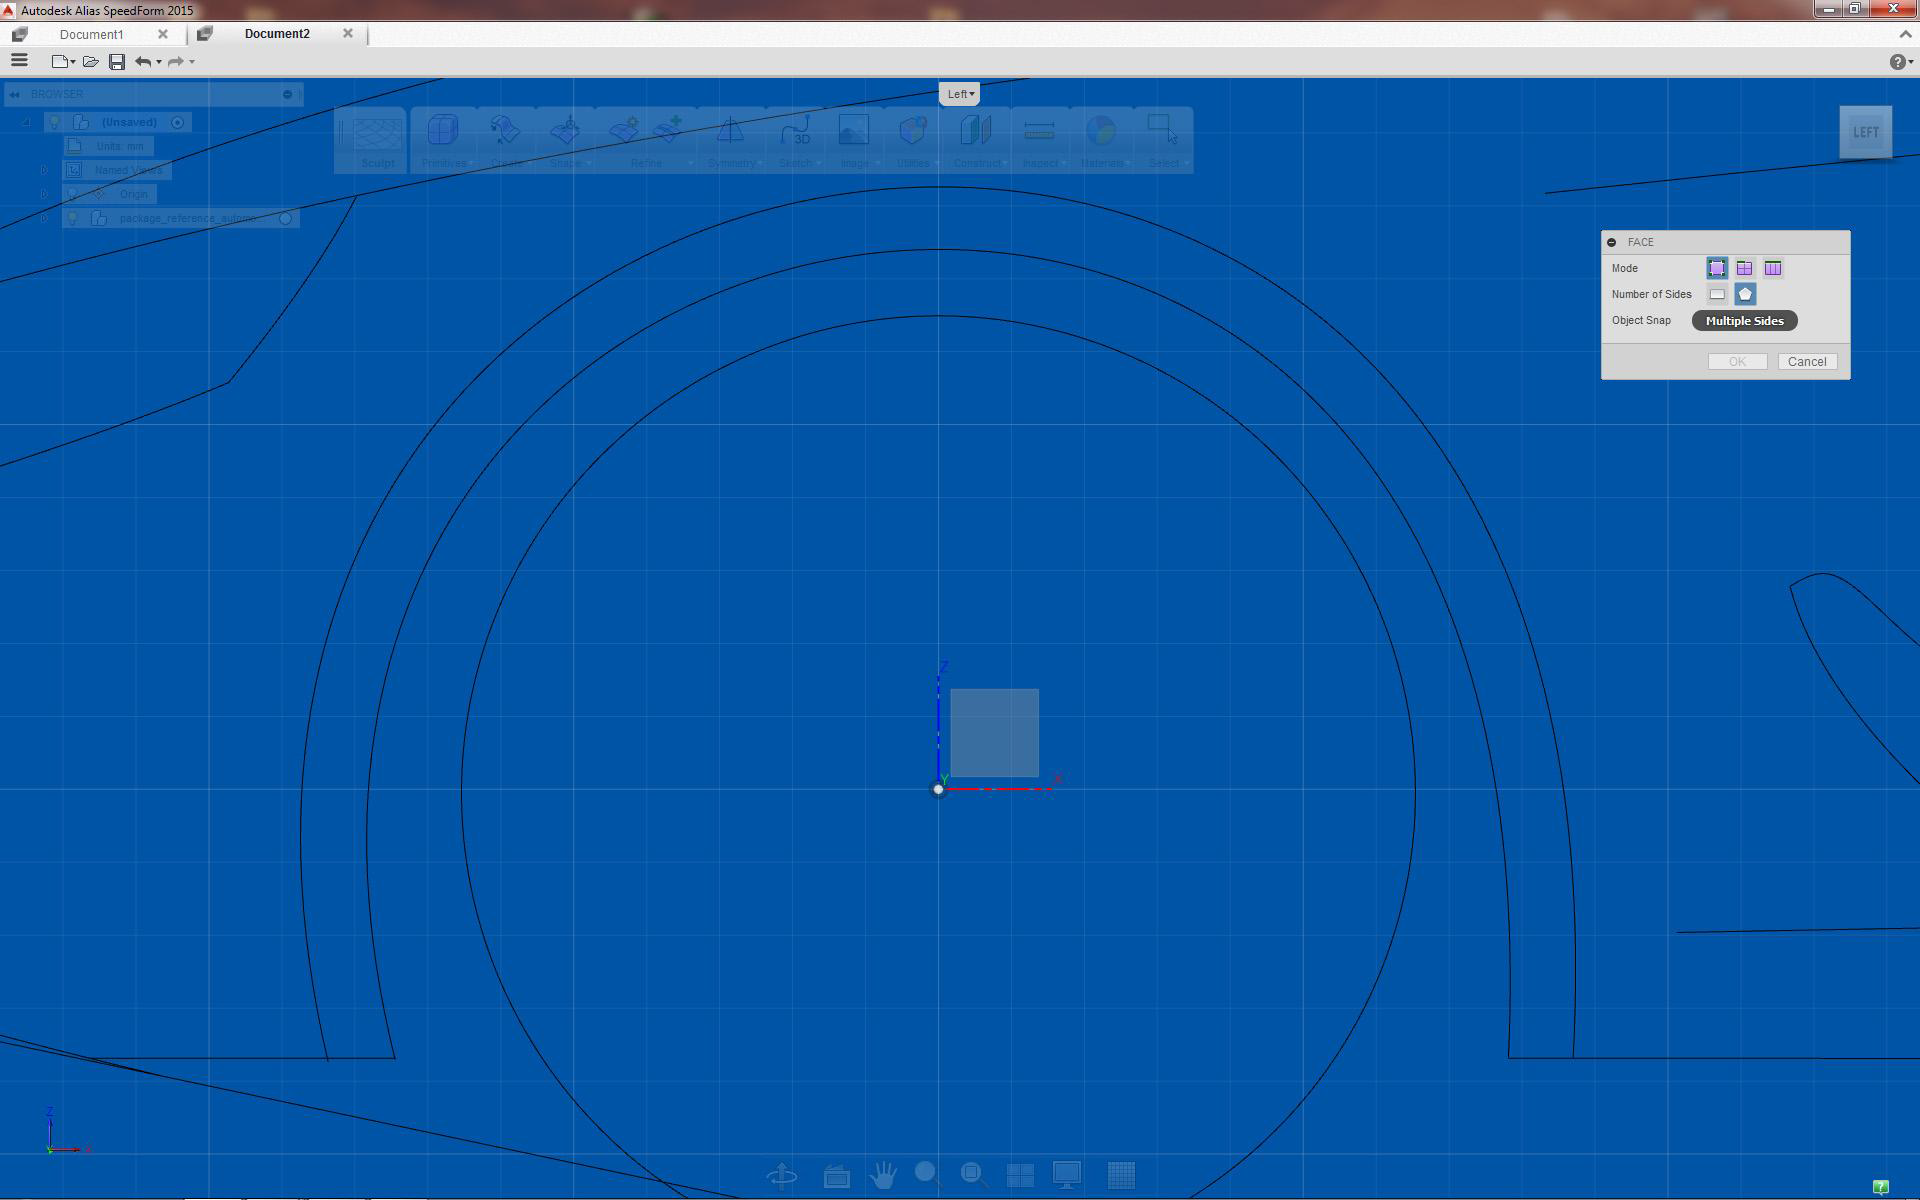
Use Face tool multiple sides option
Adjusting position / surface edges
Choose the wheel arch plane
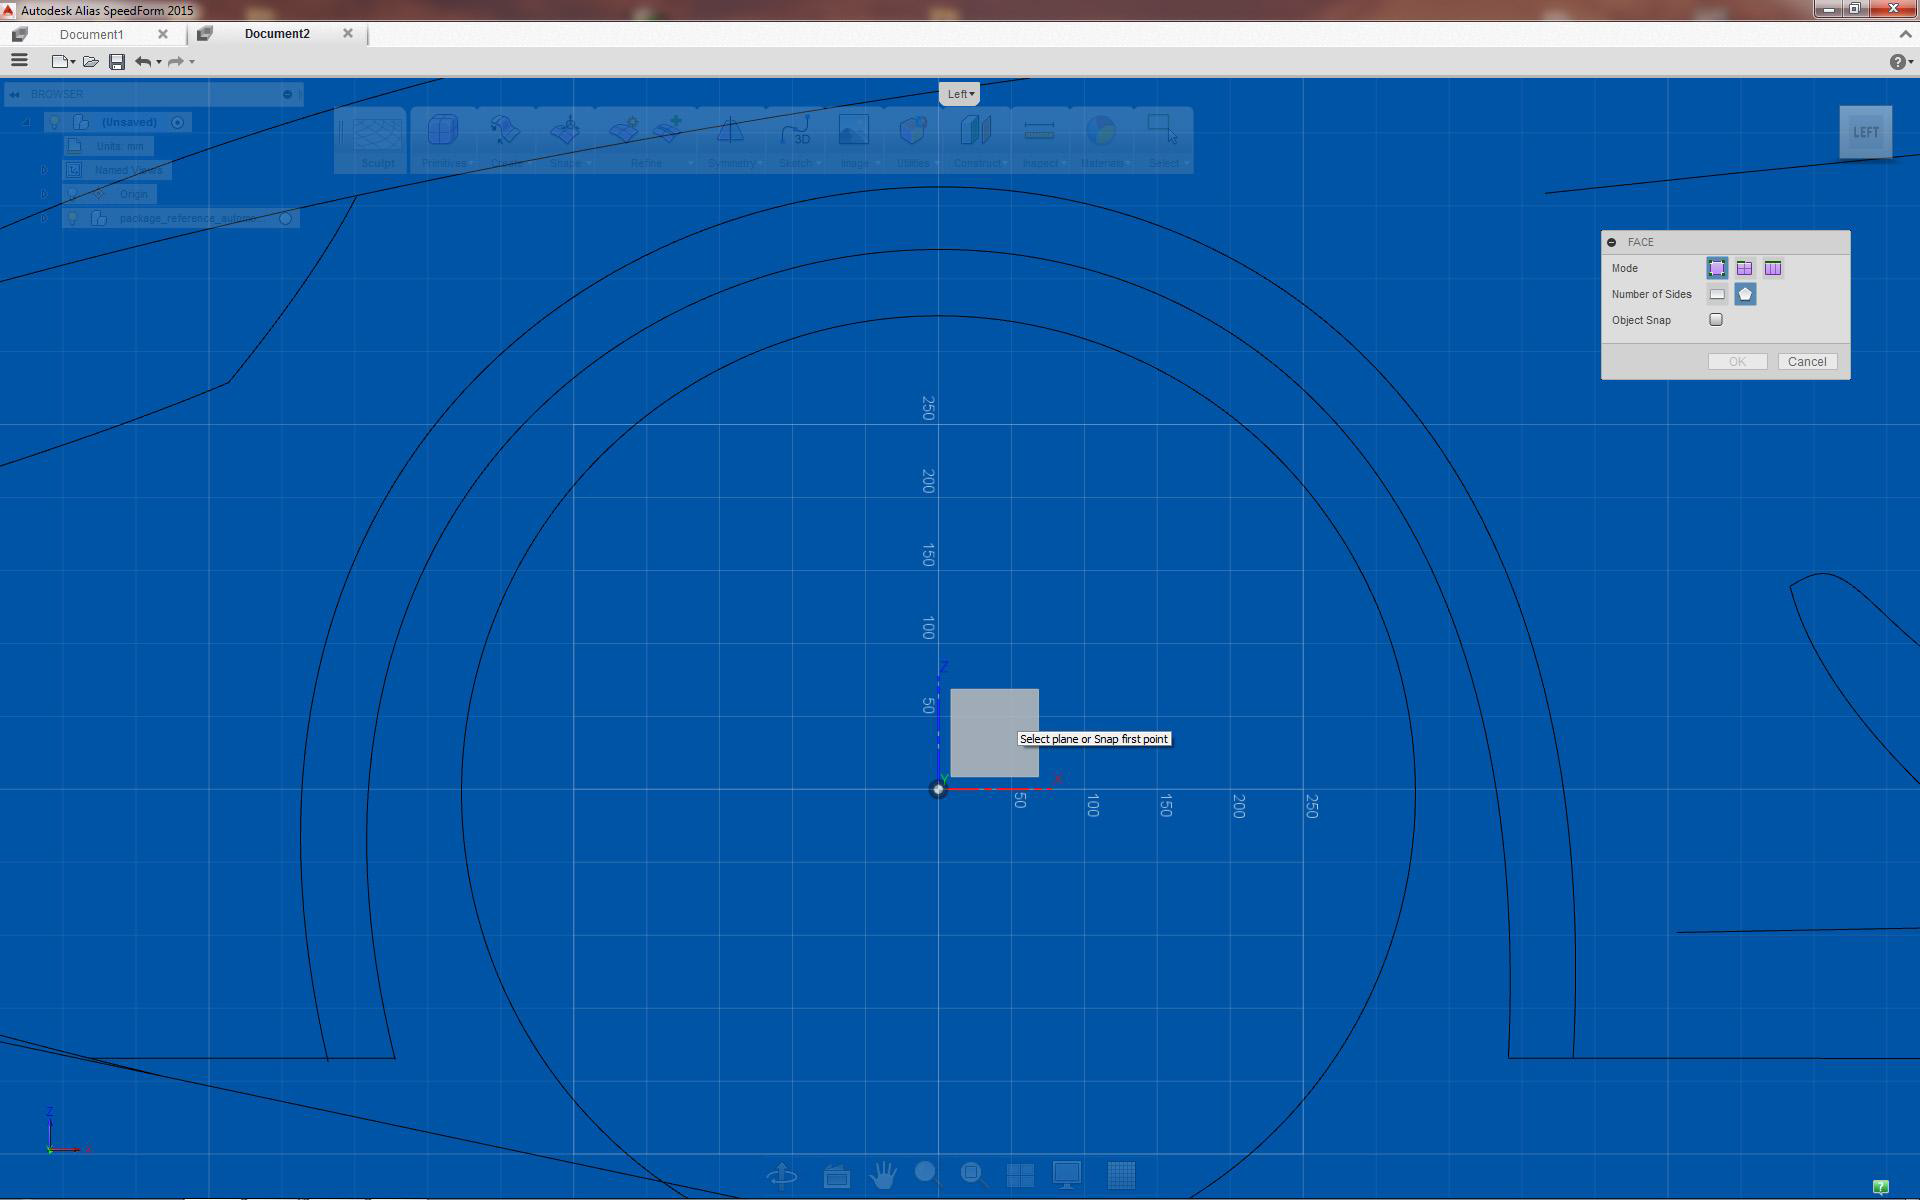
Set plane to start creating wheel arch (x-z is common plane to use)
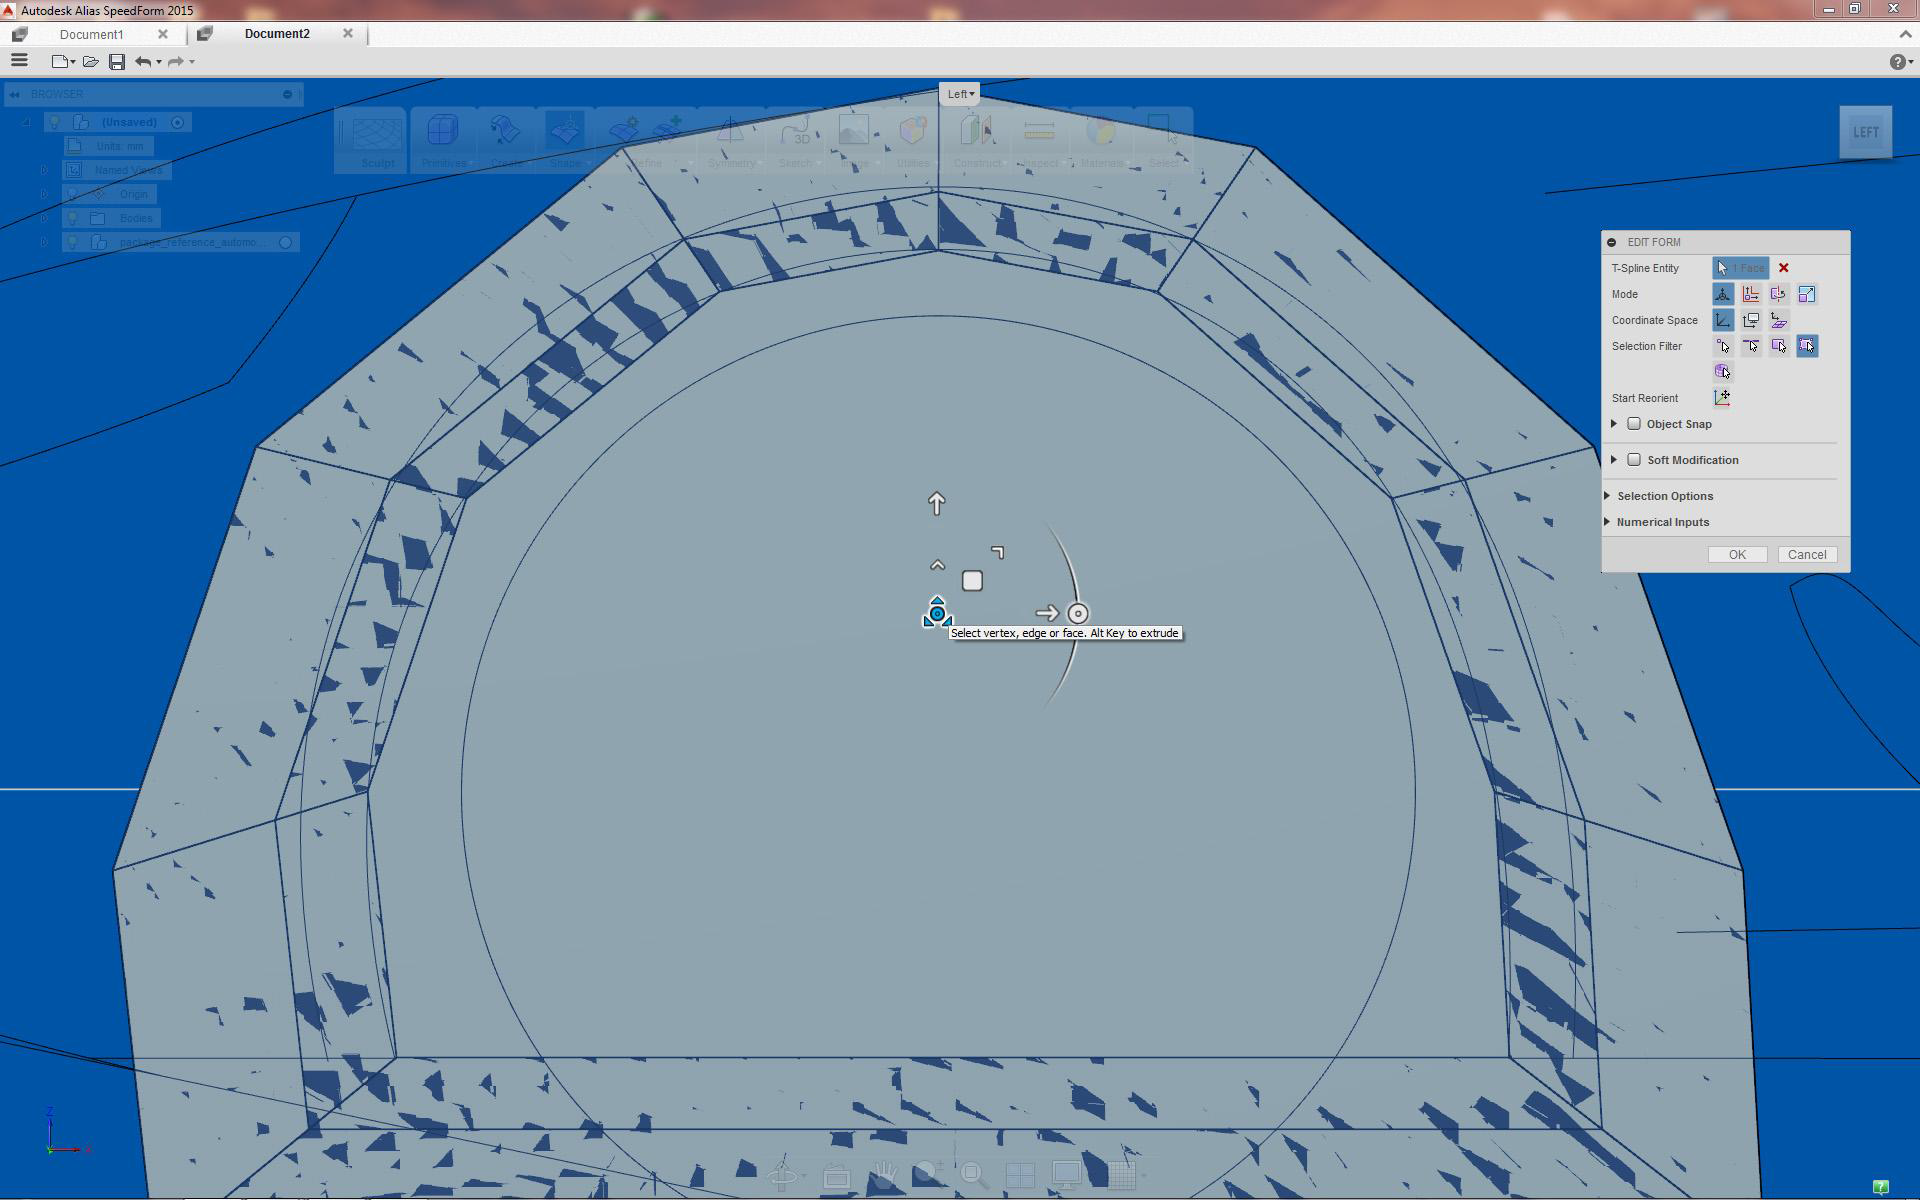
Creating initial wheel arch outline
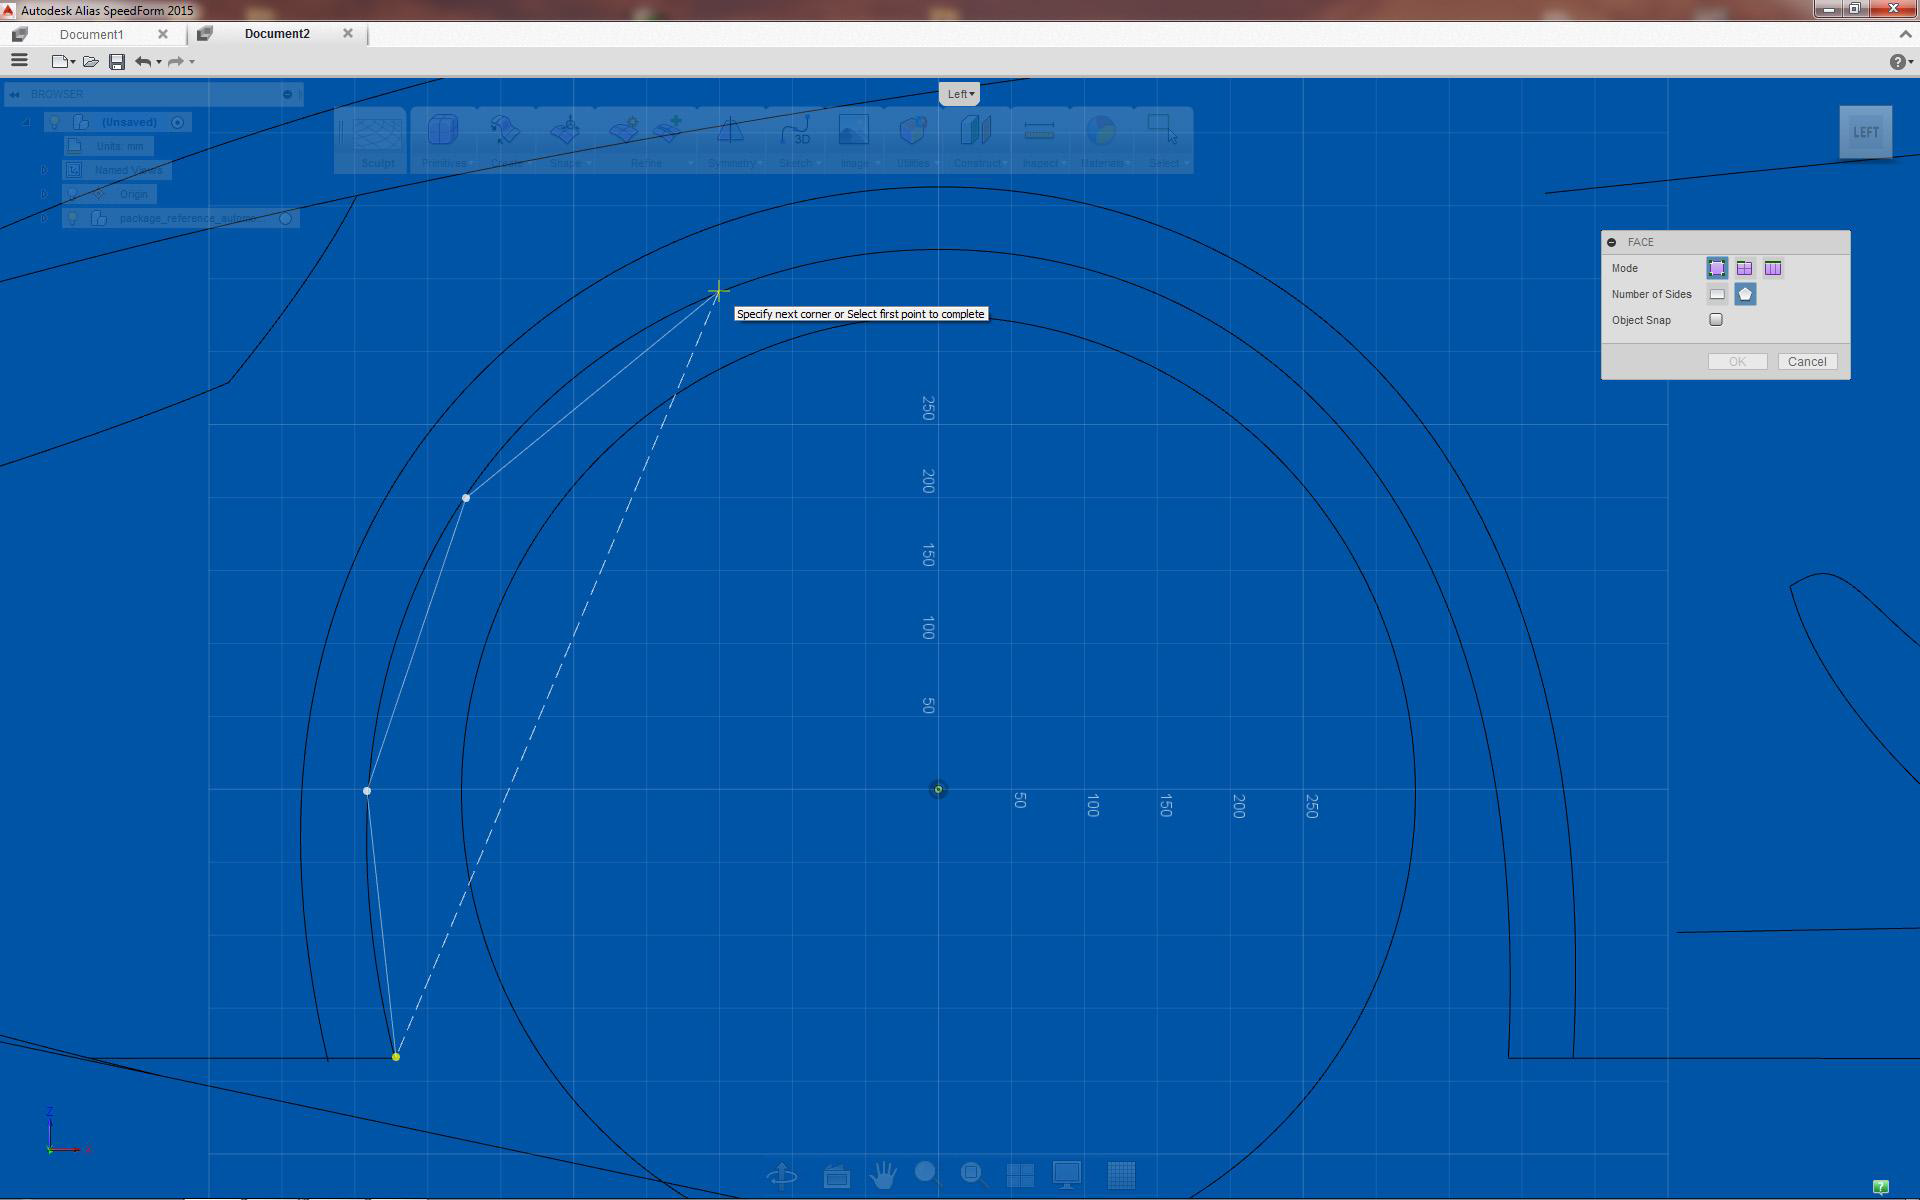
Start at the bottom by placing equally spaced points, tracing background curve
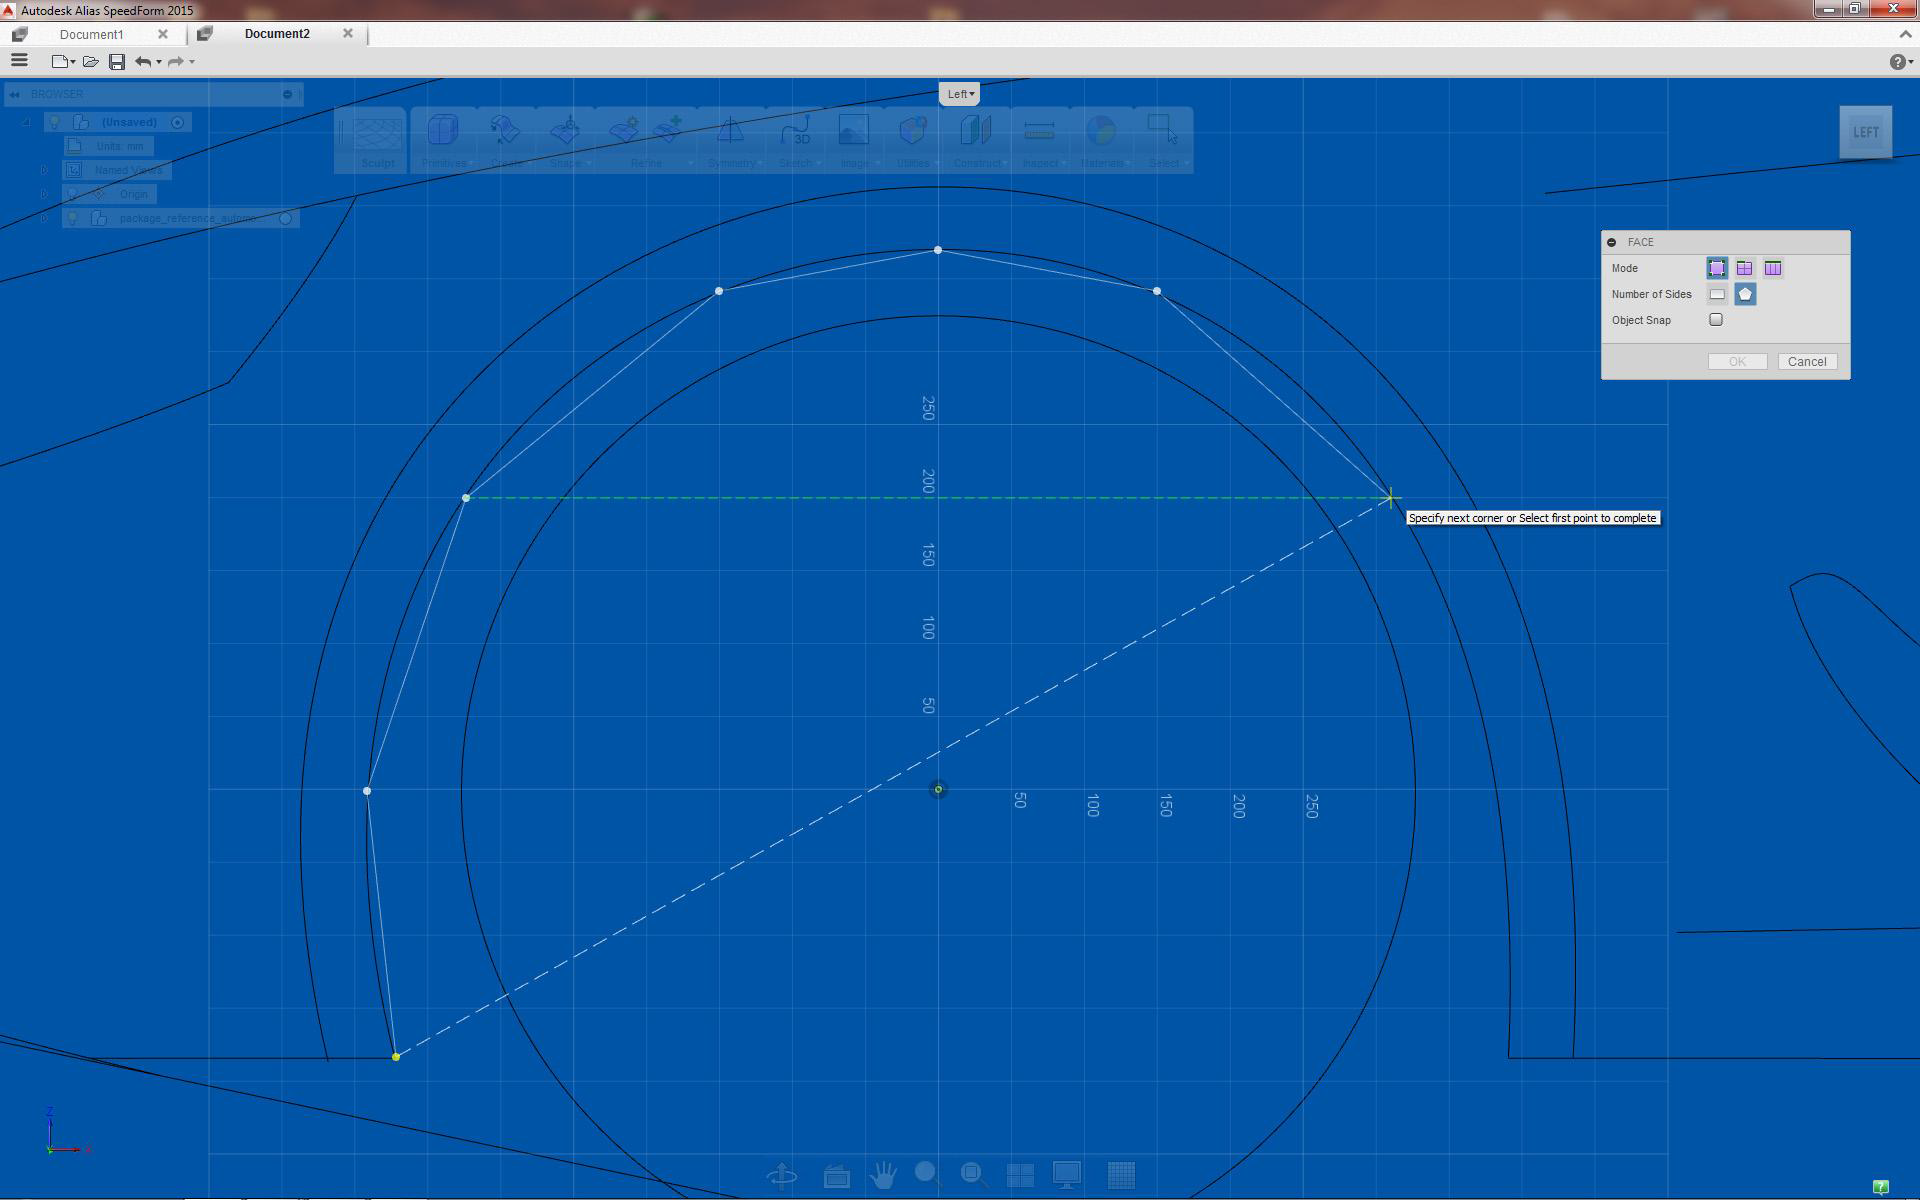
Move and rotate surface until it intersects most of the frame

Select starting point to create face
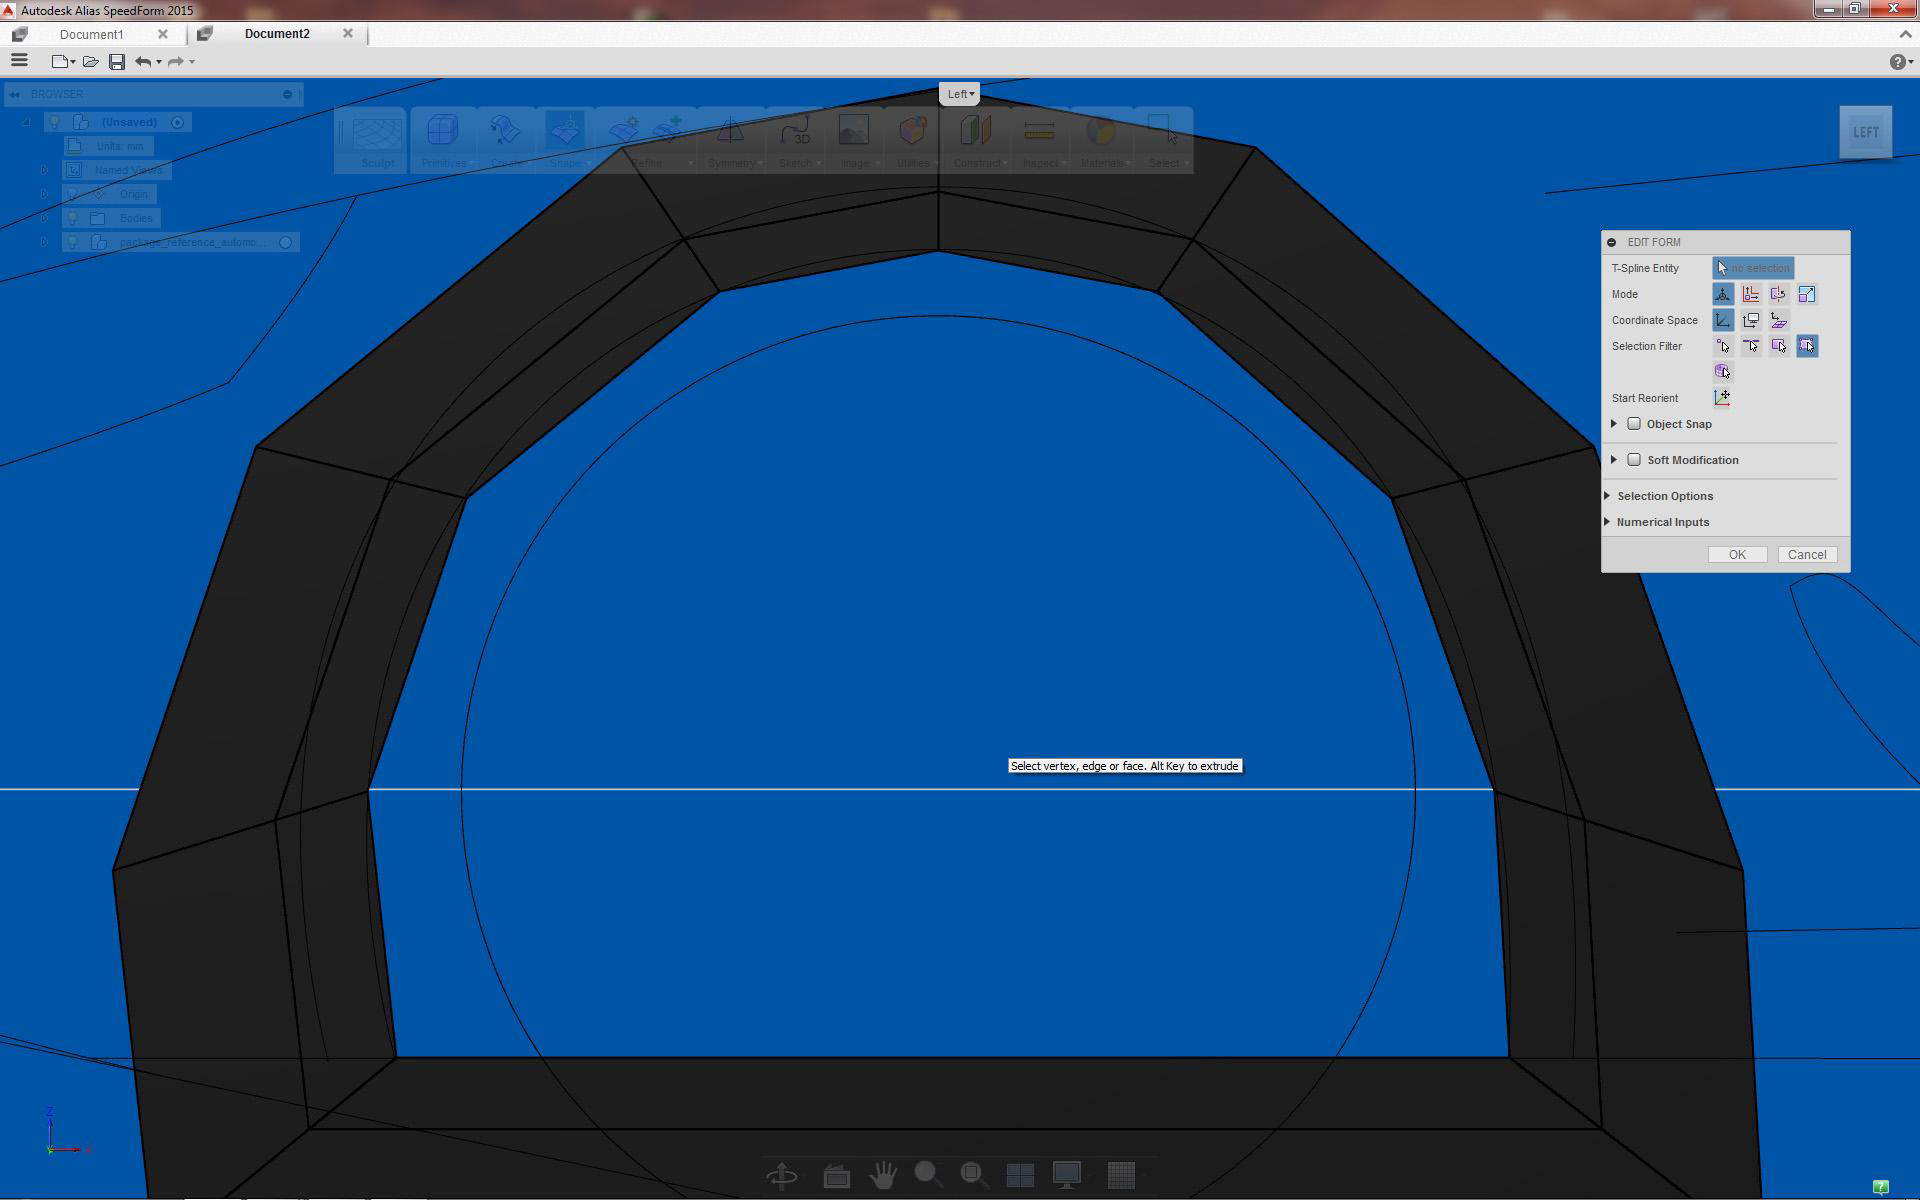
Creating wheel arch rim
Face extrusion
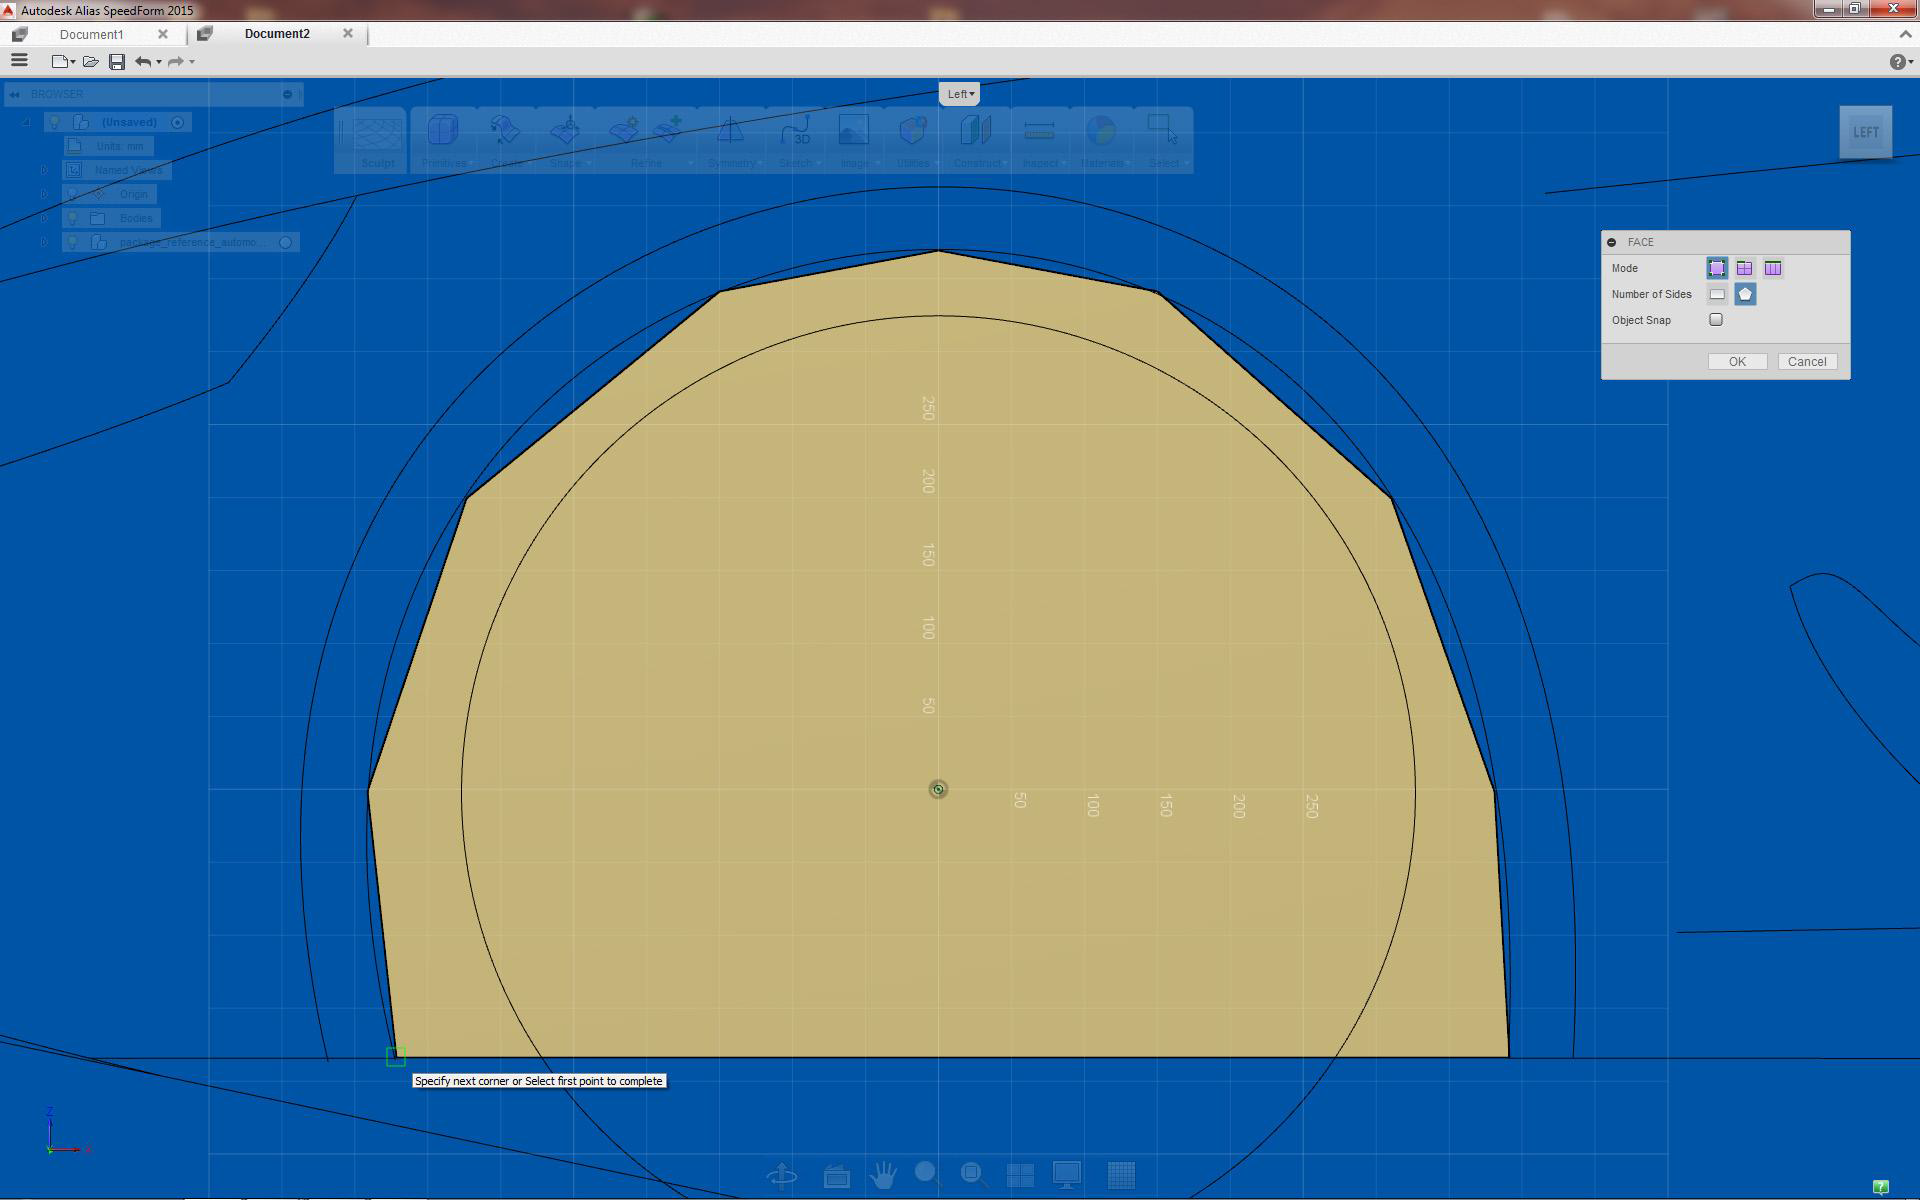
Completed face to be used for wheel arch creation
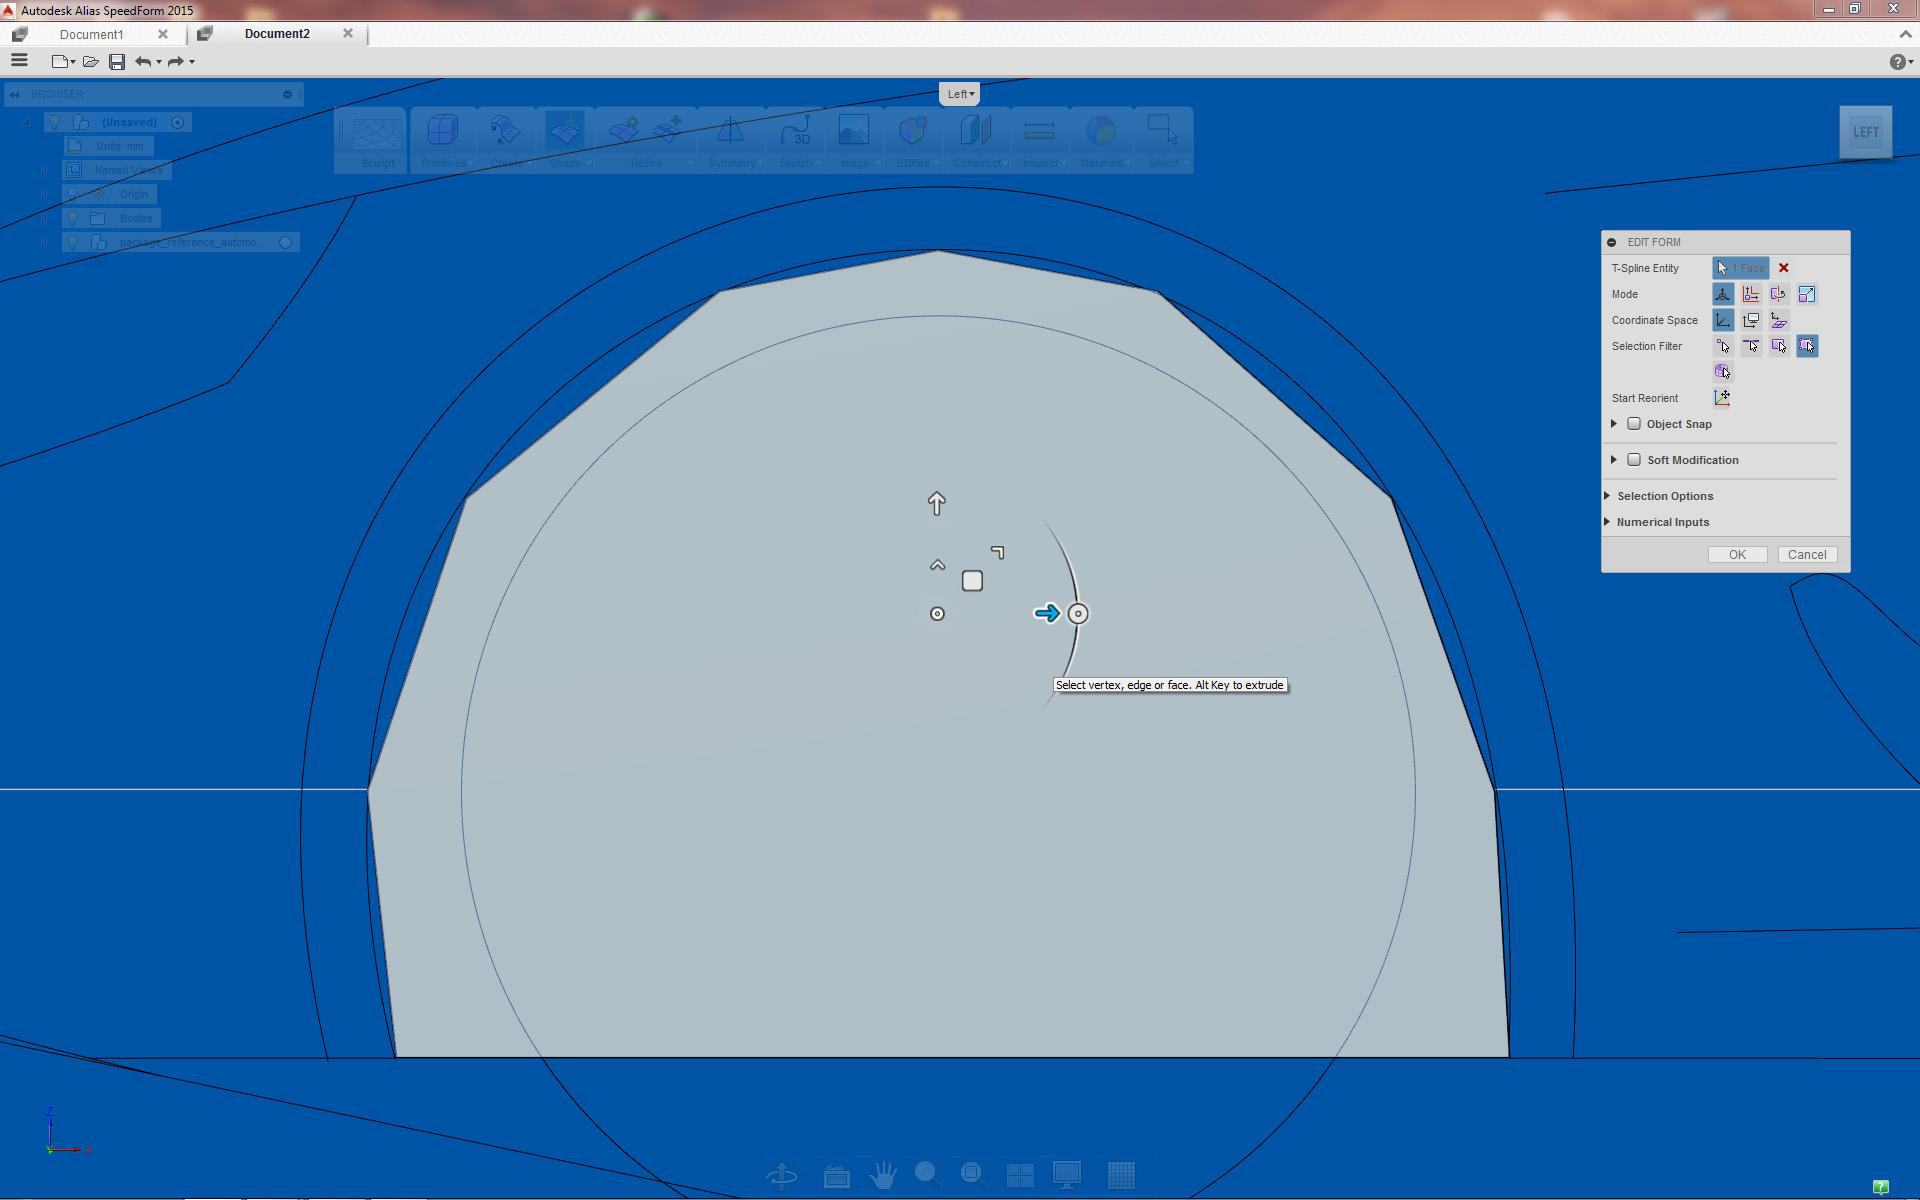
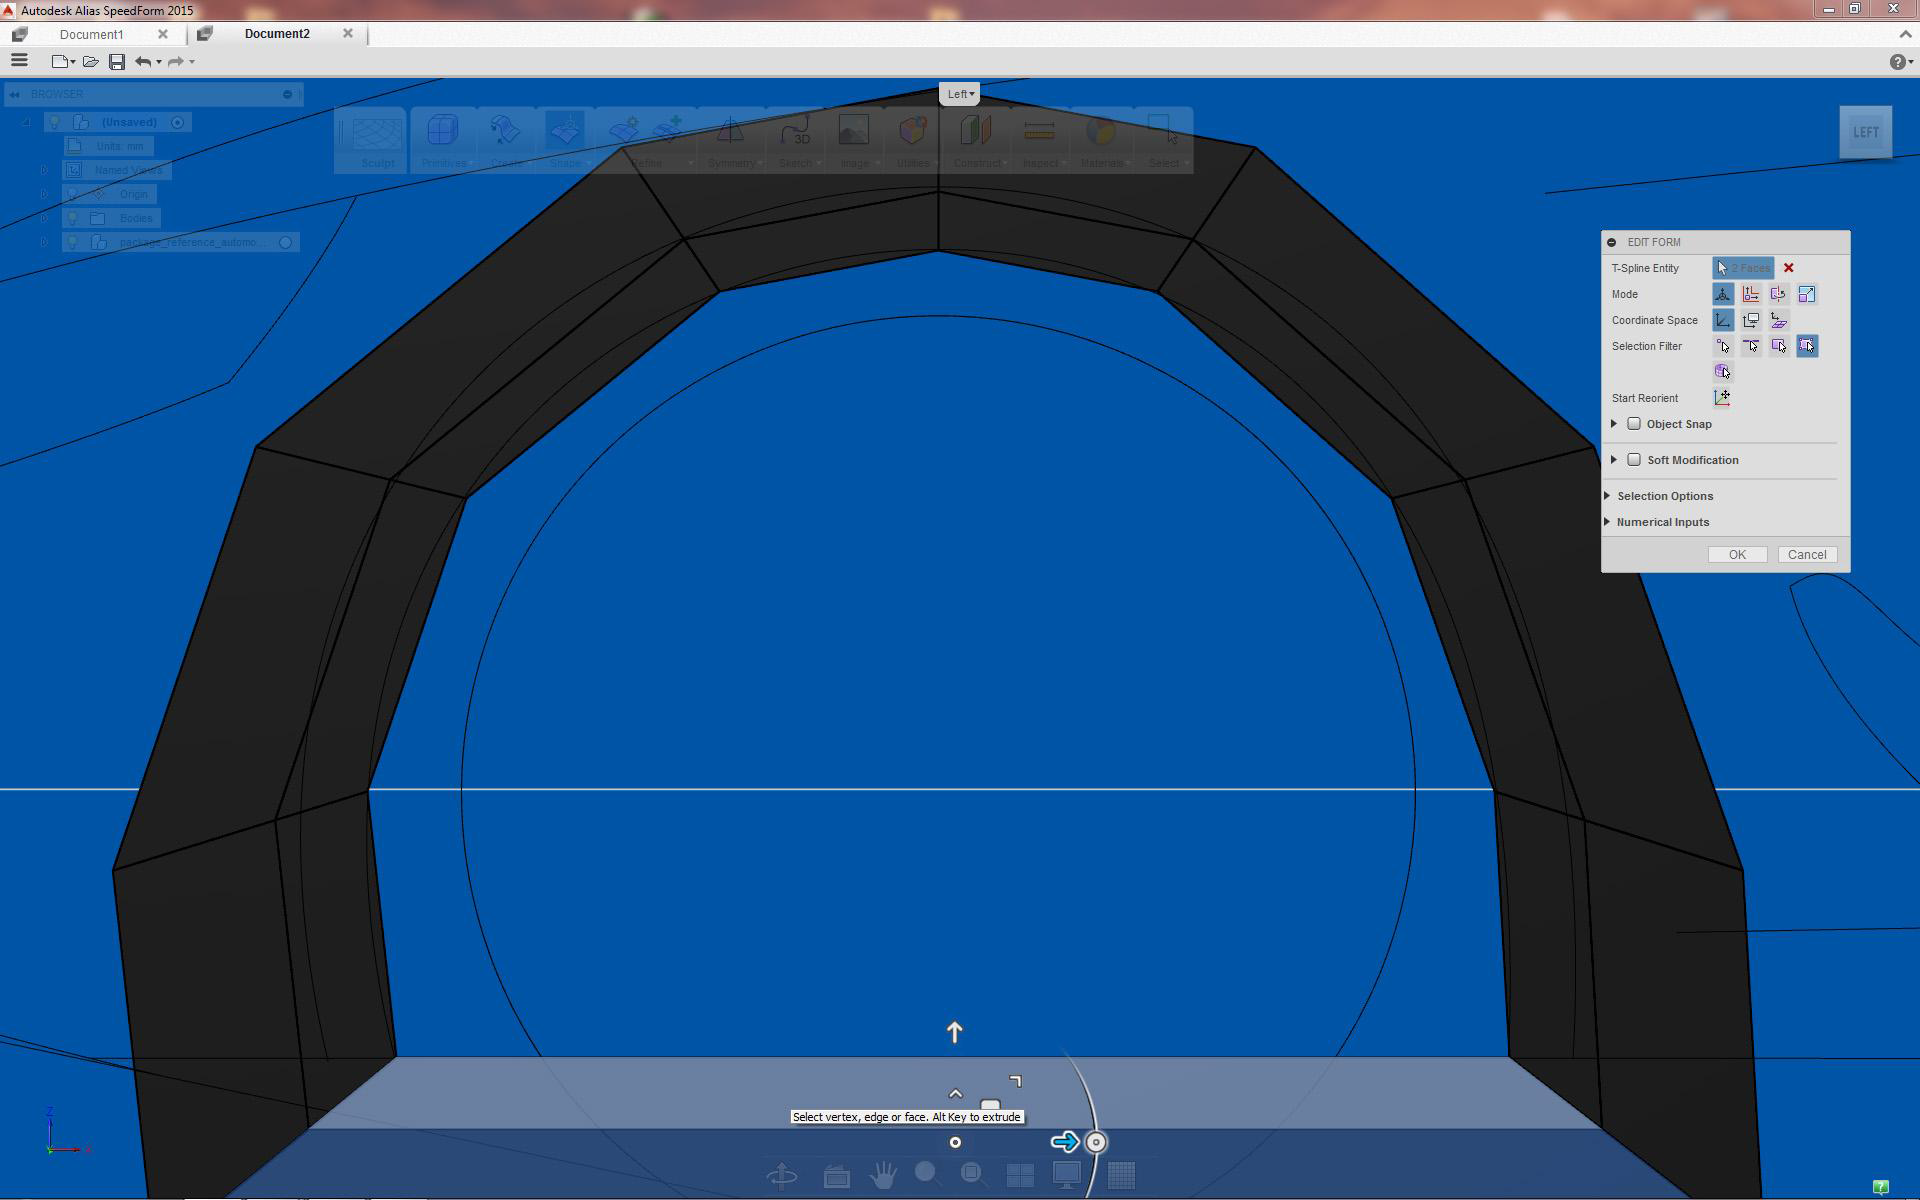
Select face, scale extrude with creased edges option (Ctrl+Alt)
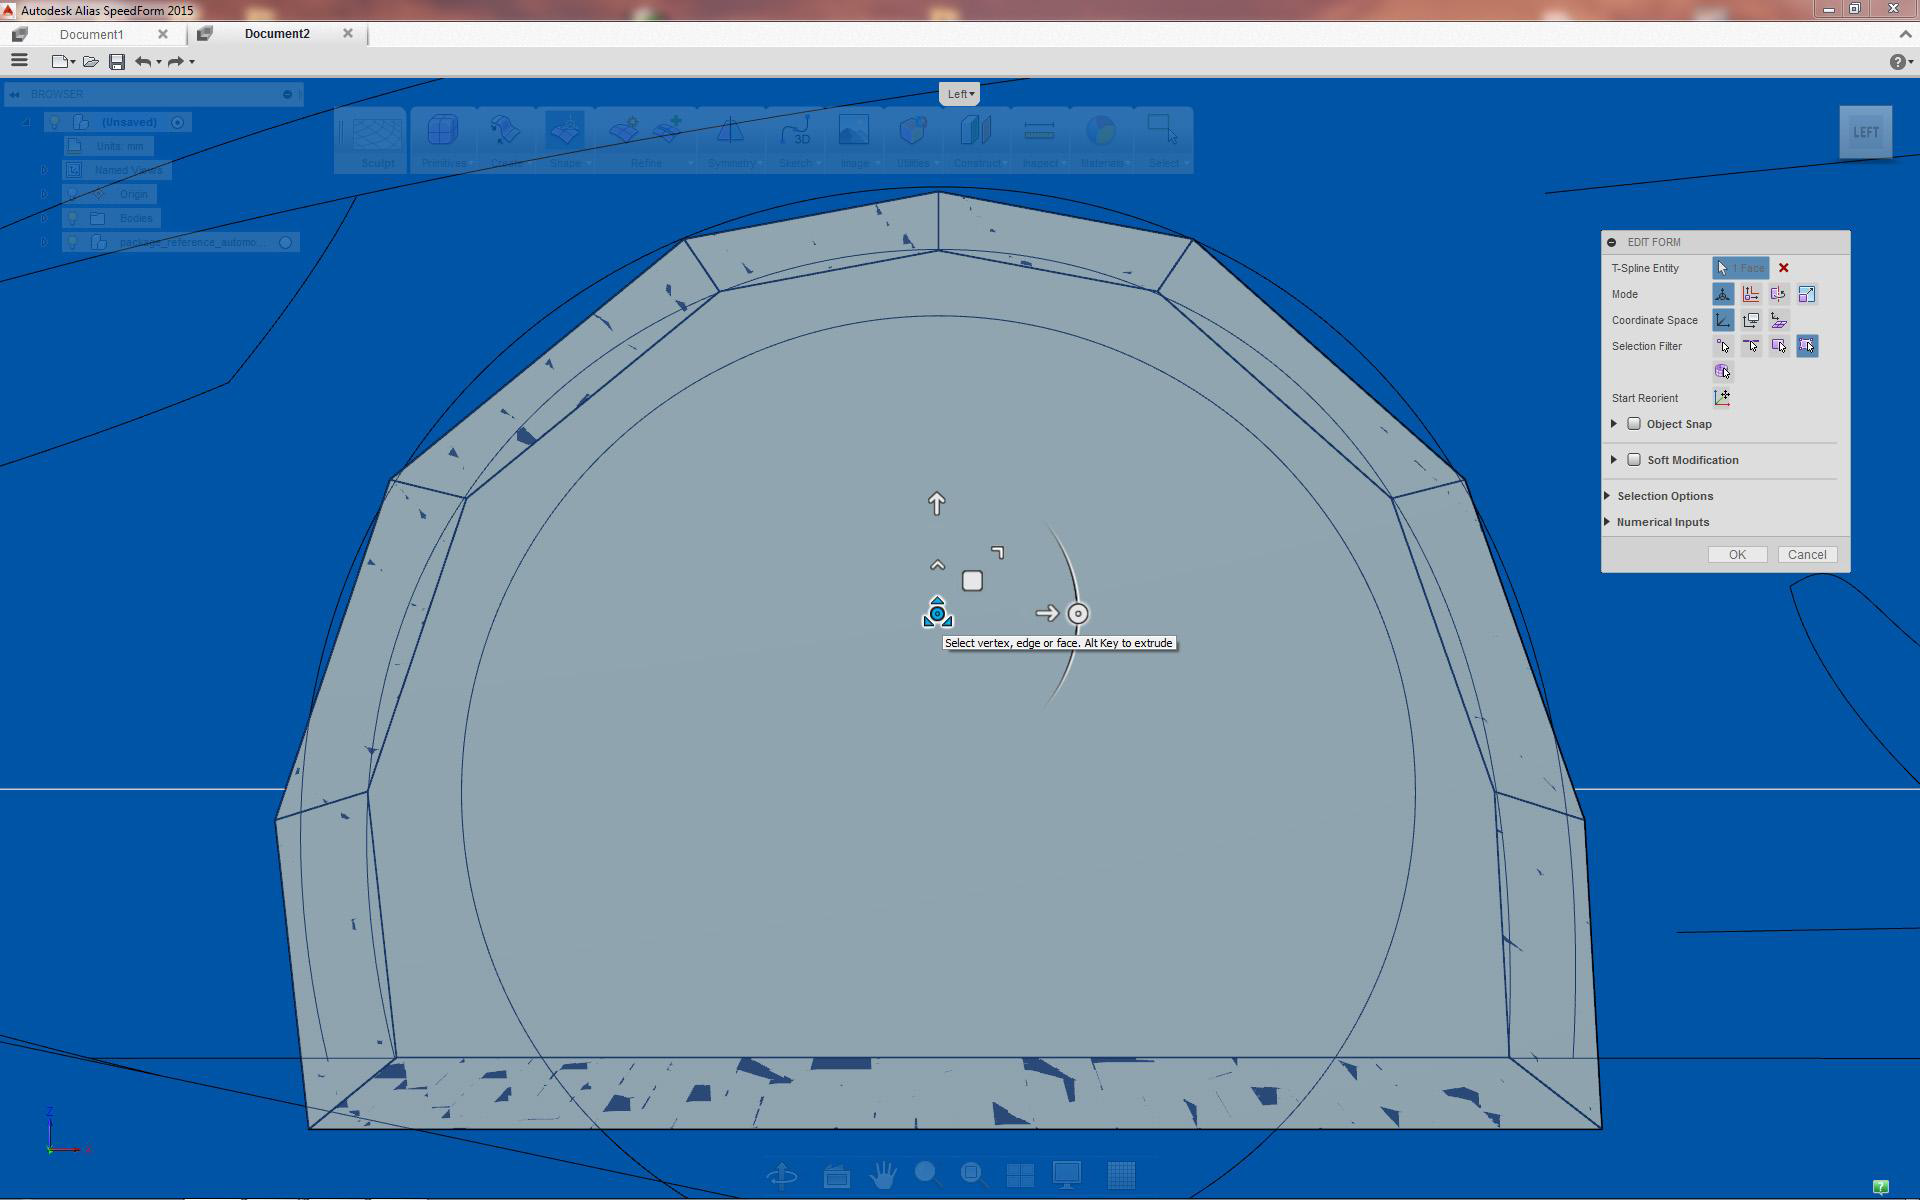
Extrude face result, stop extrusion here to allow for step
Continue extruding by pressing Ctrl+Alt (create more transition surfaces)
Creating wheel arch opening
Deleting faces
Immediately after extrusion delete inner face by pressing delete
Select and delete two lower faces as well

Result after deleting faces
UnCreasing wheel arch edges
Box/marquee pick the object
UnCreasing surfaces for smooth form
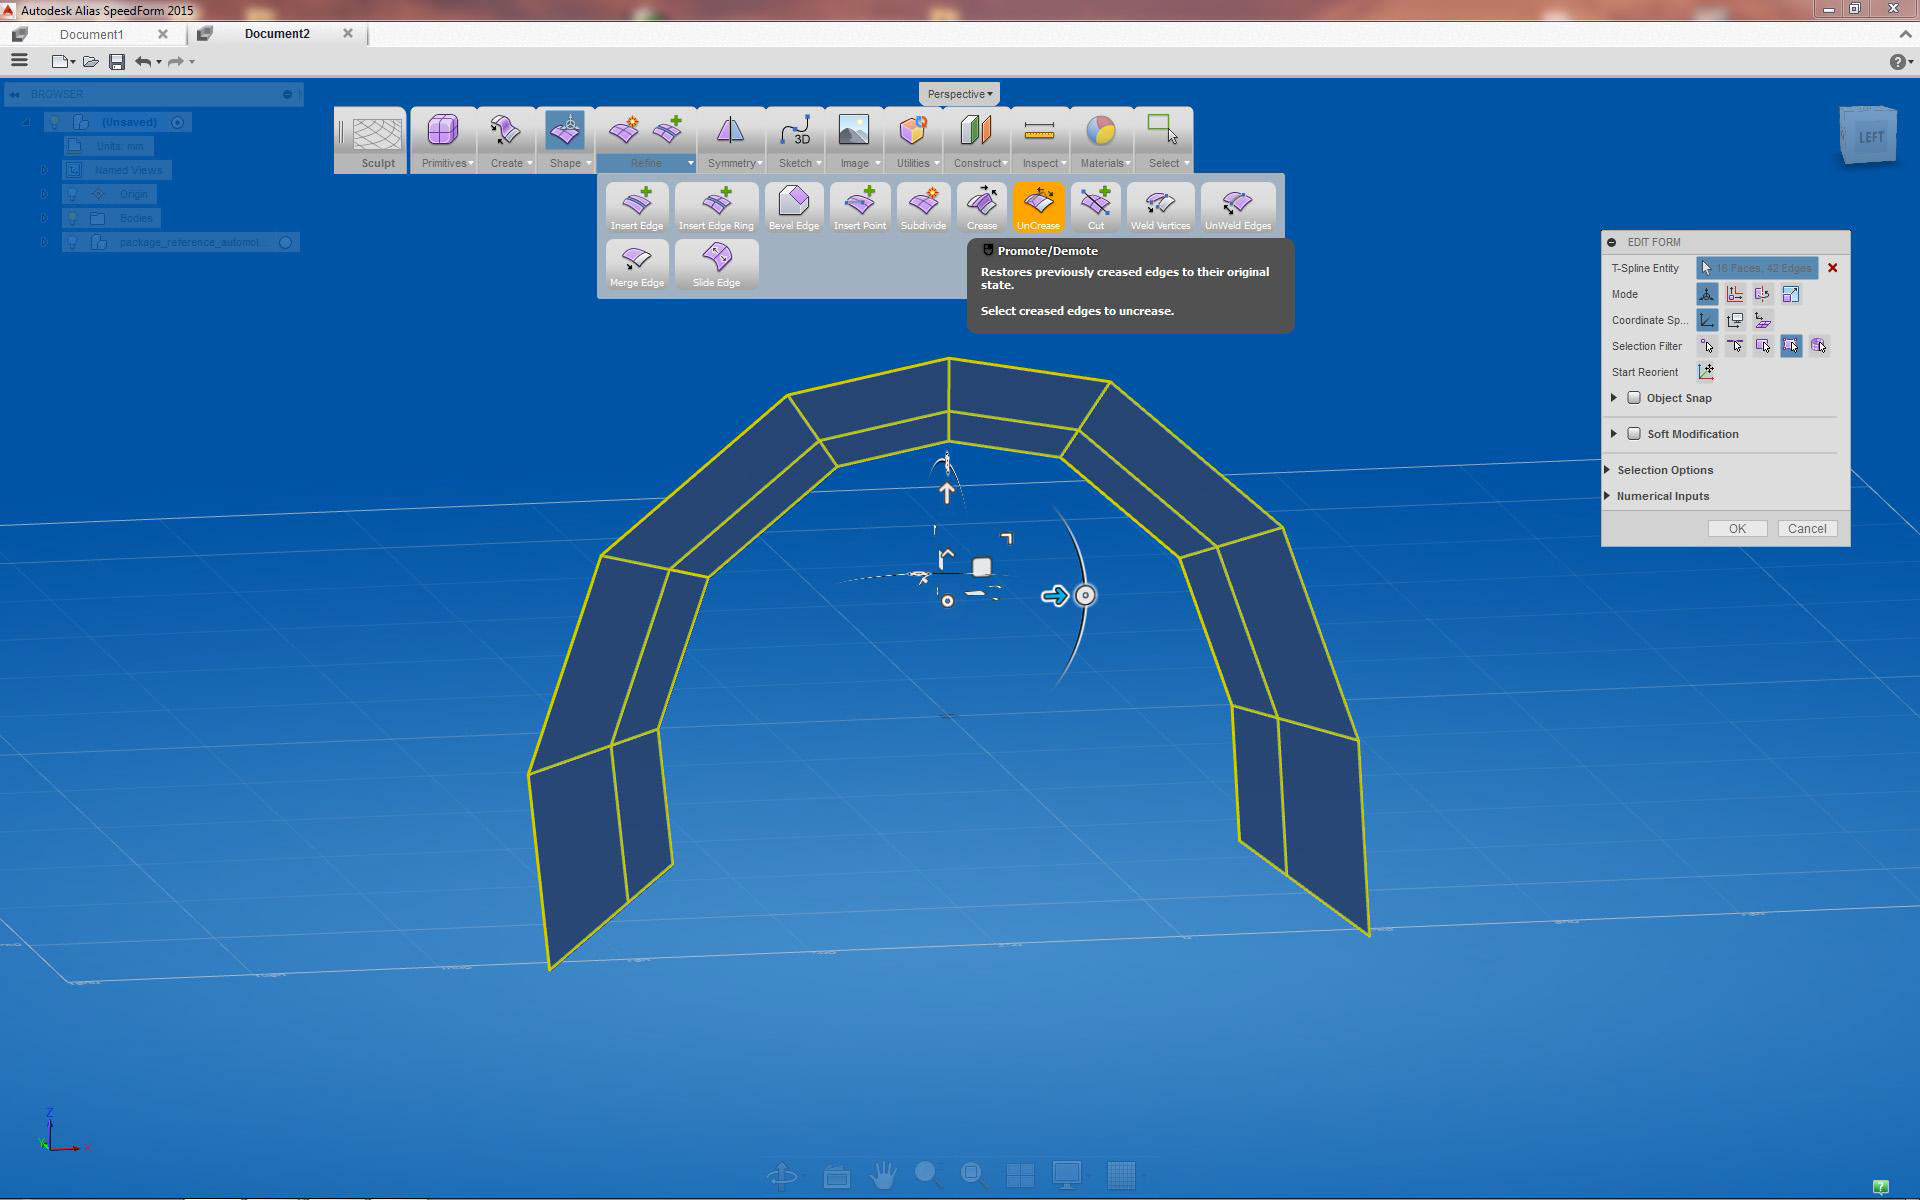
Select UnCrease tool
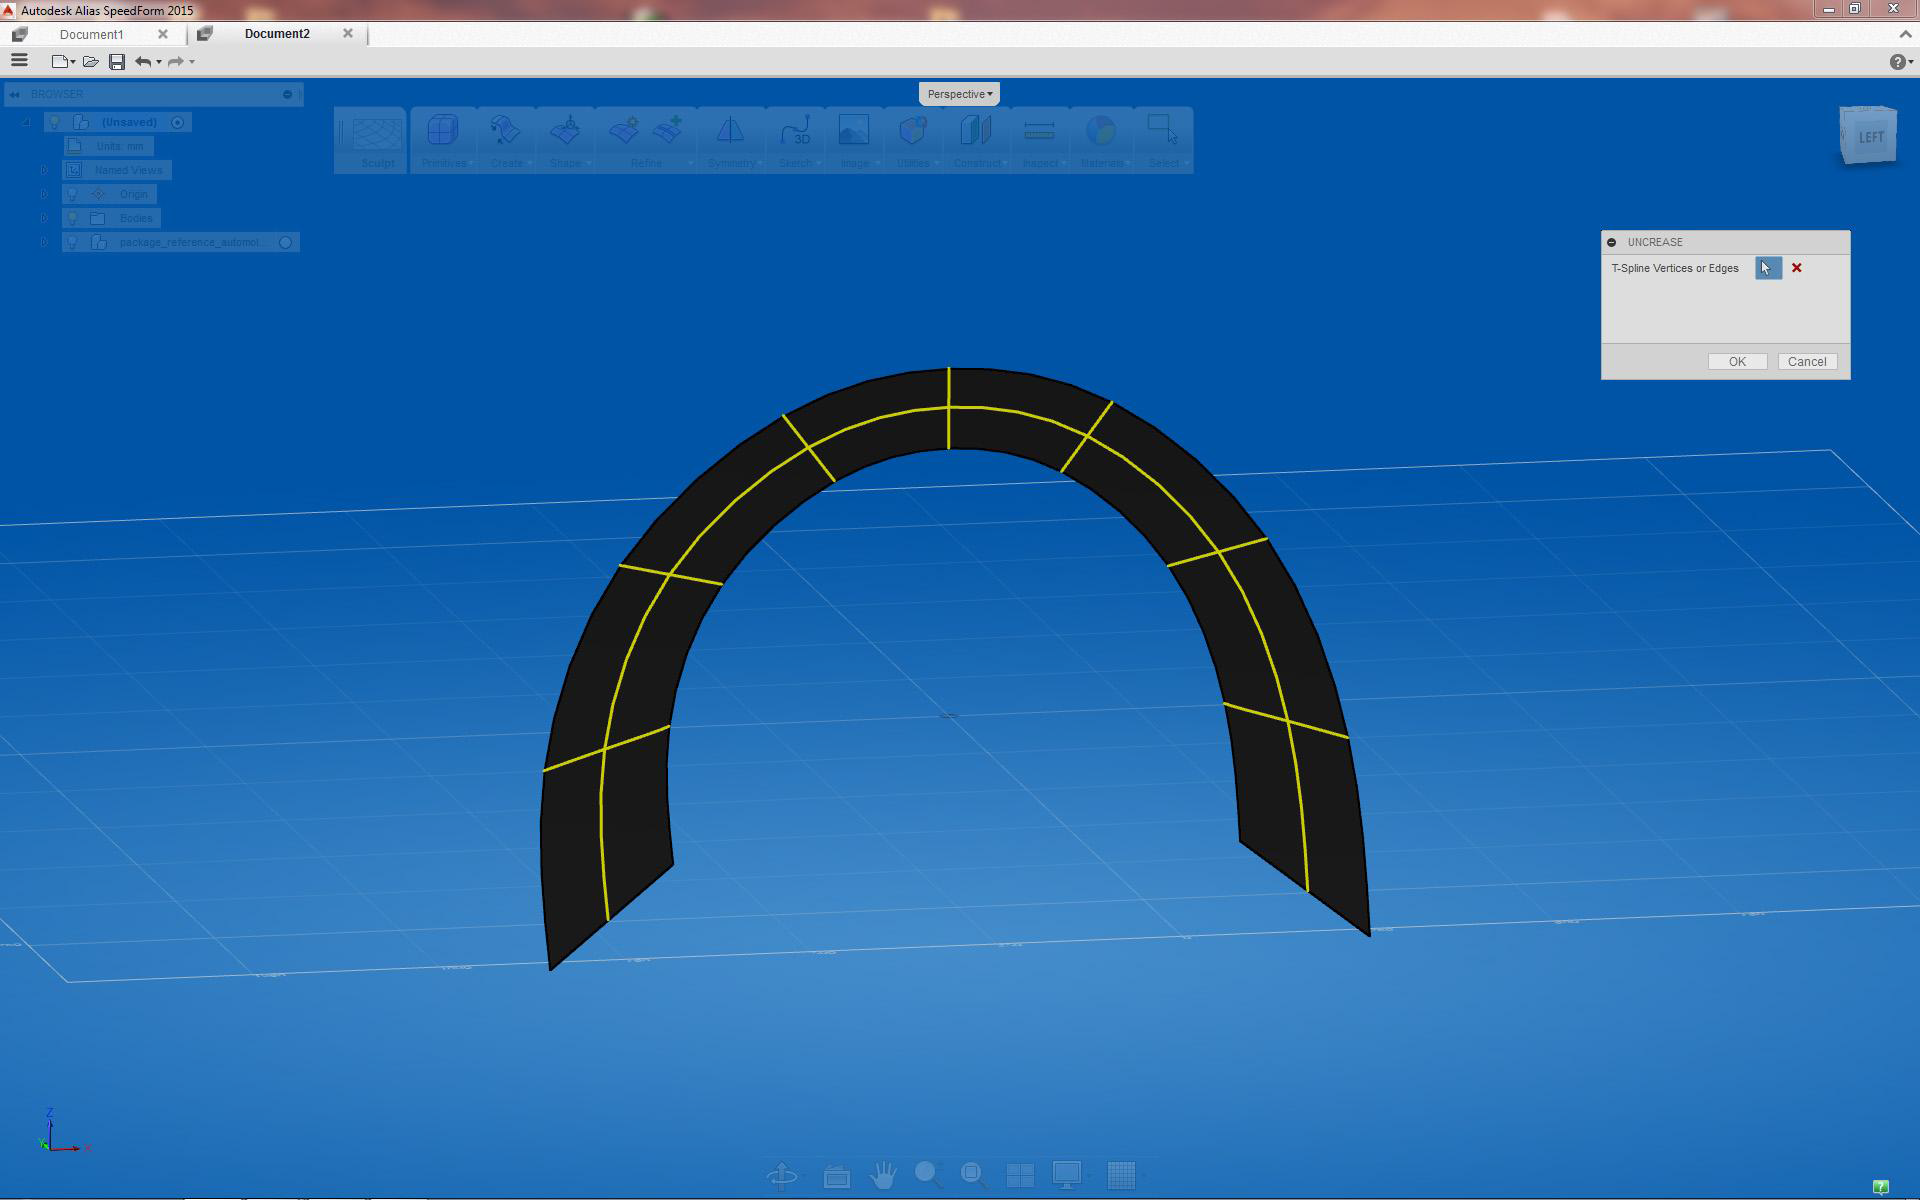
Wheel Arch takes smooth form after UnCreasing the edges
Creasing wheel arch lip surface
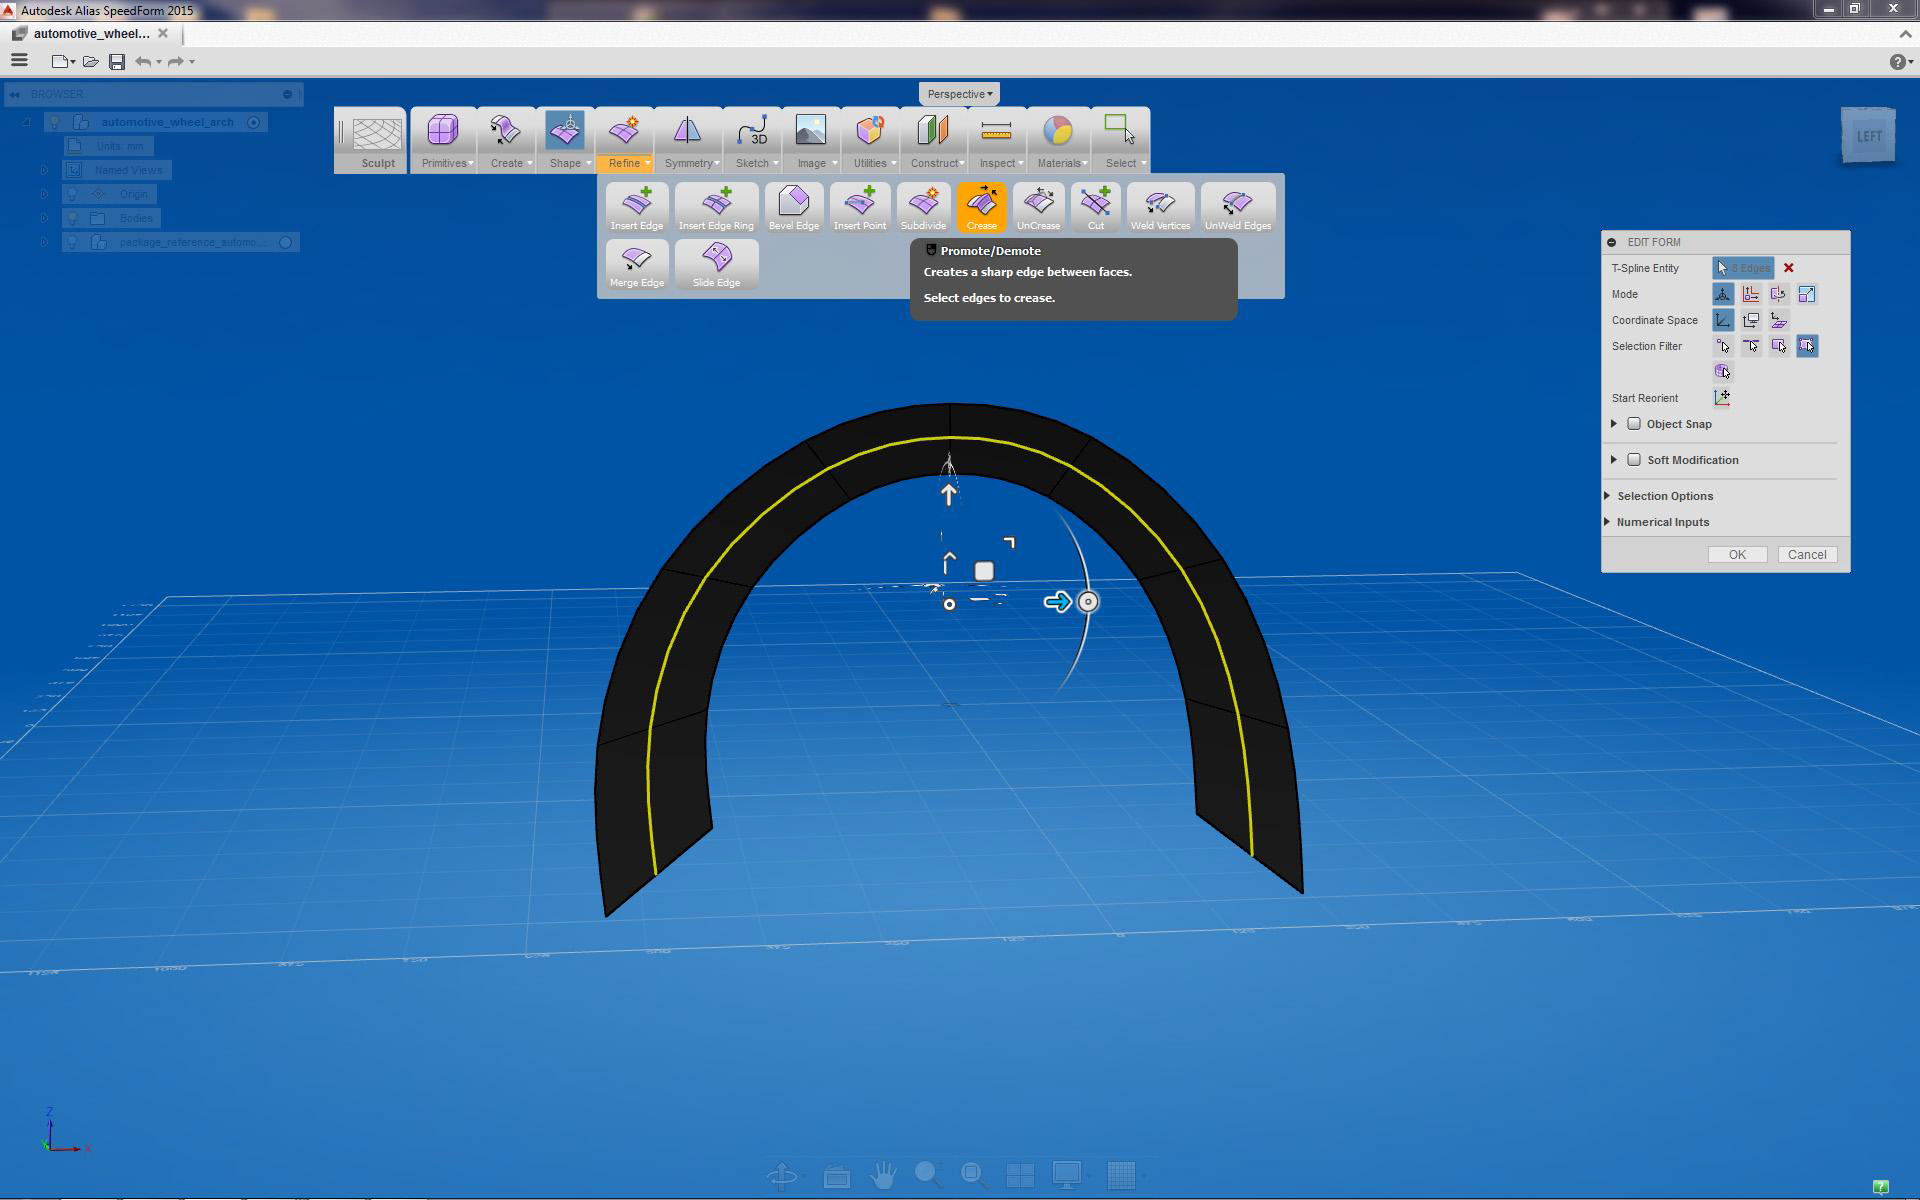
Select center edge and apply the Crease tool, this becomes wheel arch lip edge
Adding depth to wheel arch
Preparing transition surfaces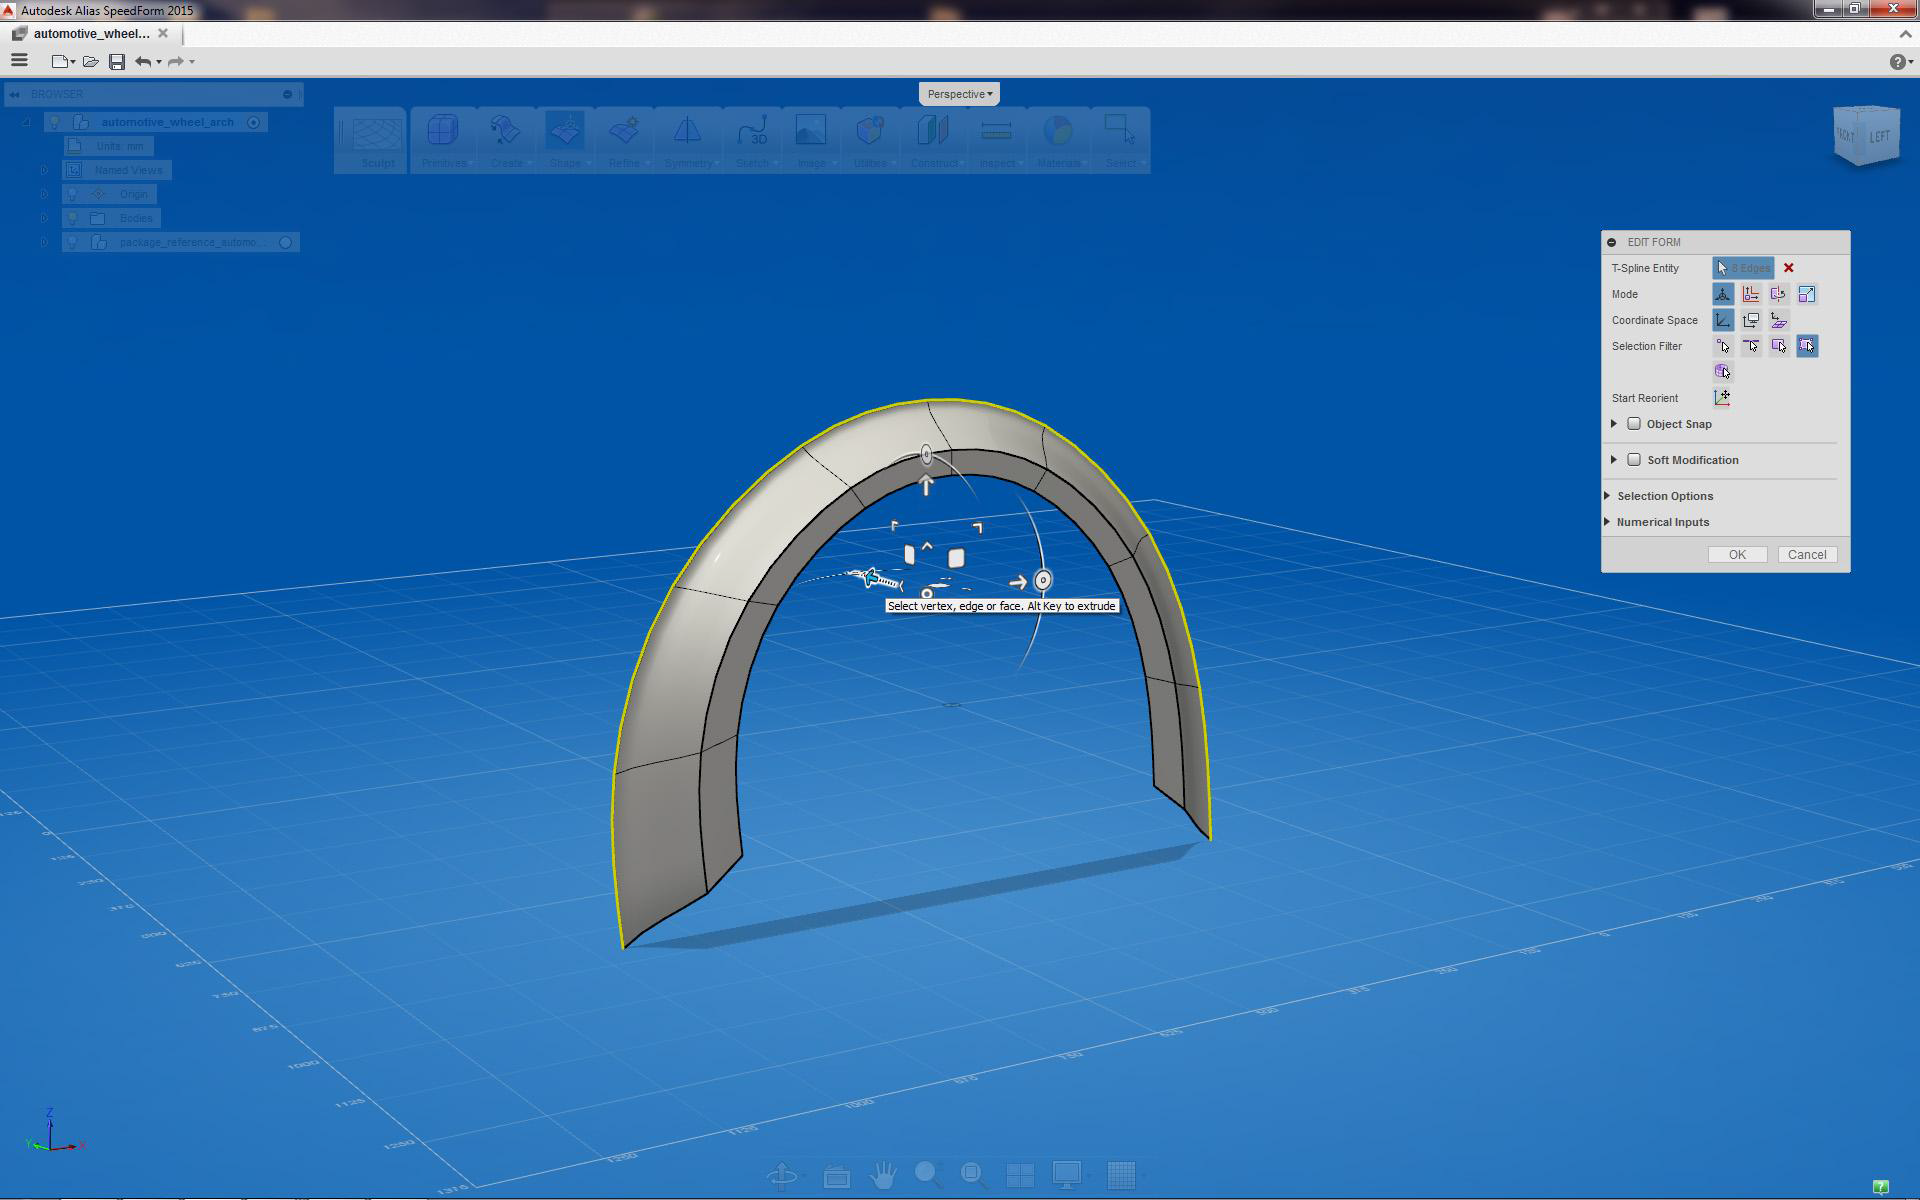
Pull outer edge in y axis
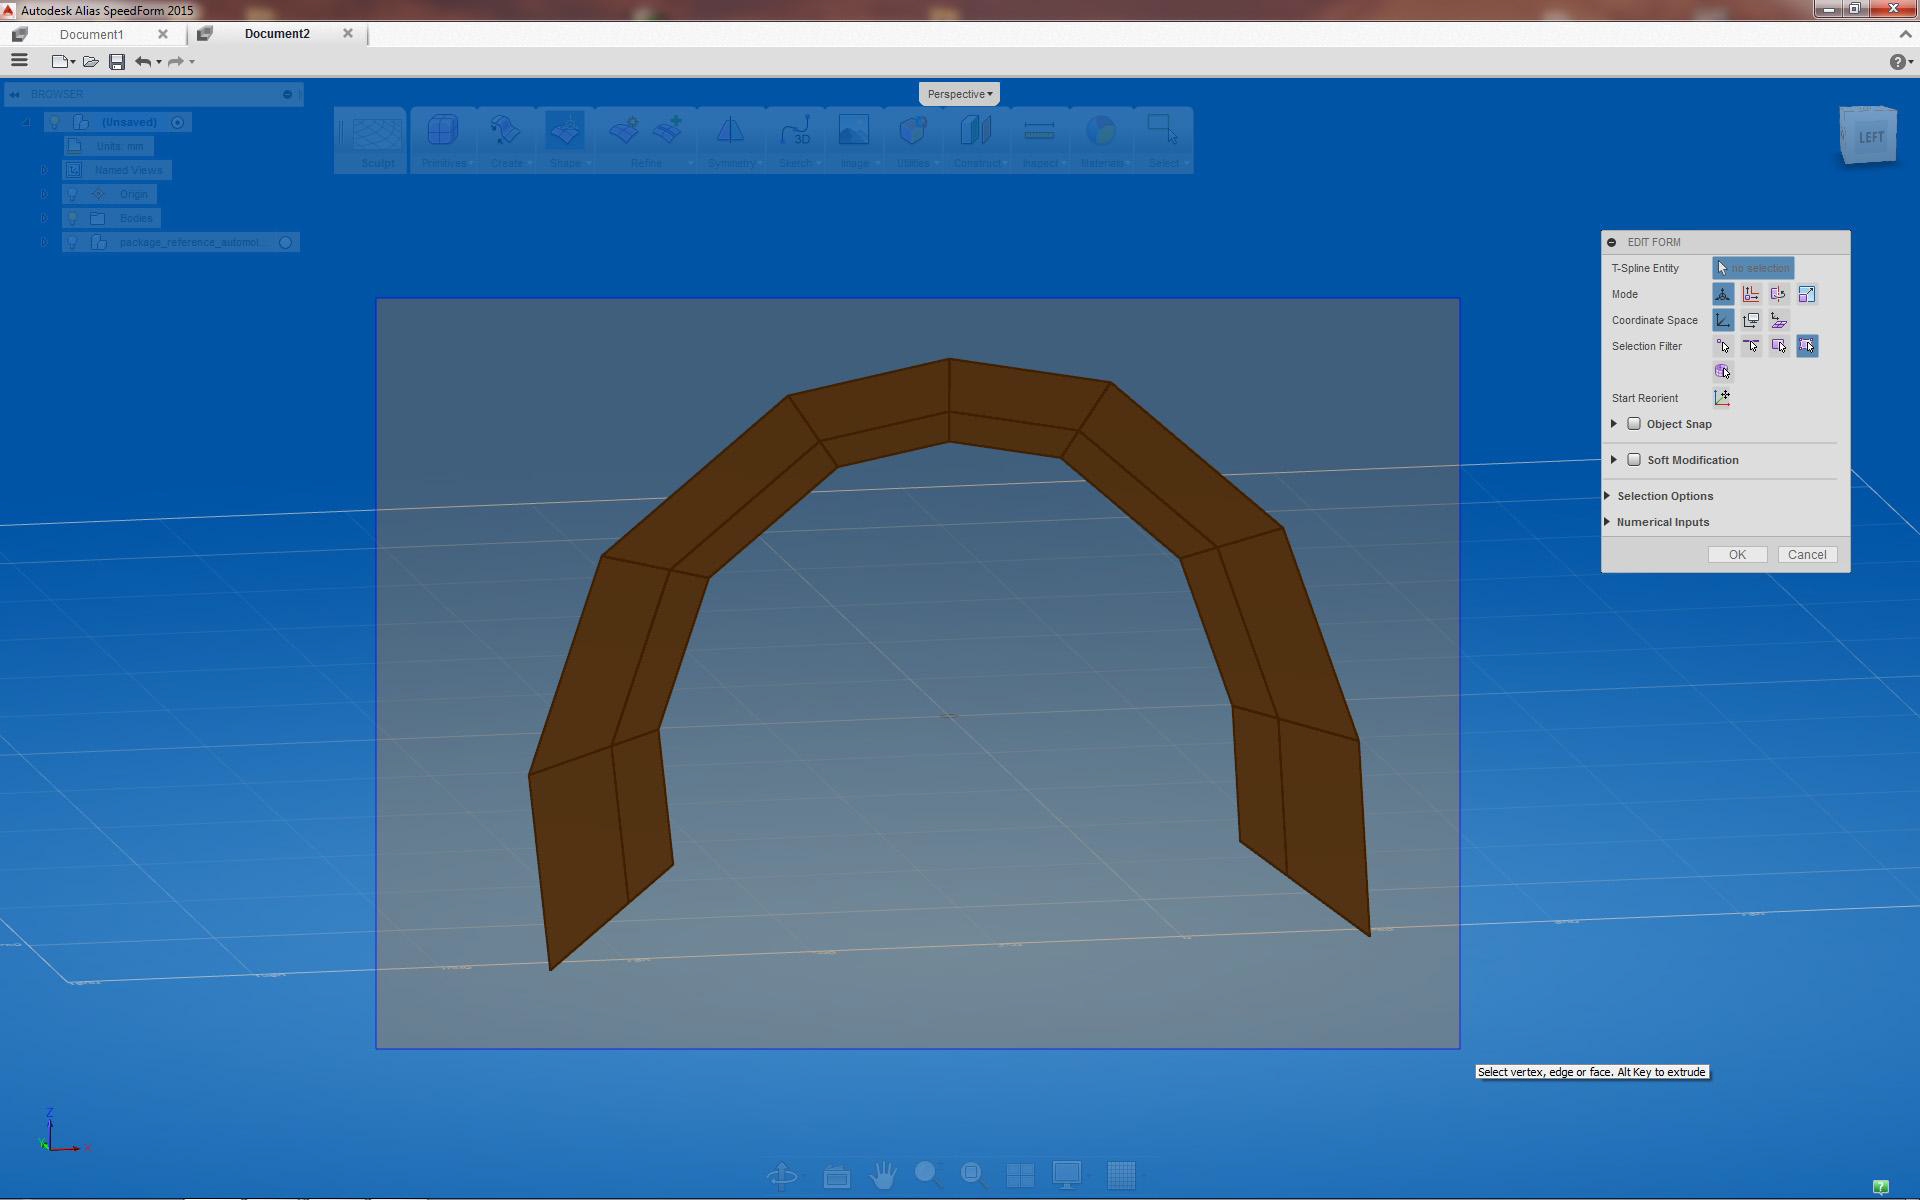
Completed wheel arch surface
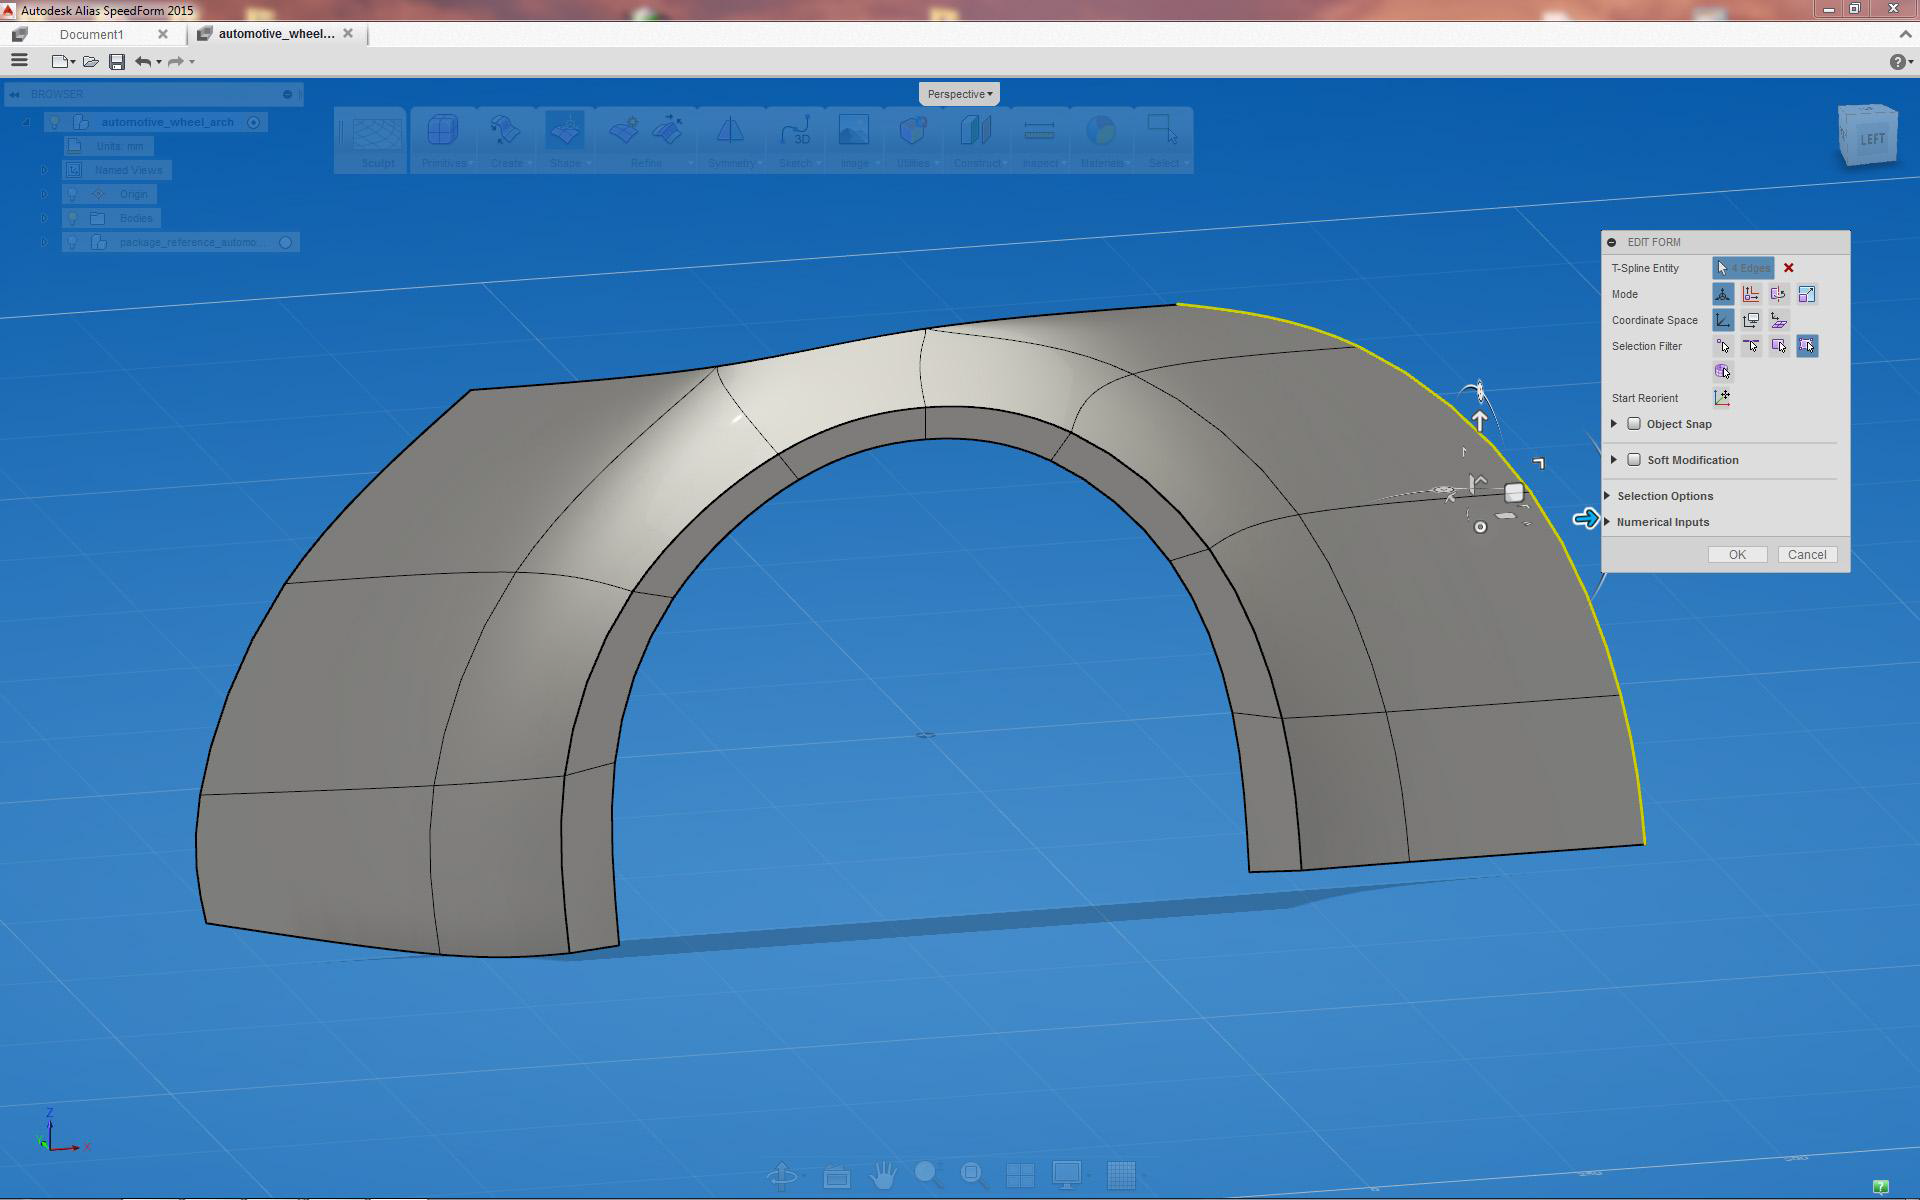
Completed wheel arch (also shows extruded transition surfaces)