Double-click actions can be created and modified to allow for a quick way to edit an object.
Display the Customize User Interface (CUI) Editor
- Click
 . Find
Create a Double-Click Action
- In the Customize tab, Customizations In <file name> pane, right-click the Double Click Actions node. Click New Double Click Action.

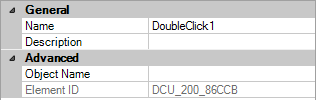
The new double-click action (named DoubleClick1) is placed at the bottom of the Double Click Actions node.
- Right-click DoubleClick1. Click Rename and enter a new double-click action name.
- In the Properties pane, do the following:
- In the Description box, enter a description for the double-click action.
- In the Object Name box, enter a DXF name or one of the special object names used for an insert object. The value will automatically be converted to uppercase after the box loses focus.
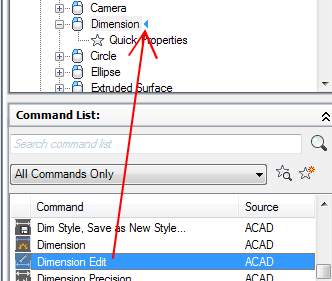
- In the Command List pane, drag the command you want to add to the double-click action in the Customizations In <file name> pane.
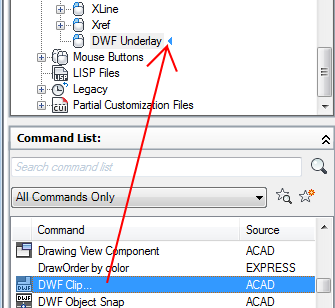 Note: Only a single command can be associated with a double-click action at a time.
 - Click Apply.
Modify a Double Click Action
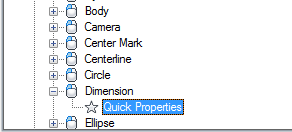
- In the Customize tab, Customizations In <file name> pane, click the plus sign (+) next to the Double Click Actions node to expand it.
- Click the plus sign (+) next to the double click action you want to modify to expand it.
- Select the double-click action.
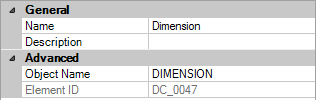
In the Properties pane, the properties for the selected double-click action are displayed.
- In the Object Name box, enter a DXF name or one of the special object names used for an insert object.
- If you want to replace the current command assigned to the double-click action, drag a command from the Command List pane to the double-click action in the Customizations In <file name> pane.
- Click Apply.