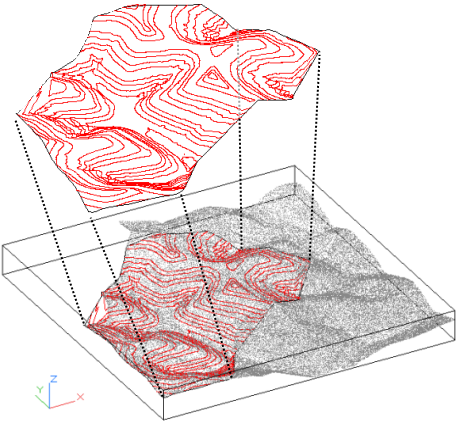
You can specify points to be extracted by specifying point cloud regions. The created surface references the source point cloud object. Any changes to the point cloud object will render the surface definition out of date, and the out-of-date icon is displayed next to the surface node in the Prospector tree.
To automatically rebuild the surface to apply point cloud changes, select Auto Update on the Point Cloud Tools panel.
- Open a drawing with a point cloud object.
- Select the point cloud object or click Modify tab
 Ground Data panel
  Point Cloud Find. Note: To create an accurate TIN surface, you may not need to keep the default object density. If the point cloud is too dense, drag the Point Density slider to decrease the density value.
 -
Click tab
 panel
panel  Find.
Find.
- On the Surface Options page of the Add Points to Surface wizard, do one of the following:
- To create a TIN surface, select Add Points to a New Surface.
- To add points to an existing surface, select Add Points to an Existing Surface. This option is unavailable if there are no surfaces in the current drawing.
- If you selected Add Points to a New Surface, specify the surface name, enter the required description, and apply a style to the surface.
- Click Next.
- On the Region Options page, specify a point cloud region option.
- If you selected Point Cloud Extents, click Next. All points within the point cloud boundary are used in surface creation.
- If you selected Window, Window Polygon, or Object, click Define Region in Drawing and specify the point cloud region in the drawing. Press Enter.
- Click Next to view a summary of the Add Points operation or, optionally, click Finish.
A surface is created and a the surface name is displayed under the Surfaces collection in the Prospector tree.
The following drawing shows a 3D view of a TIN surface created from a point cloud region specified using the Window Polygon option.
