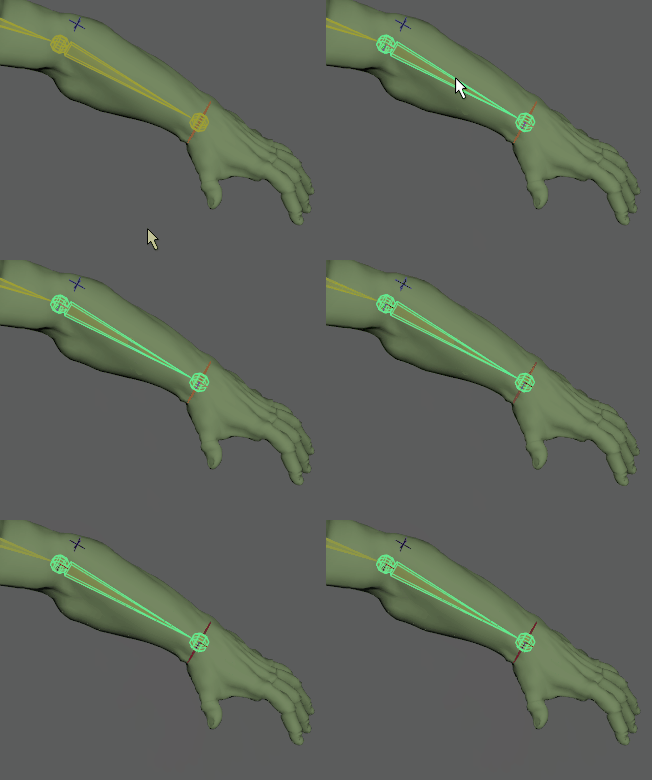
While animation curves and key information exist for an IK handle, there is no information available for an IK joint because its position is determined by the animation on the IK handle. To view and edit the animation information of an IK joint, perform a bake animation.
To set Bake Simulation Options
- Select the key(s) or keyset that you want to bake.
- Select .
- In the
Bake Simulation Options window, do one of the following:
- Click
Bake to set the
Bake Simulation options and bake the current key(s) or keyset.
The Bake Simulation Options window closes.
- Click Apply to set the
Bake Simulation
options and bake the current key(s) or keyset.
The Bake Simulation Options window remains open.
- Click Close to disregard any changes made to the Bake Simulation options and close the Bake Simulation Options window.
- Click
Bake to set the
Bake Simulation options and bake the current key(s) or keyset.
To create keys for an IK joint by baking
- Select the IK joint.
- Select
.
In the Bake Simulation Options window, set the Sample By value.
- Verify that the Disable Implicit Controls option is turned on to retain the animation imparted by the first joint in the IK chain.
- Click the
Bake button.
Maya steps through the animation. It evaluates the scene for each time interval specified in the Sample By field and places a key at each time. The new keys appear on the Time Slider.
 Note: If you are baking the animation of a Full Body IK system, you must ensure that the attributes of the skeleton are keyable. To make the skeleton keyable, select the root joint of your skeleton and open the Channel Box. Highlight all the attributes and right-click. Select Make Selected Keyable from the marking menu.
To bake a keyset
- Select the keyset that you want to bake.
- Select .
To create animation curves for a driven key using Bake Channel
- Select the driven object from scene view or the Outliner.
- In the
Dope Sheet window, select
Curves > Bake Channel >
 .
.
- Select Time Slider as the range to be processed or specify a range by clicking the Start/End option and entering values in the Start Time and End Time fields.
- Enter a value in the
Sample By field.
The Sample By value is based on the Time Unit setting. It represents the frequency with which Maya analyzes the object’s animation and generates a key. A value of 1 creates a key for and at each time unit. High values will decrease the frequency of generated keys, and low values increase the number of keys created.
- Click
Bake.
Note: Bake Channel operates only on animation that can be evaluated explicitly. You cannot use Bake Channel for Inverse Kinematics systems, Dynamics, and some Expressions.
To generate animation curves for these animation types, select .