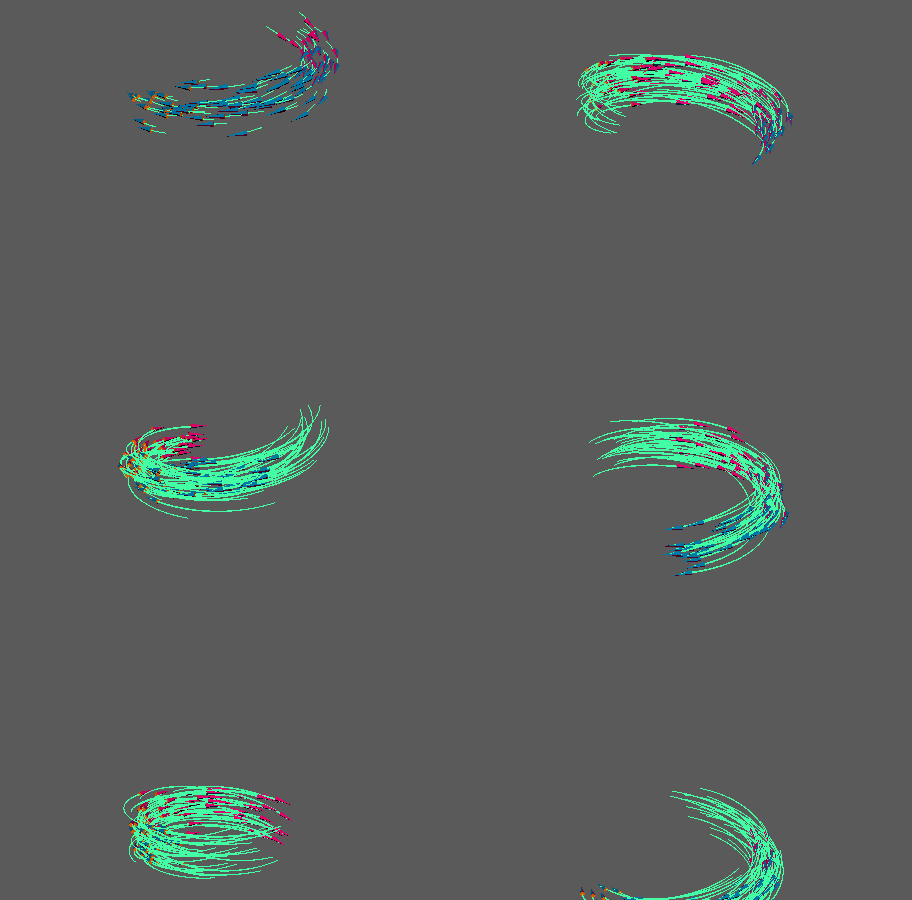
Creates a trail of quads behind or between points.
Note: Trails start with very thin quads. If you have trouble seeing them, try increasing the
Trail Scale or adding a Toon outline. In the latter case, you can further adjust the toon attributes to create more interesting effects. Additionally, invisible points are ignored by trails.
Note: Trails are compatible with the
Color node. When both are applied to a MASH network, you can turn on the trail mesh's vertex coloring to see the effect.
Trails Node
- Trails Mode
- Determines the type of trails to create. Options include:
- Trails: Trails follow the path of points over time (see example above).
- Join the Dots: Trails connect the points together in order. You can split the chain up by adjusting the
Count attribute.
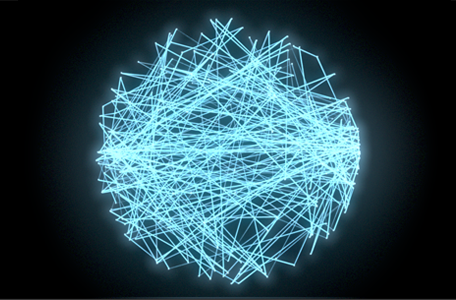
- Connect to Point: Trails from every point connect to a single common point denoted by the
Connection Point attribute.
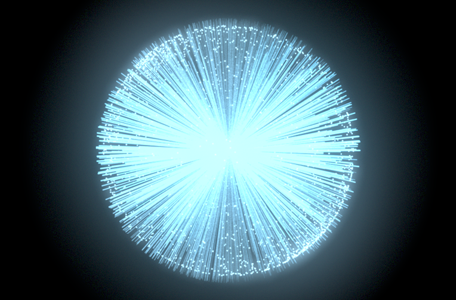
- Connect to Nearest: Trails are connected to the number of closest neighbouring points denoted by the
Count attribute.
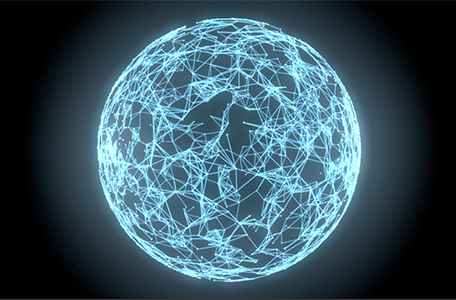
- Connect by Distance: Trails are connected between points within the specified
Search Radius.
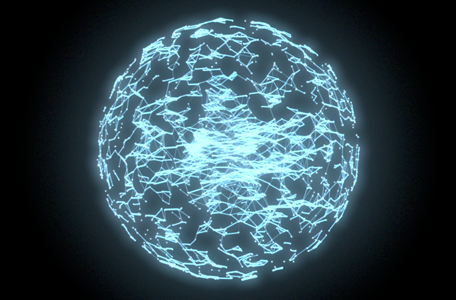
- Max Trails
- Determines the maximum number of points that are allowed to have trails.
- Trail Length
- Determines the length of trails via the number of subdivisions.
- Trail Scale
- Determines the width of each trail in its local Z axis.
- Decay Trails
- Decays the trail over time. Turn this on when you want a trail to vanish after its point has stopped moving.
- Count
- Specifies different things based on the current Trails Mode. in Join the Dots mode, this determines the number of chains that will exist after points are joined. In Connect to Nearest mode, this determines the number of nearest adjacent points to join.
- Search Radius
- Specifies the distance at which a trail connects two points when the Trails Mode is set to Connect by Distance.
- Connection Point
- Specifies the point in space to connect all trails to when Trails Mode is set to Connect to Point.
- Profile Curve
- Allows you to use an input curve to define the trail's profile shape. You can either middle-drag a curve node here or right-click and select Connect to assign the currently selected curve.
- Curve Samples
- Determines how accurately the trail shape adheres to the Profile Curve. A higher value results in a more accurate shape with more subdivisions, but at the cost of slower performance.
Cap Settings
These settings determine how MASH handles a trail's caps when the Profile Curve is a closed curve.
- Front Cap Mode, Rear Cap Mode
- Determines how the front (the side closest to the point) or back of the trail is capped. Options include:
- None: The cap is left open.
- Cap: The edges of the caps are joined at their center by faces.
- Bevel Cap: The edges of the caps are joined at their center by faces, which are then bevelled.
- Cap Divisions
- Determines how many divisions to use when bevelling in Bevel Cap mode. A higher value will smooth out the respective cap at the cost of performance.
- Cap Distance
- Determines the length of the bevel along each trail's local X axis when bevelling in Bevel Cap mode.
- Quadratic Spacing
- Determines whether the trail uses quadratic spacing along its caps' local x axes. Enable this for more rounded caps.
Curves
- Up Vector
- Allows you to customize the facing direction of the trail quads.
- Output Trail Points
- Creates a MASH point at each trail point. Once enabled, view the Trail node in the Node Editor. You can then connect its Position Out PP attribute to any Waiter node's In Position PP to have that network's objects act as trails.
 Note: Only available when Trails Mode is set to Trails.
 - Time
- Displays the current frame.