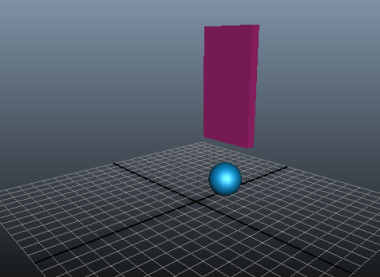
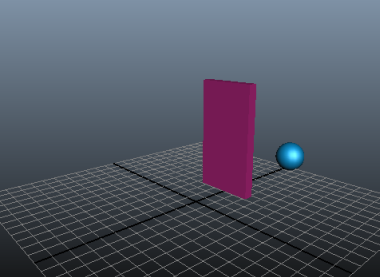
This example illustrates how to use Set Driven Key to link the attributes of a door object to the attributes of a ball, so that the movement of the ball drives the movement of the door.
You can easily set up a similar scene to try the example yourself:
- Create a polygonal cube or plane, and name it Door.
(Scale and position it roughly so that it lies along the X-axis.)
- Create a small polygonal sphere and name it Ball.
(Scale and position it just in front of the door, roughly at 0, 1, 10.
To link the door’s movement to the ball’s movement
- Select the door, then select
Key > Set Driven Key > Set.
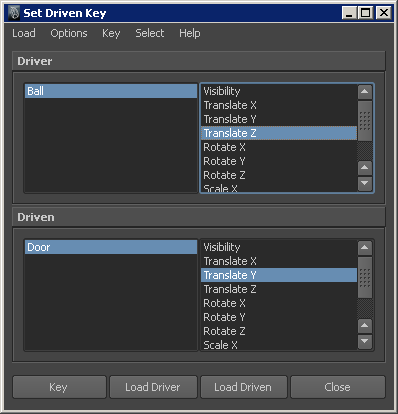
The Set Driven Key window appears with the door in the Driven list.
- Select the ball in the scene view, then click
Load Driver.
The ball appears in the Driver list.
- Select
Translate Y in the
Driven list (the attribute to be driven by the ball’s movement), and select
Translate Z in the
Driver list (the attribute that will drive the door), then click
Key.

This sets a driven key relationship that links the current Translate Z value of the ball to the current Translate Y value of the door. Whenever the ball’s Translate Z is at this position, the door’s Translate Y will be at its current position.
- Use the
Move Tool (hotkey
W) to position the ball directly on the door, then move the door to a position above the ball.

- In the
Set Driven Key window, click
Key.
This sets another driven key that links the current Translate Z value of the ball to the Translate Y value of the door.
- Move the ball past door and then lower the door to its previous position.

- In the
Set Driven Key window, click
Key.
You’ve set three driven keys that link the attribute values at different positions. If you drag the ball toward the door from either side, the door rises smoothly. You can also flip through your driven keys by selecting Key > Go To Next or Key > Go To Previous in the Set Driven Key window.
Notice that playing back the animation from the Time Slider doesn’t move the ball or the door. This is because driven keys link one attribute to another, they do not link attributes to times in the Time Slider. However, if you go on to set keyframes and animate the position of the ball, the door will still move automatically, based on the driven key relationship.
- (Optional) To make the door rise faster, slower, and higher as the ball approaches it, you can use the
Graph Editor to edit the shape of the curve that represents the driven key relationship. See
View and edit driven key relationships in the Graph Editor.
In the Graph Editor, the Y-axis represents the driven attribute values, and the X-axis represents the driver attribute values, so the curve indicates how the door’s Translate Y value rises as the ball’s Translate Z value approaches 0.