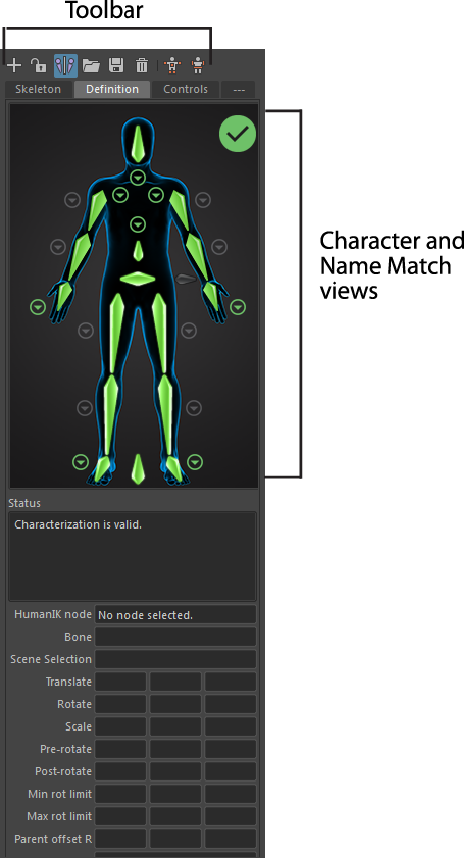
To open the Definition tab
- Open the HumanIK window () and select the Defintion tab at the top.
The Definition tab provides a visual interface for mapping the structure of your existing skeleton. This process results in a HumanIK skeleton definition that is required to create a Control rig .

| To... | Do this |
|---|---|
| Create a new skeleton definition | Click
 . .
|
| Map a bone | Select one of the following methods:
For more information on which bones map to which nodes, see HumanIK character structure. |
| Change a mapped bone |
Right-click the cell and select Change Assigned Bone. In the pop-up that appears, start to type the name of the bone you want to use instead, then press Enter or click Ok. Maya automatically lists suggested bone names from the current skeleton as you type. |
| Clear a mapped bone |
Right-click the cell in the Character view and select Clear Assigned Bone from the pop-up menu. |
| Clear all mapped bones in the current view (full body, hands, feet, or spine view) |
Right-click anywhere in the view and select Clear All in View. |
| Clear all mapped bones for the current character |
Right-click anywhere in the view and select Clear All from the pop-up menu. |
| To map mirror pairs of bones | See Activate and configure mirror matching. |