Setting up hands for animation is one of the most demanding aspects of character setup. With smooth skinning, you can achieve more subtle effects by using influence objects whose actions are driven by nearby joints.
When you move your thumb towards your index finger, a muscle along the side of the upper part of your hand (m. interossesus dorsalis) tends to bulge out, indicating the tension in your hand.
Creating a hand skeleton and smooth skin
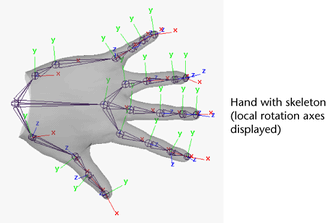
Suppose you create a model for a hand. The hand consists of NURBS surfaces, with surfaces for the fingers, thumb, and palm area. Suppose you also create a skeleton for the hand, and have just bound the NURBS surfaces to the skeleton by smooth skinning.

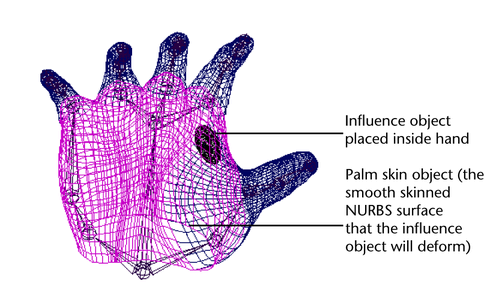
Now you can set up an influence object to create a hand muscle bulge by creating a polygonal sphere, setting the sphere as an influence object, then linking the sphere’s scaling to the movement of the skeleton’s thumb.
Set up the influence object
To create the polygonal sphere to simulate a muscle bulge
- Create a polygonal sphere, adjusting the scale attributes to approximate the muscle shape (for example, set Scale X to 1.5, Scale Y to 0.7, and Scale Z to 0.7).
- Position the sphere inside the hand, between the thumb and index finger.

To add the polygonal surface as an influence object
- Select the palm skin object. (This is the smooth skinned NURBS surface that the sphere will deform.)
- Select the sphere.
- Select Skin > Edit Smooth Skin > Add Influence.