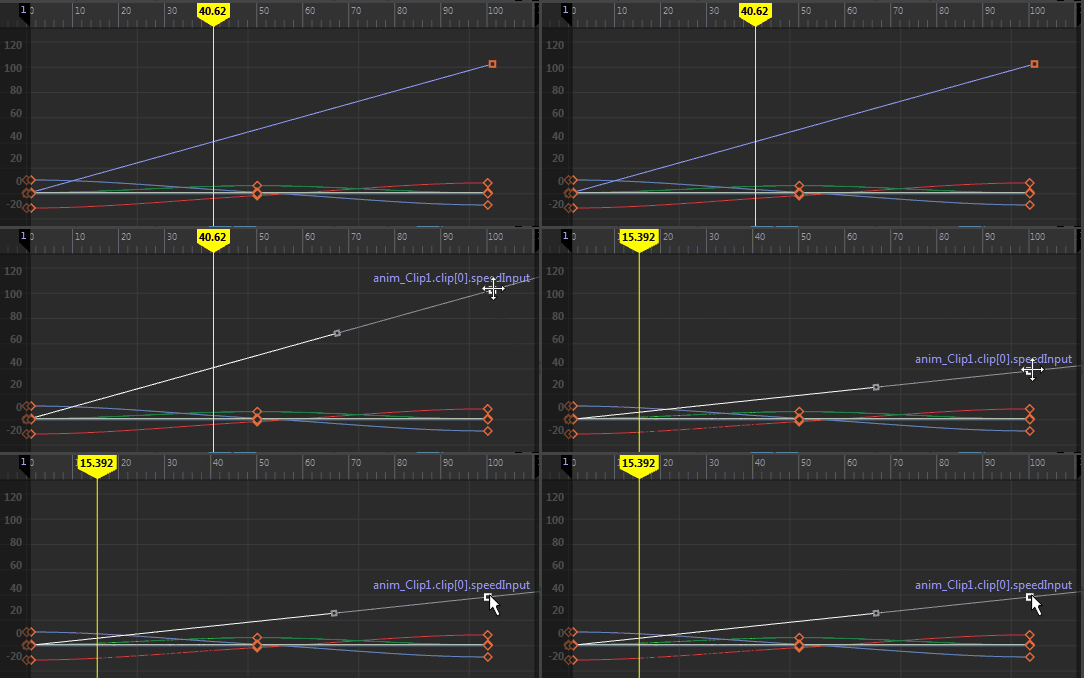
You can change the timing of a clip without modifying the clip’s animation curves using time warps. Typically, you use time warps to reverse the animation in a clip, or to ease in or ease out of a clip’s animation. When you create a time warp for a clip, a time warp curve is added above the clip in its hierarchy and a green bar appears on the clip. You can manipulate the time warp curve to adjust how the time warp affects the animation in its clip.
To create a time warp for a clip
- Right-click the clip for which you want to create a time warp and select
from the
Time Editor Clip contextual menu.
Edit the Time Warp curve in the Graph Editor. The Time Warp curve displays in purple.

- Once you have activated the Time Warp option, the Time Warp options are activated in the Clip contextual menu. For a description of the Time Warp options, see the Retime section of the Clip contextual menu.
To edit a time warp
- Select the clip that has the time warp.
- In the
Time Editor toolbar, click the Graph Editor
 button to switch to the Graph Editor. See
Graph Editor for information on the options available for editing curves.
- In the
Graph Editor outliner, select the time warp curve and click the
Frame All
 button or press f to frame the time warp curve.
- In the graph view, use the
Insert Keys Tool to insert keys and use the
Move Tool to adjust the curve.
When working in the graph view with these tools, use the middle-mouse button.
To undo edits to the Time Warp curve:
While in the Graph Editor, click Ctrl-Z to undo the last change.
To restore the Time Warp curve to the original curve:
In the Time Editor, right-click and select Reset from the clip contextual menu.
To remove the Time Warp curve from the clip:
In the Time Editor, right-click and select Delete from the clip contextual menu.
 appears next to the clip name in the Time Editor.
