Choose Text labeling to merge a text or numbers in your part. In the labeling module, you see that the view in the project tree has changed. With a right-click on the label (first called <empty text>) a menu pops up where you can remove the labeling, make a new one or duplicate an existing one. So if you like to give your part more than one label, you can start new text via this menu.
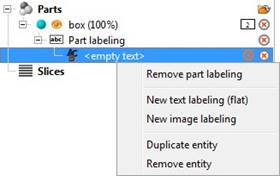
The project tree of the labeling module. Make quantity changes in the context menu.
In the Caption field is the part's name by default. To enter your own text, click on the white field next to Caption in the tabsheet. Letters, numbers and special characters are possible. Now click on the model to view the text on the part.
In the tabsheet, you can change the font parameters with the "..."-button, then define the height, width and depth below. It is also possible to adjust size and rotation by dragging the blue dot next to the label. By holding down the control button whilst dragging the dot you can rotate the part without altering its size. Vice versa you can also hold the shift key in order to lock the rotation into place and only adjust the item's size. Drag the dot in the center of the label to relocate it on the model's surface.
Then choose the build type: Add parts will make the label stand out of the model, subtract from part will engrave it. You can also use inverted texts, which is useful for creating molds for example. Press Apply to finally label the part.
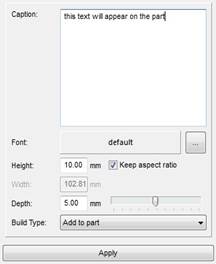
Enter the label text in the Caption field, then adjust the parameters below.
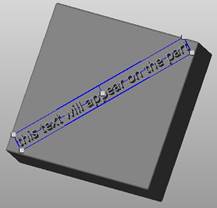
The preview of the labeled box. Change the size by dragging the blue lines, for rotating, drag the grey squares.
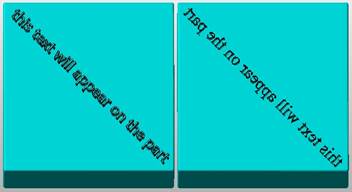
Left: an added label. Right: an edited, subtracted and inverted label.