 Whenever working with laser machines, it is likely that the first layer of a model is printed thicker than the following. If you’re making small parts, this can cause real problems, as the bottom of the part will be lengthened in the z-axis and the shape of the part is changed severely. With Z-Compensation you can counteract his effect. Select the part and go to the repair mode. The Z-Compensation is available in the context menu or in the Mesh edit menu. It is also possible to perform the Z-Compensation on the slide level. Therefore just go to the extras tab in the slice commander and choose Z-Compensation. Choose the translation value of the part, which depends on your machine. The bottom of the model will be clinched about this certain value. For some parts the preprocessed mode creates better results, therefore it may help to try both kinds of Z-Compensation on the part.
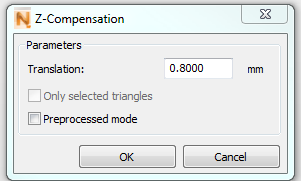
0.80 mm defined as Z-Compensation
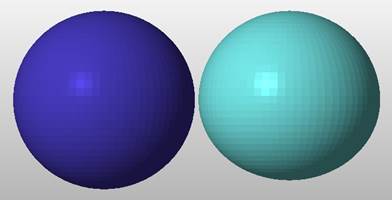
Original Sphere on the left and a sphere with 5.00 mm Z-Compensation on the right.