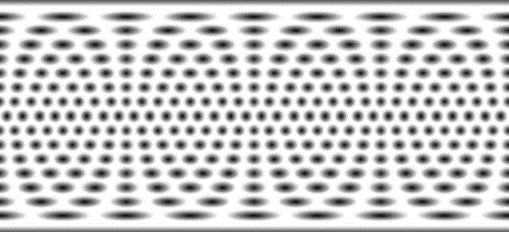
After you projected an image file on your part you are able to use this file for grey scale imposing. This way, you can create more or less complex surface textures without having to use a CAD software or a structure tool.
|
+ |
|
= |
|
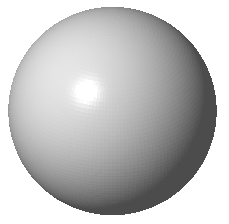
Color or texture your part as described in earlier topics in this section. For the image we recommend to use a grey scaled one. After clicking on Project, switch to the Extrude tab.

After projecting a texture or coloring a model, you can impose the image in the Extrude tab.
With Refine edges, you can increase the resolution of the sphere’s triangle mesh. The lower this value is, the finer the mesh becomes and the better the imposing will be. But be careful with very small values, as the calculation times will increase.
The White and Black movement defines, how the black, white and grey areas should be extruded. A + value will pull these areas out of the original geometry (like an outer offset) and the - value subtracts them.
If the image is wrapped around the whole part, you can work with extruding the whole part. But if the image is only projected on a specific area of the part, it’s also possible to only extrude the regarding area. The directory of the image is automatically chosen then.
Below, you find the display options where you can show the triangle mesh, textures, and colors and display the part transparent. Perform the calculations with Extrude and then apply the calculations.
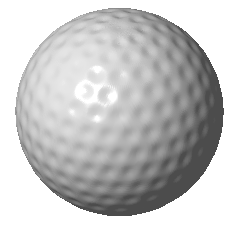
As a result, you see a golf ball structure on the sphere. For finer results, we recommend to smoothen the surface afterwards.

Left: the result of the texture imposing. Right: The improved surface after a smoothing process (here with 5.00 iterations) in the Mesh