Photo projects exported in any format are displayed in RealView mode within the web application. This allows you to navigate your scene with a real-world perspective.
Right and left mouse buttons will navigate your project depending on your tool selection and the current placement of your cursor in the view window.
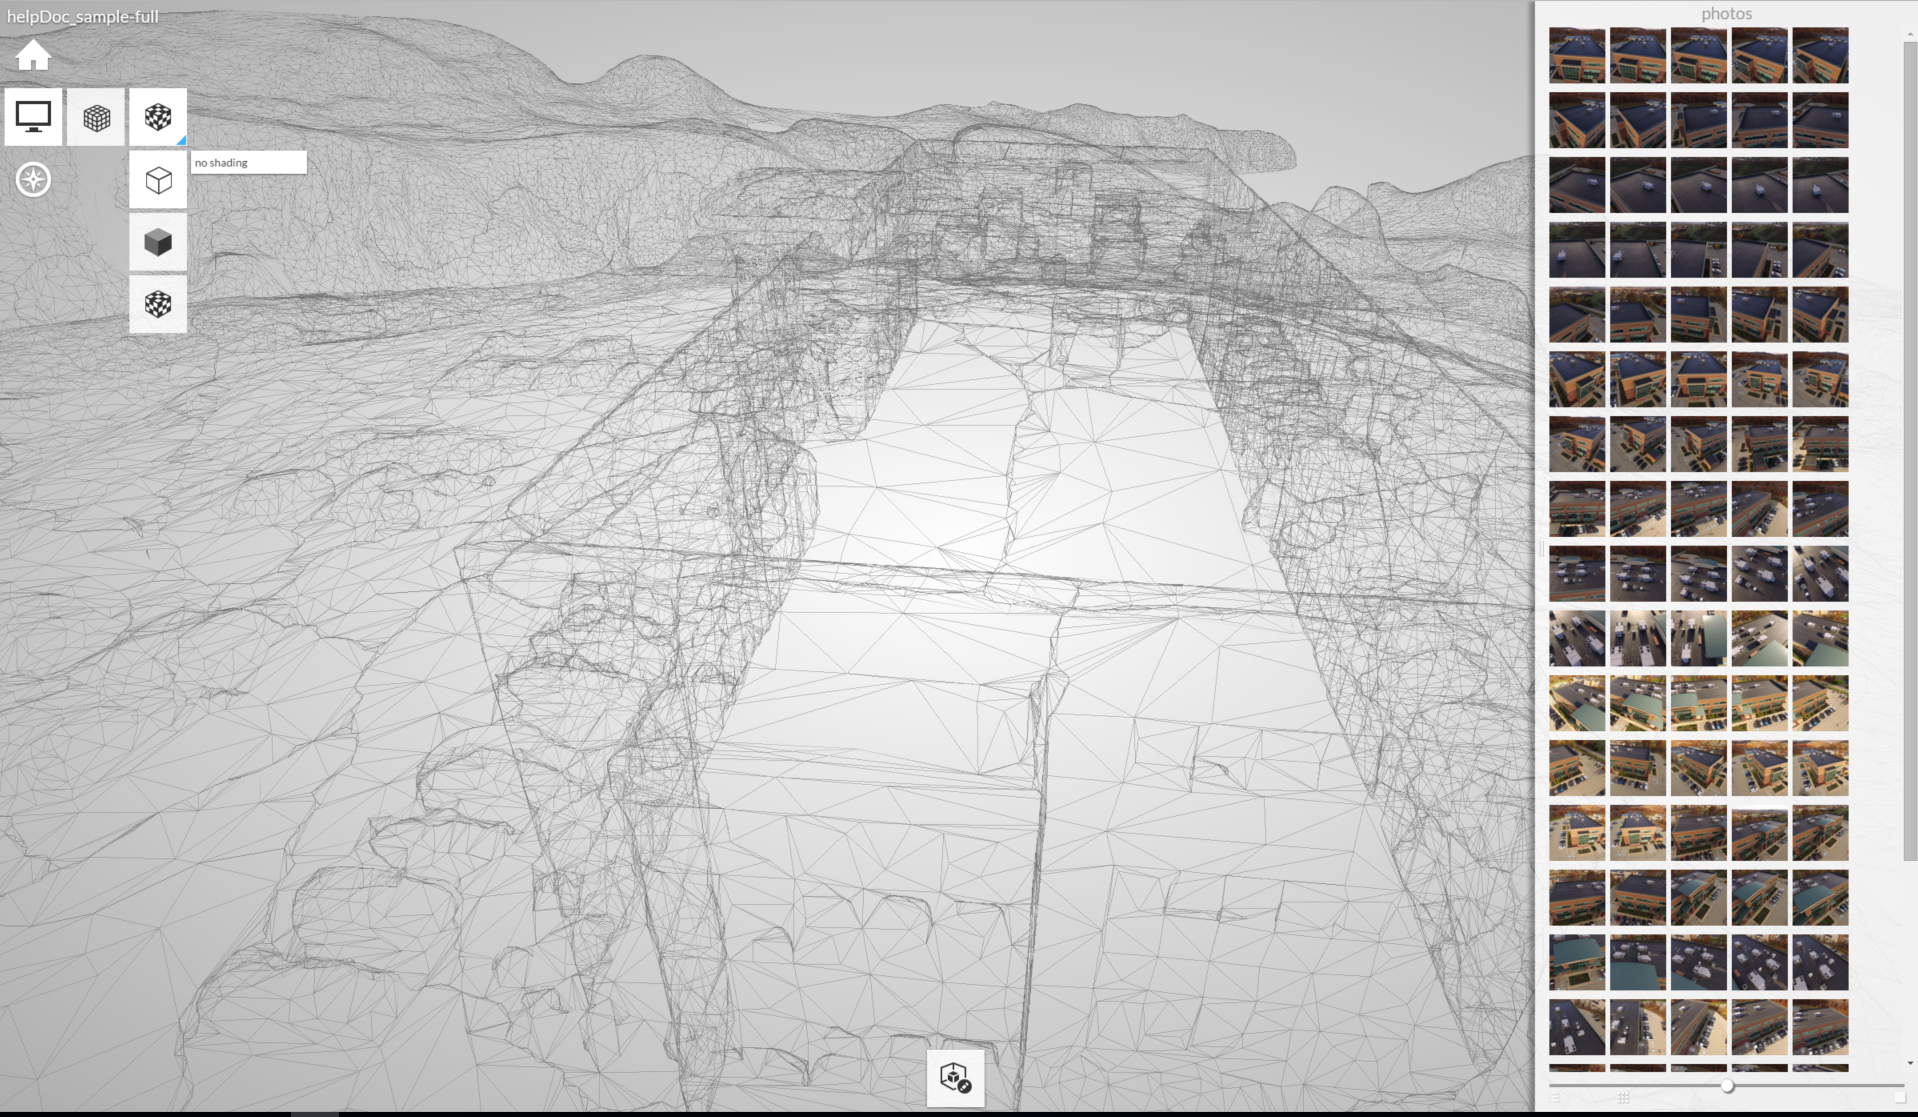
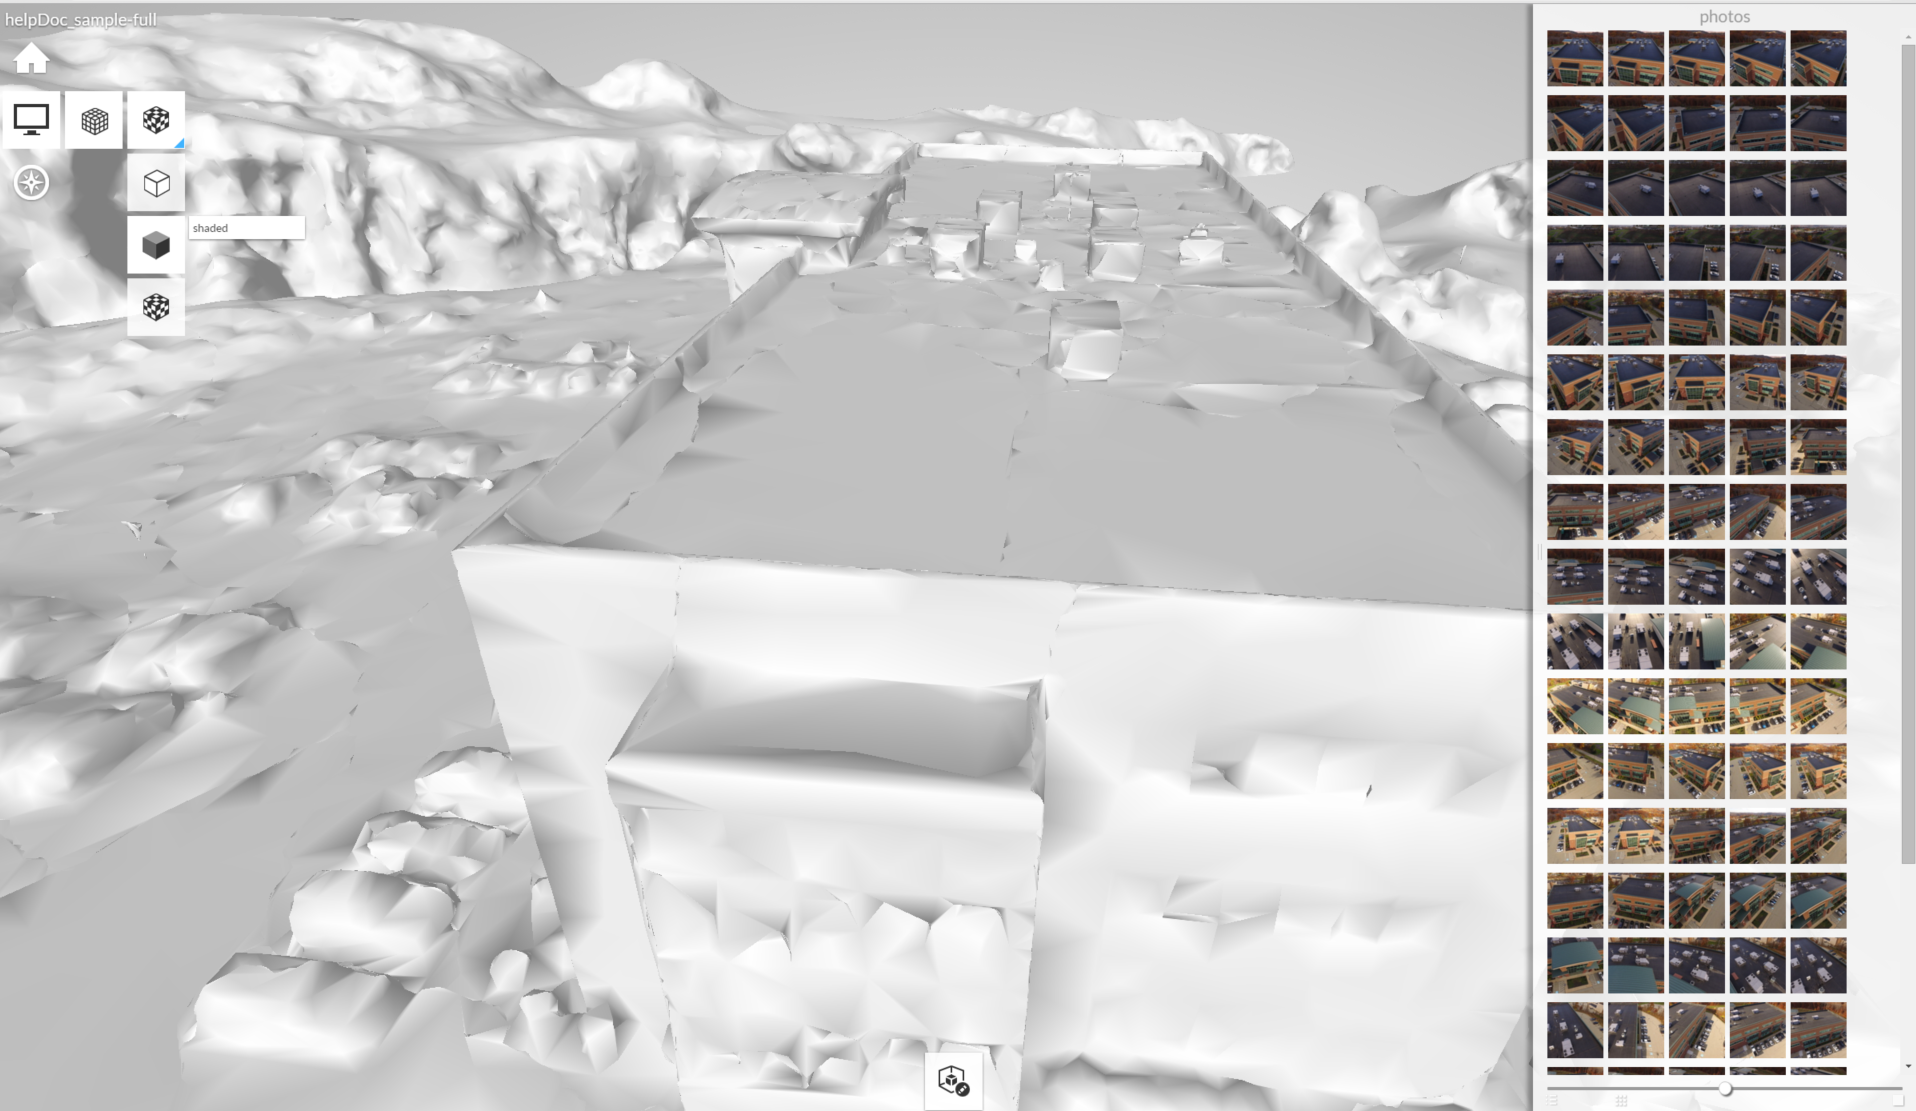
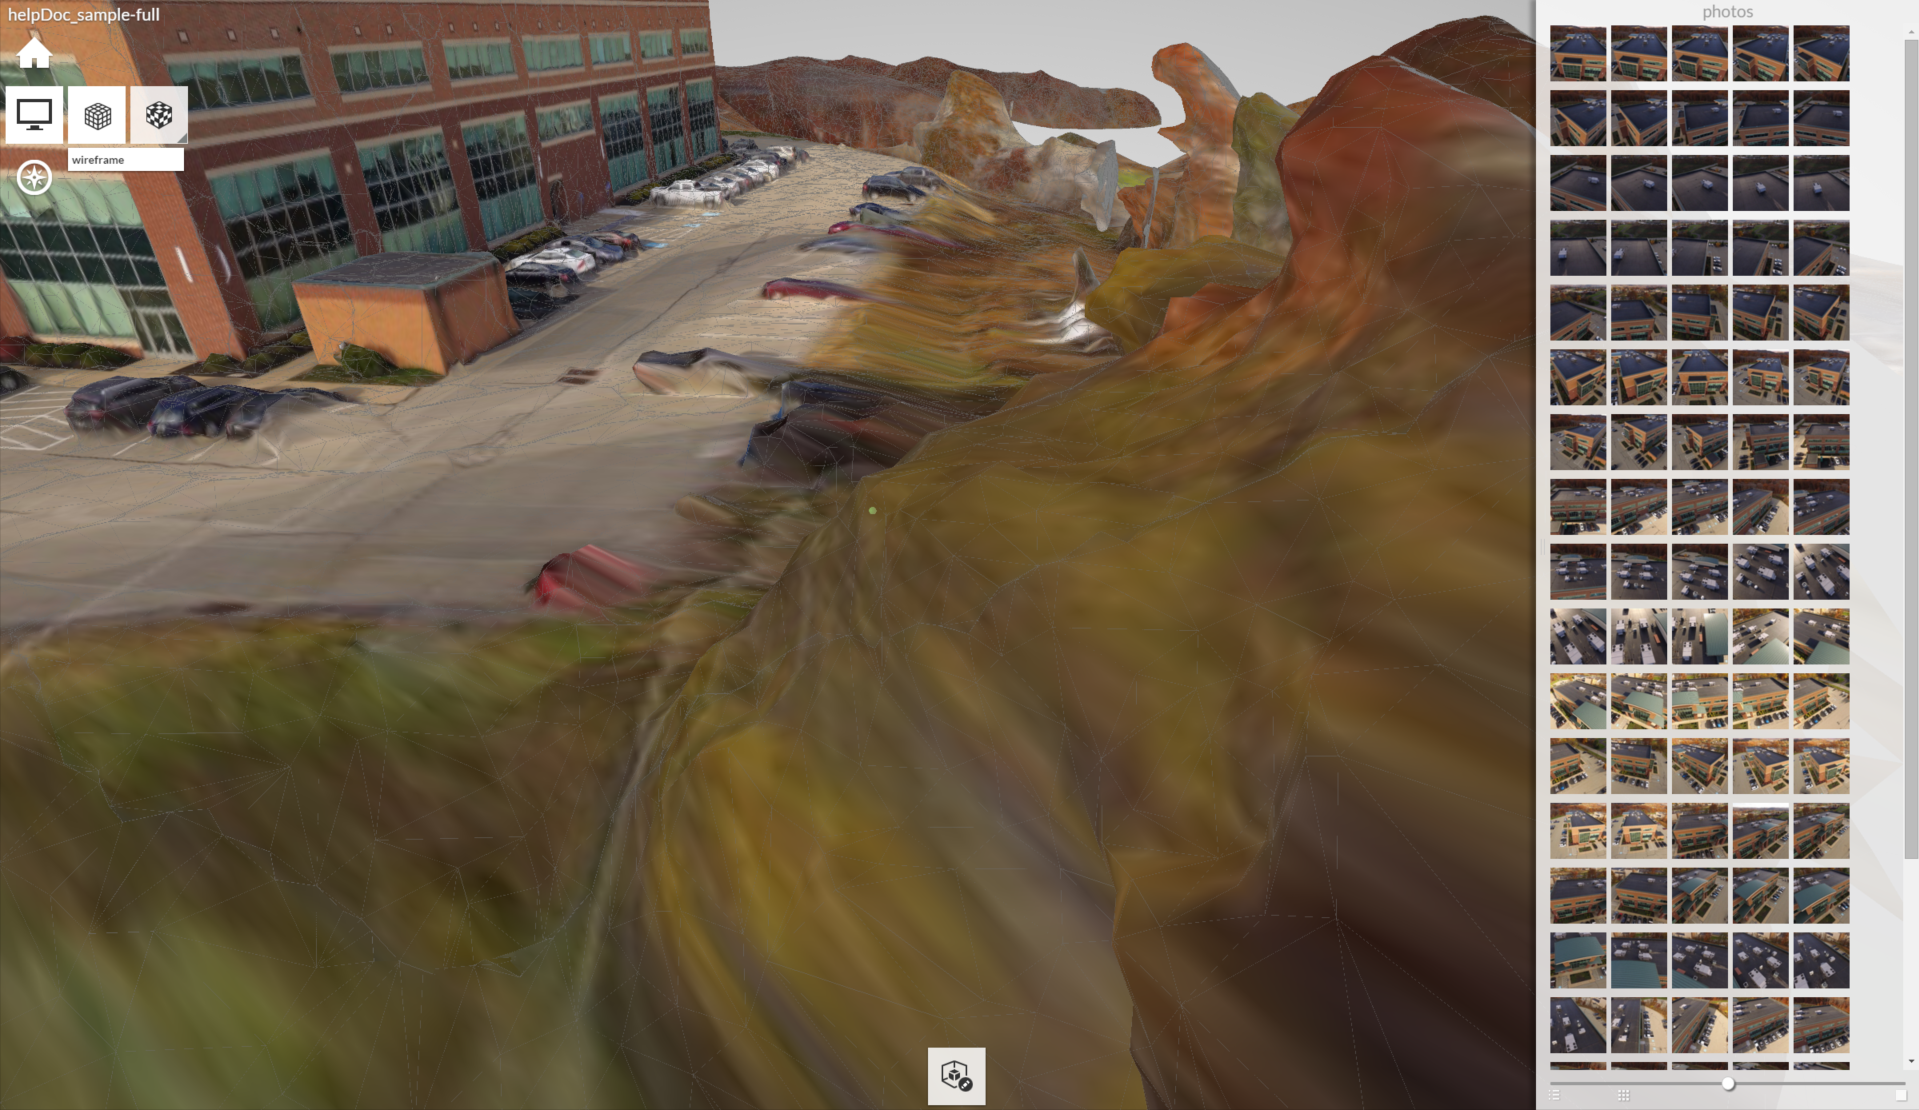
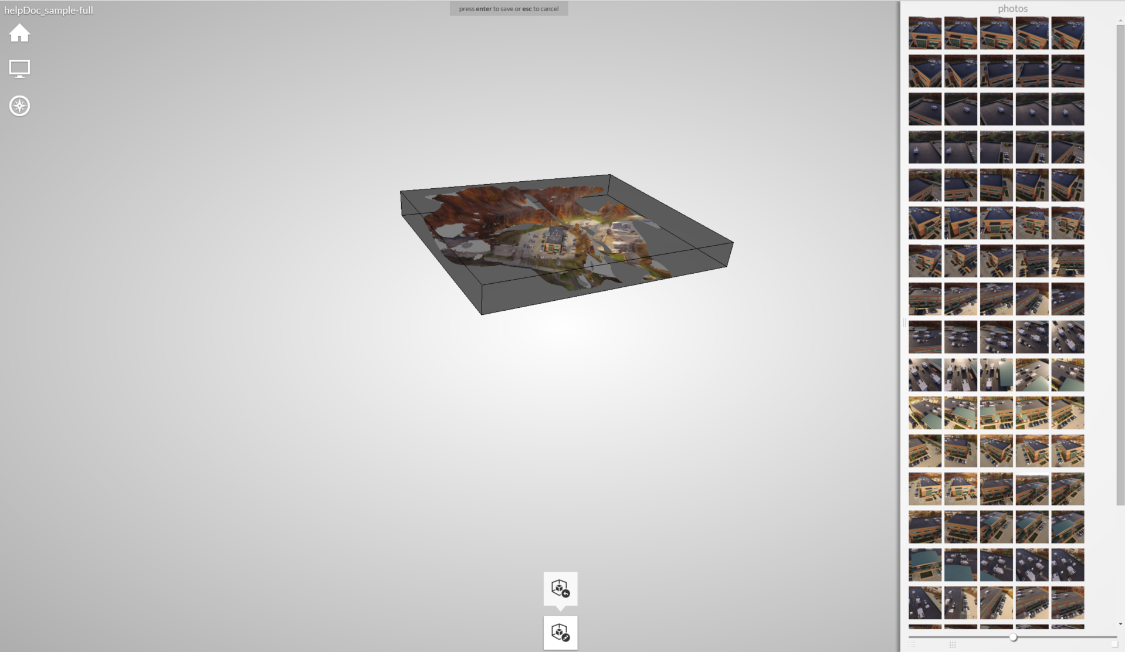
By default, your project will display in 3D-texture. You have options to refine your view.
Shader
- In the Display a Texture flyout:
-
No Shading: Essentially makes the scene invisible with a translucent wireframe.
- Shading: Shows the scene without color; depth is retained. Can be combined with wireframe option.
-
No Shading: Essentially makes the scene invisible with a translucent wireframe.
Wireframe
Display → wireframe. Encompasses your project in a mesh wireframe over your selected texture mode.
Navigating
- Roll
- Allows the image to flip upside-down.
- Orbit
- Rotates the view on an axis.
- Zoom
- Zoom in or out.
- Fit-to-View
- Zooms the screen so that all of your project can be seen.
- Pan
- Moves the image side-to-side and up-and-down without changing the distance or angle of the viewpoint.
- Turn Table
- Rotate the object from a fixed area (ie, the scene turns, but you do not move around the scene).
Trimming
- Limit Box
- A temporary adjustable 3D box that defines the visible extents of the project.
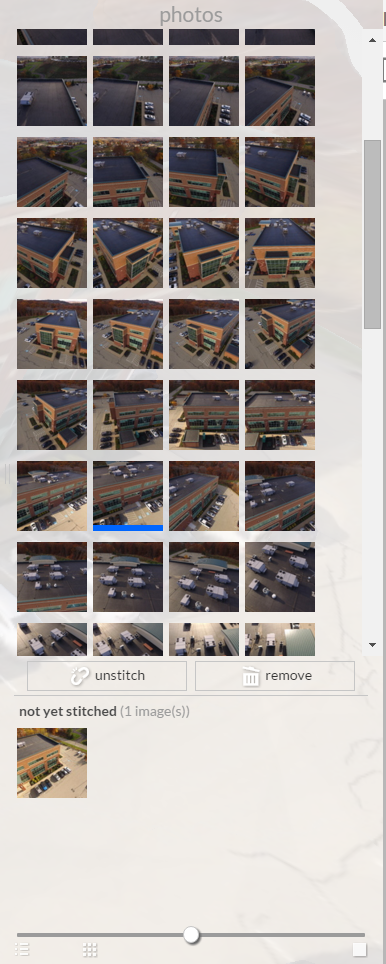
Locking to a Single Image
You have the option to isolate, navigate, remove, and unstitch a single image by clicking on its thumbnail in the right bar. This practice essentially superimposes the selected photo atop the full scene and can be very helpful to determine correctly positioned mesh within the image and prompt any need to manually re-stitch, especially in Wireframe or No Shading modes.