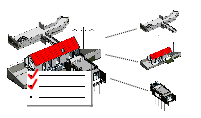
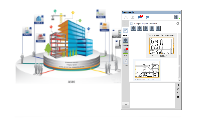
Collaborate in 2D
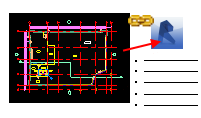
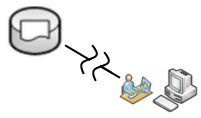
Existing and new CAD files can be incorporated into Revit models. Use CAD files for reference, 2d drafting views, or to help generate 3d Revit geometry. Export to CAD formats for archiving or collaboration with team members working with 2d applications.
|
|
|
|
|
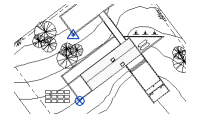
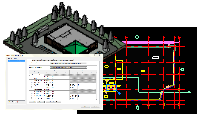
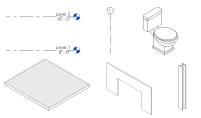
Use 2d imported/linked CAD files as reference or as documentation in your Revit models. |
2d CAD files can be used in drafting views for documentation purposes. Callouts in the Revit model can be linked to the drafting views. |
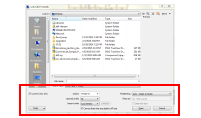
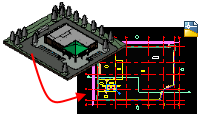
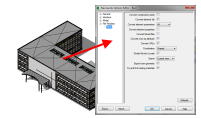
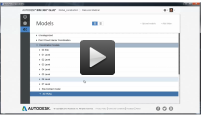
Control the way CAD files are imported into Revit. |
Bring CAD files into your Revit model. |
|
|

|
|
|
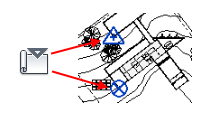
Coordinate systems between Revit files and 2d files can be coordinated so geometry can be aligned in the files. |
Use coordinates from a CAD file for positioning in your Revit model. |
Send coordinates of Revit file in a 2d CAD file for positioning exports. |
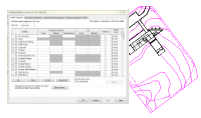
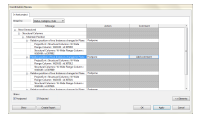
Hide layers from an imported/linked 2d file. |
|
|
|
|
|
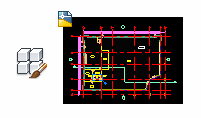
Control imported/linked 2d geometry appears in a Revit view. |
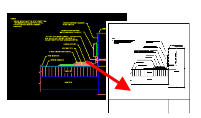
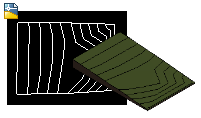
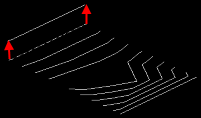
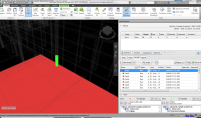
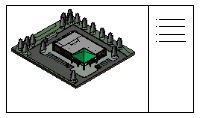
Use an imported CAD file to generate a toposurface element in Revit. |
Edit elements in AutoCAD so they can be used in Revit to create a toposurface. |
|
|
|
|
|
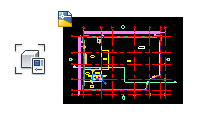
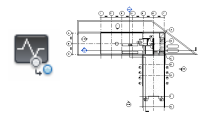
Different CAD formats are supported by Revit. Choose the export format depending on the workflow required. |
Control what elements are exported to the 2d file to improve performance and reduce file size. |
Control the layers and properties used for 2d exported files. |
Export views of the model to 2d files. |
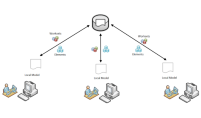
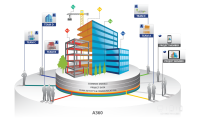
Collaborate with Revit Models
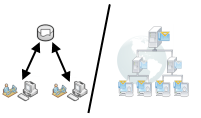
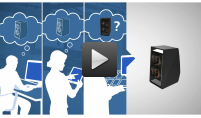
When collaborating with other Revit users there are multiple options. Files from multiple Revit users can be brought together and linked. Through worksharing users on the same LAN can work together in the same Revit model. When collaboration needs to happen between users who are not in the same geographic location Revit Server or Collaboration for Revit can be used. Revit Server connects offices who share a network but are not in the same geographic location. Collaboration for Revit is a cloud based service allowing any Revit users inside or outside of the same network to collaborate on a Revit model.

|
|
|
|
|
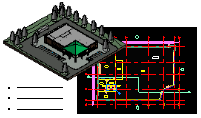
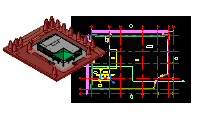
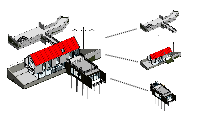
Bring multiple Revit models together to create a complete building model for the project. |
Coordinate systems between Revit files can be coordinated so geometry can be aligned in the files. |
Use coordinates from another Revit file for positioning. |
Send coordinates of one Revit file to other Revit file(s) for positioning links. |
|
|
|

|
|
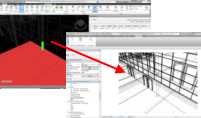
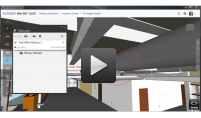
Control the way linked model geometry appears in your views. |
Use a linked model to place elements in your model and track any changes to element geometry or positioning. |
Copy linked elements into your model. |
When using copy monitor with linked models keep these suggestions in mind. |
|
|
||
|
Understand when elements from a linked model are changed and what you can do to your own model in response to the changes. |
Use interference checking in models to understand where conflicting geometry exists. |
|

|
|
|
|
Use worksharing on a project in an office when you want to have multiple team member collaborate on one model. |
Set-up a model for worksharing. |
Think about how the model will be worked on by team members to decide how worksets managing part of the model will be handled. |
Learn how to work on a team with a wrokshared model. |
|
|
|
|
|
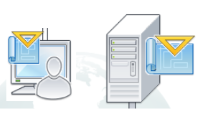
Create a local model for you to do work in the workshared project. |
Once you have made your changes synchronize your changes to a central model so others on the team can see your changes. |
Understand how to work with a worksharing enabled model when you are not connected to the network. |
|
|
|
|
|
When offices are in 2 different geographic locations consider switching to server based worksharing using Revit Server. |
Learn basics of Revit server. |
Central models on Revit Server are managed in a different way than file based worksharing. |
Use Revit Server Administrator to understand the activity in your central models and optimize their performance. |
|
|
|
|
|
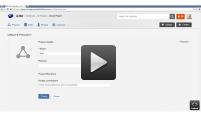
Follow these steps to setup a Revit model on an cloud project and invite others to collaborate. Workflow: Get Started with Your Collaboration for Revit Subscription |
Use Collaboration for Revit to edit models and communicator to help you share your changes with the greater team. |
Communicator for Revit keeps you in connection with other team members and help you work with them on the model. |
Understand the activity and status of your models. |
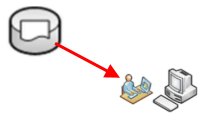
Collaborate for Construction
Navisworks, BIM 360 Glue, and BIM 360 Field are tools you can use to collaborate with your team during the construction process of a project. Use Navisworks to combine models and files into one building information model. Perform interference checking, construction simulations/scheduling, and quantification on the building information model. When on-site, use BIM 360 Glue to review the project and create/share markups for review by the extended team. BIM 360 Field allows you to track issues during the construction process and share information about installation with the Revit model.

|
|
|
|
|
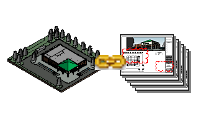
Install this utility to allow Revit to export NWC files. |
Revit files can be opened directly in Navisworks. The Revit file reader settings in Navisworks will be used when opening the file. |
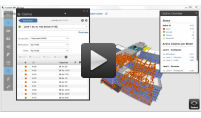
Use the clash detective tools to find clashes in the model geometry. |
Use Switchback to quickly locate the element selected in a Navisworks model in the corresponding Revit model. |
|
|
||
|
Use the information in the combined Navisworks model to generate a quantity takeoff and cost estimates for the project. |
Use timeliner to produce a schedule and simulate the building process that will be used on a project. |
|
|
|
|
|
Access your BIM 360 Glue models using a mobile device. |
Understand the steps involved in collaborating and sharing models on BIM 360 Glue. |
Upload Revit models to BIM 360 Glue. |
Find clashes while working in the field. |
|
|||
|
Create markups for review and share them with other team members. |
|
|
|
|
|
Use a project snapshot to bring together all reports and track overall issues and progress. |
Track progress on-site with tasks and checklists. |
Create issues for the extended project team during the construction administration of a project. |
Synchronize information from field reports back to the Revit model for as-built documentation. |

|
|||
|
Use BIM 360 Glue models in field to make reporting and logging issues easier. |
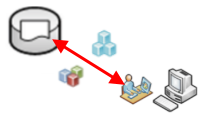
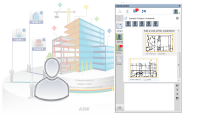
Collaborate for Review
When team members need to review the Revit project you can use DWF files with Autodesk Design Review for commenting, or use Autodesk A360 where a Revit model can be uploaded and commented on using online tools.
|
|
|
|
|
Export to 2D or 3d DWF files for sharing with team members who need to review the project. |
Install Autodesk Design Review to review and comment on DWF files. |
DWF files with markups can be linked back into Revit for review. |
|
|
|
|
|
Learn how to use Autodesk A360 to share project information with stakeholders and allow them to comment on project documents. |
Make a project on Autodesk A360. |
Add team members to the A360 project. Team members can comment and review files posted to the project site. |
Add comments for review to a design file. |