Create a railing by sketching the railing path, and select an element to host the railing, such as a floor or roof.
Video: Sketching Hosted Railings
Note: This video was recorded using Revit. When performing the procedures using Revit LT, you may notice minor differences in functionality and user interface.
- Click Architecture tab
 Circulation panelRailing drop-down
 (Sketch Path).
- If you are not in a view where you can sketch a railing, you are prompted to pick a view. Select a view from the list, and click Open View.
- To set the host for the railing, click Modify | Create Railing Path tabTools panel
 (Pick New Host), and place the cursor near the host (for example, a floor, roof, wall top, or staircase).
As you move the cursor, the appropriate hosts highlight.
Note: To select a level, click in the drawing area to start drawing the railing. - Click on the host to select it.
- Optionally, on the Options panel, select Preview to display the railing system geometry along the path as it is sketched.
- Sketch the railing.
If you are adding a railing to a run of stairs, the railing must be sketched along the inside line of the stair stinger in order for the railing to host and slope correctly.
Likewise, if you are adding a railing to the top surface of a floor, slab, slab edge, wall, or roof, sketch the line within the boundary of the host element.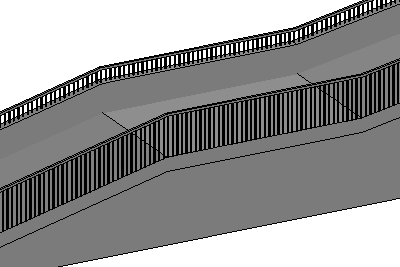 Note: Railings and balusters will adjust for sloped and irregularly shaped host surfaces.
 - Modify instance properties as needed on the Properties palette, or click
 Edit Type to access and modify type properties.
- Click
 (Finish Edit Mode).
- Change to a 3D view to see the railing.