There are two ways to perform most Plane tasks:
- On-model or On-plane: Click directly on the Plane. This is useful for maintaining focus on the model.
- Off-model: Use the Results branch of the Design Study bar or the Planes context panel. This is useful for complex models when it is difficult to access the plane or geometry.
Results Plane Workflow
To Create a Plane
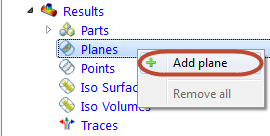
- On-model: Right click on or near the model (not on an existing Plane). Click Add plane.
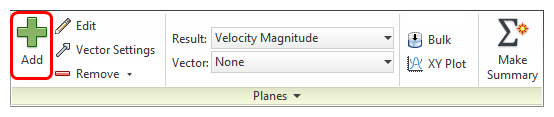
- Off-model: Click Add in the Planes context panel. Alternatively, right click on the Planes branch of the Design Study bar, and click Add plane:
To Rename a Plane
- Right click on the plane ID in the Design Study bar, and click Rename.
To Select a Plane
- On-model: Left click directly on the Plane.
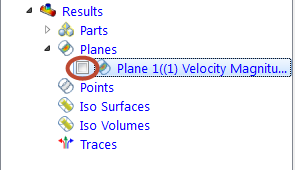
- Off-model: Select its name from the Design Study bar.
To Disable Highlighting of the Active Plane
- Uncheck Show Outlines in the Planes context drop-down menu.

To Hide a Plane
- Uncheck the visibility box adjacent to the ID in the Design Study bar:
To Delete a Plane
- On-model: Right click on the plane, and click Remove.
- Off-model: Right click on the plane ID in the Design Study bar, and click Remove.
Plane Controls
To Move a Plane
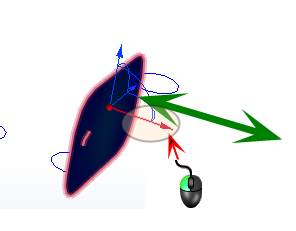
- On-model: Left click on the axis on the triad, and drag to the desired location.
- Off-model: Click Edit on the Planes context panel. Drag the Move slider bar on the Plane Control dialog.
To Rotate a Plane
- On-model: Drag the arc on the triad:
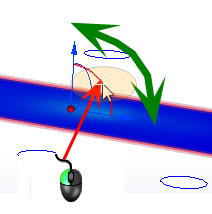
(To change the center of rotation, drag the triad within the Plane. The center of rotation is the triad origin.)
- On-plane: Left click. Select an axis to align the Plane to:
- Off-model: Click Edit on the Planes context panel. Drag the Rotate slider bar on the Plane Control dialog.
To Align to a Model Surface
- On-plane: Left click, and click the Align to surface button.
- Alternative On-plane: Right click, and click Align to surface.
After invoking the Align to surface command, click the desired surface in the model. The plane moves to the selected surface, and is parallel to it. If the selected surface is not planar, the plane moves to the element face closest to the selection point on the surface.
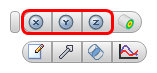
To Change the Appearance
- On-plane: Right click. Select an option.
- Off-model: Click Edit on the Planes context panel. Select from the Appearance menu.
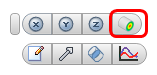
To Change the Displayed Result Quantity
- On-plane: Right click. Click Result, and select from the list.
- Off-model: Select from the Result menu on the Planes context panel.
To Save Results on a Plane
- On-plane: Right click, and click Save table...
- Off-model: Click Save table... from the Controls dialog. To modify the results resolution, drag the Grid spacing slider.
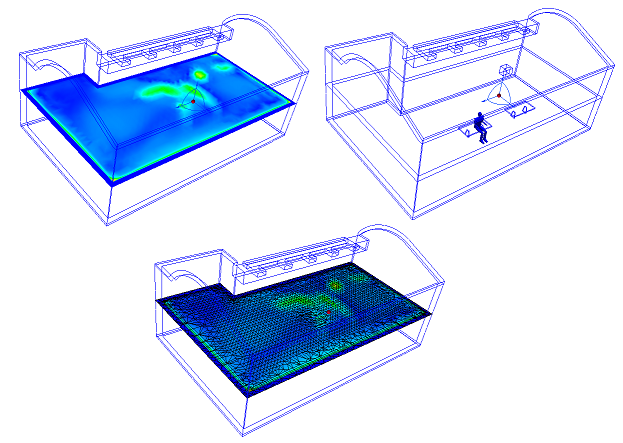
To View a Plane on a Shaded Model
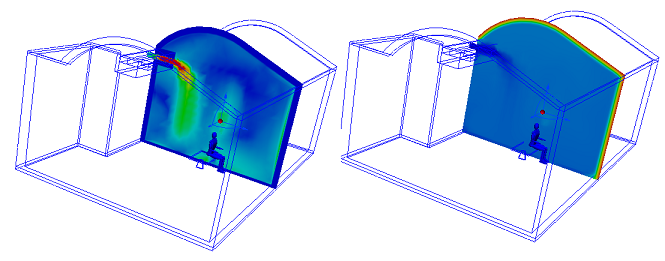
Clipping improves the visibility of specific model regions, and is a powerful way to display vectors when the model is shaded.
- To enable clipping, right click on the results plane and select Clip.
- If the "other" side of the model is showing, right click on the plane again and choose Reverse Clip.
- To disable clipping, right click on the results plane, and uncheck Clip.
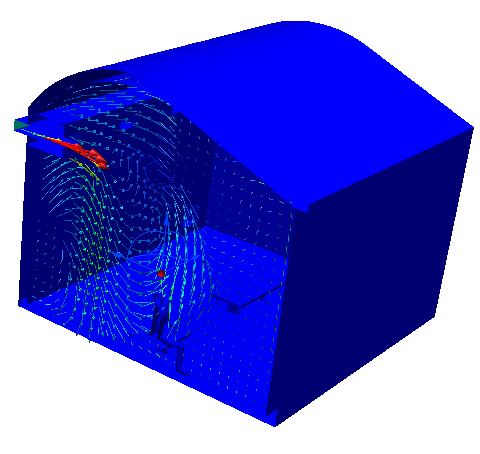
Vector Settings Controls
To enable vectors or to change the vector quantity
- On-plane: Right click on the plane. Click Vector, and select the quantity.
- Off-model: Select from the Vector menu on the Planes context panel.
For a clearer view of the vectors, change the plane appearance to Outline.

To change vector appearance
- On-plane: Right click on the plane. Click Vector > Settings...
- Off-model: Click Vector Settings on the Planes context panel.
To control the vector density
- Drag the Grid spacing slider on the Vector Settings tab of the Plane Control dialog.
- To specify a finer or coarser grid spacing beyond the slider range, key in the values in the field adjacent to the slider.
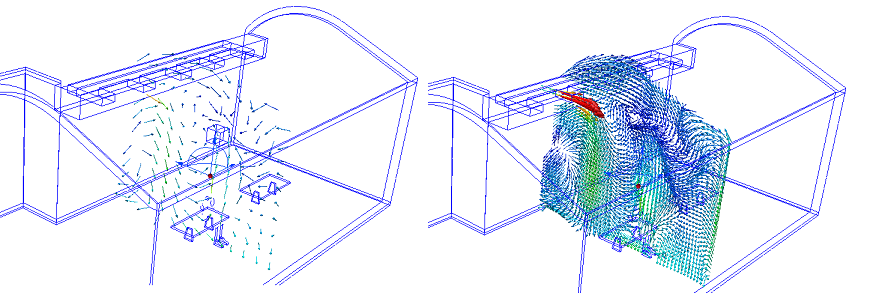
To vary the vector length
- By default, all vectors are displayed with the Same length. To change vector length, drag the Length slider.
- To display vectors with different lengths, click Length range. Drag the Min and Max sliders to vary the range.
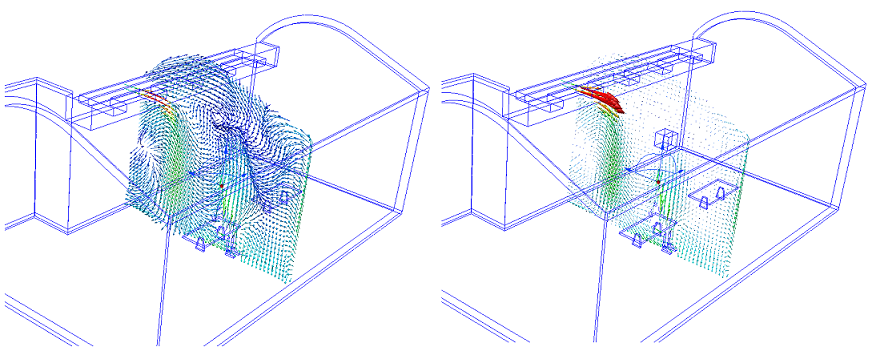
Click More... to make the following changes:
To control the display of arrowheads
- To disable arrowheads, uncheck Show arrowheads.
- To change the size of vector arrows, specify a value for the Arrowhead size. (The default size of 1 scales the arrowhead size based on the vector length.)
- To scale all vectors by the same amount, modify the value of the Scale factor.
To show regions where the active vector is within a specified range:
- Check Filtering.
- Enter a range in the Min and Max fields.
Click Reset or uncheck Filtering to display the entire model.