In this tutorial, you send a rigged mesh to Autodesk MotionBuilder, use MotionBuilder to apply an animation clip to the character, and then send the animation back to 3ds Max.
This is a simple example that demonstrates the Send To functionality. If needed, you could use animation tools in either application to edit the animation or combine it with other motions.
Skill level: Intermediate
Time to complete: 1/2 hour
Preparation for This Tutorial
- If you have not already downloaded the tutorial files (MAX scenes and other assets), download them now and unzip them into a project folder called \Autodesk 3ds Max 2018 tutorials. See Where to Find Tutorial Files.
- On the File menu, click Set Project Folder and set your current project to Autodesk 3ds Max 2018 Tutorials.
Open the 3ds Max scene:
- In the
\scenes\data_exchange\MotionBuilder folder, highlight
emma_no_animation.max,
then click Open.
Note: If a dialog asks whether you want to use the scene’s Gamma And LUT settings, accept the scene Gamma settings, and click OK. If a dialog asks whether to use the scene’s units, accept the scene units, and click OK.
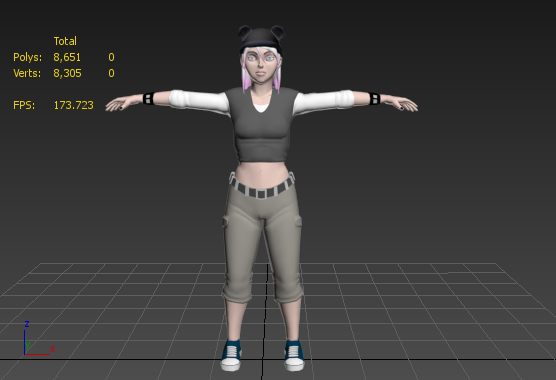
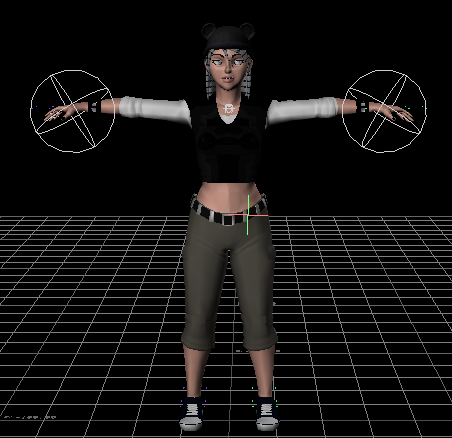
The scene is the Emma character we also used in Skinning a Character. For this lesson, Emma has been moved into a standard T-pose, which MotionBuilder requires. Emma has a CAT character rig, but the rig has been hidden. So far, there is no animation.
- Right-click the viewport, and from the quad menu choose Unhide All.
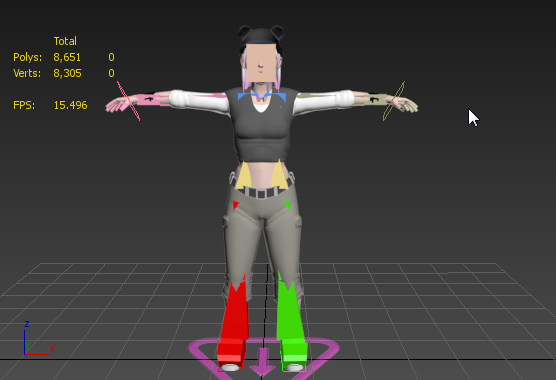
Send the scene to MotionBuilder:
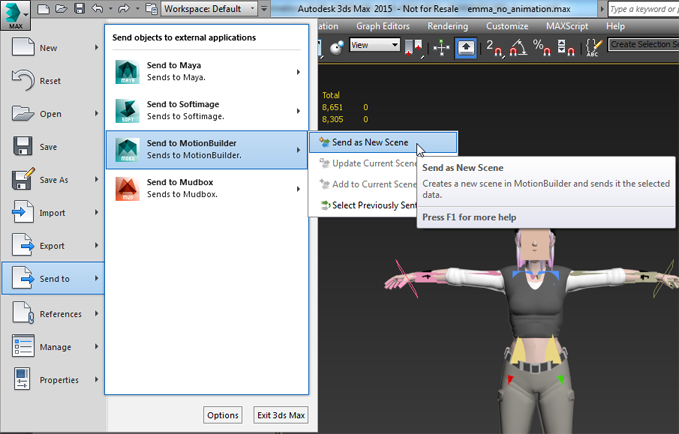
- Open the
 Application menu and choose Send To
  Send To MotionBuilder
  Send As New Scene.
3ds Max displays a warning that no objects have been selected.
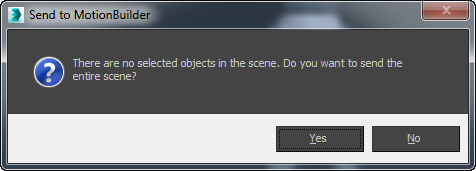
- Click Yes to send the entire scene.
If MotionBuilder is not already running, 3ds Max launches MotionBuilder.
- When MotionBuilder first opens, it displays a welcome window. Click
 to dismiss this window.
Verify the conversion:
- In the Viewer window, zoom out so you can see all of the Emma character.
 Tip: If you aren't familiar with standard MotionBuilder mouse and keyboard navigation shortcuts, you can set MotionBuilder to recognize 3ds Max shortcuts. From the menu bar, choose Settings
 Interaction Mode, then on the Interaction Mode dialog, choose
3ds Max.
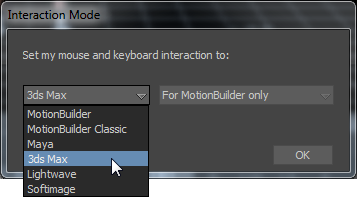
Now you can use the same navigation shortcuts you use in 3ds Max.
- On the Character Controls window, click to activate the Definition tab.
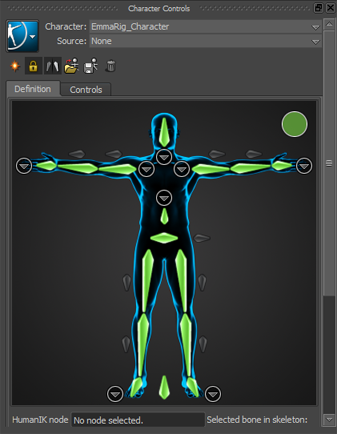
The Definition display should show a "green light," indicating that Emma's CAT rig was successfully mapped into MotionBuilder by the Send To operation.
Apply the animation clip:
- On the Resources window
 Asset Browser tab (at the lower right of the MotionBuilder window), click to highlight the
PrevisMoves folder.
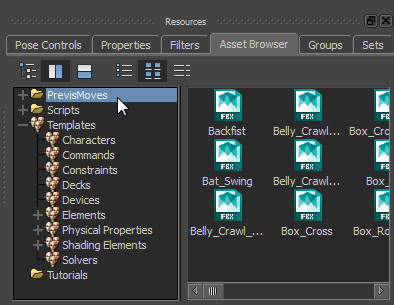
This folder contains a variety of motions, stored as FBX files.
- On the Navigator window, at the lower left of the MotionBuilder window, click to go to the Story tab.
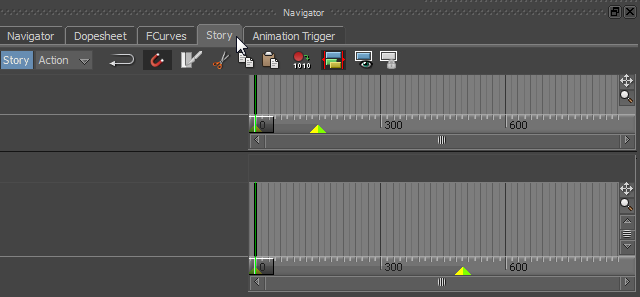
- In the
PrevisMoves folder, locate the
Bat_Swing motion clip, then drag it to the Story tab and drop it on the
lower of the two timelines.
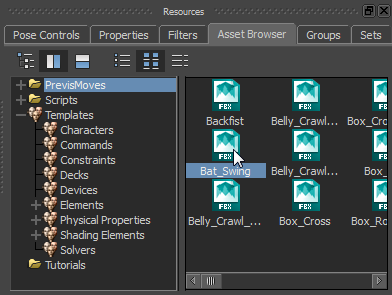
First, highlight the Bat_Swing clip.
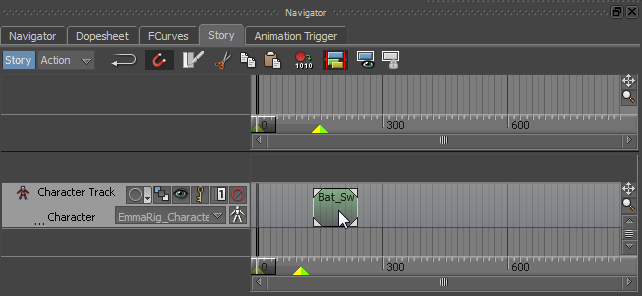
... Then drop it on the animation timeline.
(The lower timeline is for managing animation; the upper timeline is for managing camera shots.)
In the MotionBuilder Viewer, you can see that the motion keys are already applied to the Emma character.
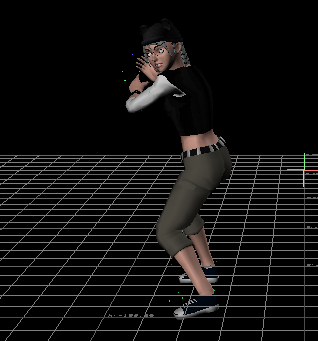 Note: By default, the Viewer window displays both the "ghost" of the Emma character, and the IK targets for Emma's hands, which appear in MotionBuilder as wireframe globes. You can hide the IK targets by pressing Ctrl+A. Pressing Ctrl+A a second time displays the IK targets and the EmmaRig skeleton. Continuing to press this key combination cycles through the three display modes.
 - Drag the motion clip to the left of the Character Track timeline, so the motion will begin at frame 0.

- The display on the timeline indicates that the
Bat_Swing clip is 105 frames long, but the default animation length in MotionBuilder is 500 frames. To fix this, right-click the clip and from the pop-up menu, choose Frame Start/End.
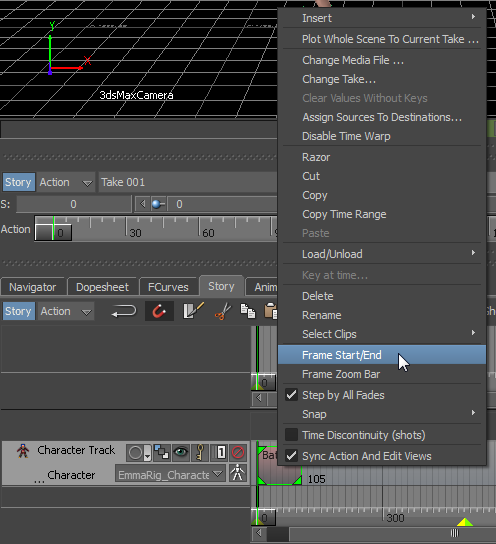
Now the length of the MotionBuilder animation matches the length of the clip.
- Drag the time slider or play the animation to see the results.
Adjust the placement of the animation:
- On the Track Settings at the left of the Character Track, click to turn on
 (Show/Hide Ghost).

Translating the "ghost" of the Emma model is a global transformation.
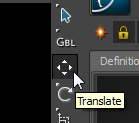
- At the right of the main Viewer window, click to activate the Translate tool.
- Use the Translate gizmo to raise Emma so her feet are at ground level.
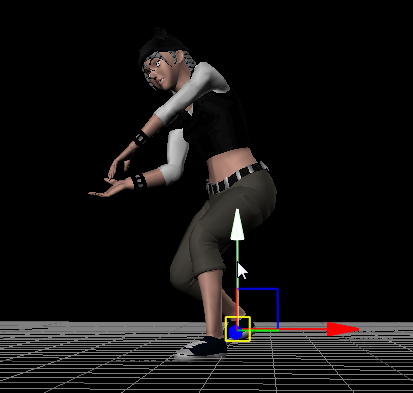
- Scrub the time slider to make sure the correction looks good throughout the animation.
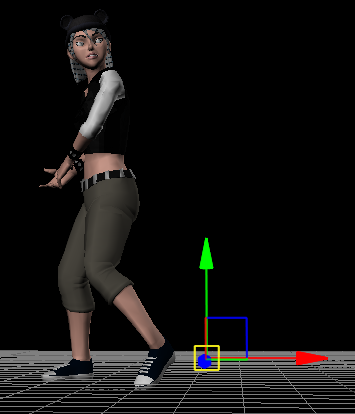
If you look closely at the Viewer, and especially if you orbit the view, you can see that the clip has placed Emma's feet below the ground plane.
Send the animation back to 3ds Max:
 Return to frame 0.
- On the Send To controls just below the main Viewer window, click Update.

MotionBuilder asks whether to send the entire scene.
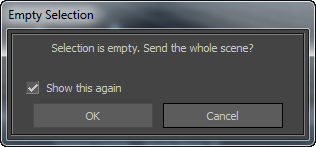
- Click OK.
3ds Max becomes the active application again. While it loads the animation that was created by MotionBuilder, a progress bar displays at the bottom of the 3ds Max window.
Play the new animation:
- On the main toolbar, use the Named Selection Sets drop-down list to select the
EmmaRig set.

- Right-click the viewport and choose Hide Selection.
- Click
 (Play) to watch the animation.
Save your work:
- Save the scene as
emma_at_bat.max.
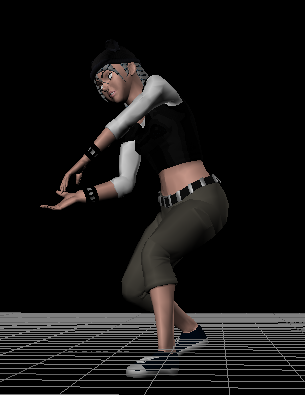
Here is a version of the animation of Emma swinging a bat:
Summary
Send To  MotionBuilder gives you access to MotionBuilder's powerful animation tools, including its library of captured character motions.