To send the model back to Inventor, first you have to convert the new geometry to the Body Object type.
Convert the new parts to body objects:
-
 Select the U-shaped portion of the new stirrup part: That is, the box with extrusions, but not the pin.
 - Go to the
 Create panel and activate
  (Geometry). Choose Body Objects from the drop-down list.
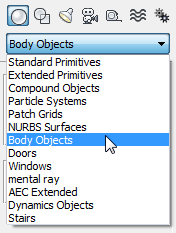
- On the Object Type rollout, click Body Object, then in a viewport, right-click.

3ds Max converts the part to a solid Body Object.
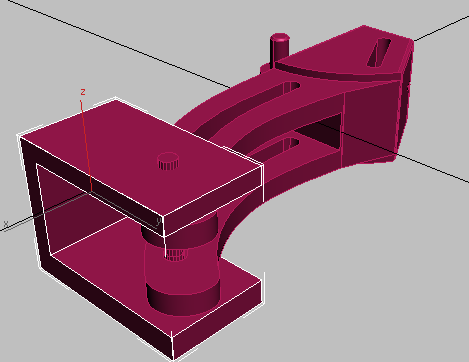
-
 Select the new pin cylinder, and repeat step 3 to convert it to a Body Object as well.
Export the modified assembly as a SAT file:
- From the
 Application menu, choose Export.
 - On the Select File To Export dialog, choose ACIS SAT (*.SAT) from the Save As Type drop-down list.
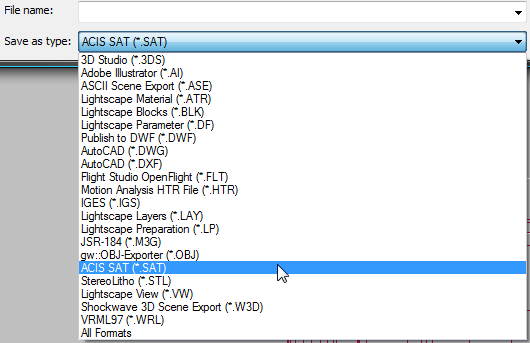
- Enter the file name as mymaxclamp, and then click Save.
- In the SAT Export dialog, turn on Convert 3ds Max Z Axis To Y Axis, and then click OK.
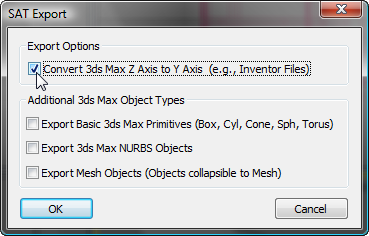 Note: As the second group in the dialog shows, you can import other kinds of 3ds Max objects to the SAT format. The trouble is that you can’t do much with these object types in Inventor.
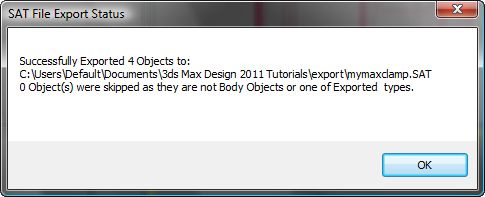
3ds Max reports that the objects were exported successfully.
- Exit 3ds Max.