In this lesson, you use the Civil View Explorer  Resources panel to add an animated camera to the scene.
Set up the lesson:
- Continue working on your scene from the previous lesson or open \civil_view\linkroad_6.max.
- If the Civil View Explorer is not already open, choose Civil View menu Civil View Explorer.
Use an object-placement style to add the camera:
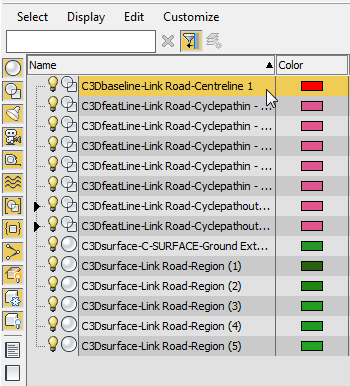
- On the Scene Explorer, select the centerline of the road,
C3Dbaseline-Link Road-Centreline 1.
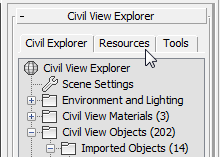
- On the Civil View Explorer, click to display the Resources tab.
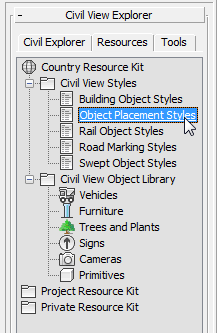
- In the Resources tab hierarchy, click to highlight Object Placement Styles.
- 3ds Max opens an Explorer rollout that shows the saved OPS styles.
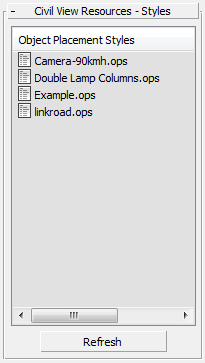
- On the Civil View Resources - Styles rollout Object Placement Styles list, right-click the
Camera-90kmh.ops entry, and from the pop-up menu choose Apply Style To Selected Shape(s).
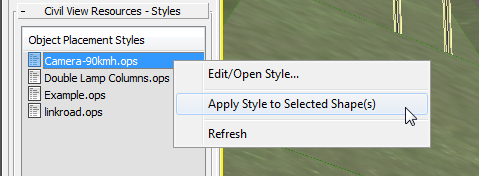
3ds Max adds an animated camera to the scene. If you drag the time slider, you can see the camera object moving along the roadway.
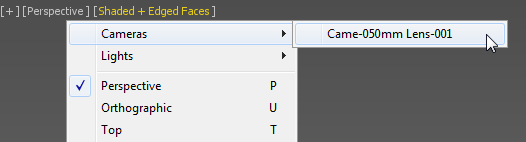
Change the viewport to a camera view:
- Click or right-click the POV viewport label (it currently reads "[ Perspective ]"), and from the menu choose Cameras Came-050mm Lens-001.
Now the viewport shows the camera's point of view.
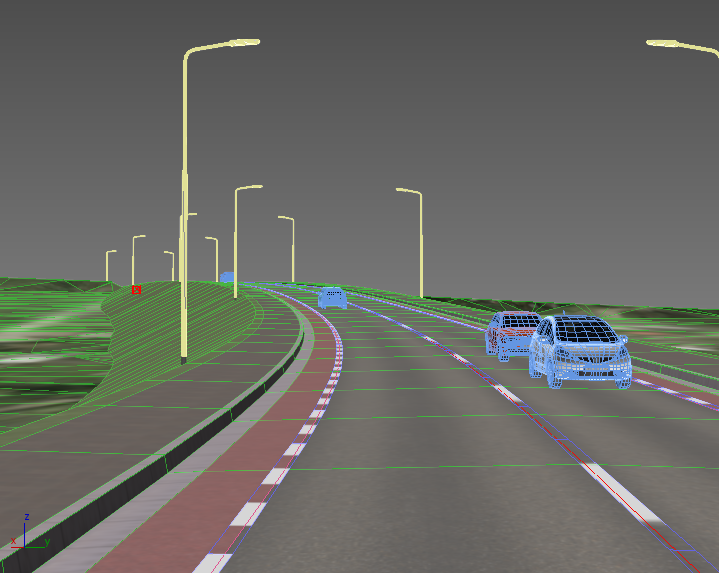
Play the animation:
- In the animation controls near the lower right of the 3ds Max window, click
 (Play Animation).
The view moves along the roadway, looking slightly down on the traffic and the landscape.
When you are done watching, click
 (Stop Animation) (this is the same button).
Tip: If you want to render your Civil View animation, or a portion of it, use the Civil View Explorer Environment and Lighting Daylight entry to add a Daylight system to the scene.
(Stop Animation) (this is the same button).
Tip: If you want to render your Civil View animation, or a portion of it, use the Civil View Explorer Environment and Lighting Daylight entry to add a Daylight system to the scene.
Save your work:
- Save the scene as
my_roadway_camera.max.
You can see a portion of the rendered animation by playing the following movie.
Note: To get good lighting levels, a Logarithmic Exposure Control was added to the scene before rendering the animation.
Summary
This tutorial has showed how you can use Civil View to:
- Import geometry from an AutoCAD Civil 3D VSP3D file.
- "Drape" an aerial image over a ground plane, to give a visual context to the visualization.
- Use swept object styles to create bridges.
- Use road-marking styles to create and adjust road markings.
- Use object placement styles to locate library objects and populate the visualization with street furniture (streetlights and traffic signs), animated vehicles, and an animated camera.
Civil View styles can be saved and reused. You can also use the Civil View Explorer to locate features; change some global scene settings, including environmental settings; and edit object attributes locally.