When creating a texture flow, you need:
- the vector artwork or relief clipart that you want to copy,
- an open vector to define the path of the texture,
- a closed vector to define the boundary of the texture.
To create a texture flow:
- Select Edit > Texture Flow or click the Texture Flow
 button. The Texture Flow panel is displayed.
 - Select the object you want to copy, then click Set Object.
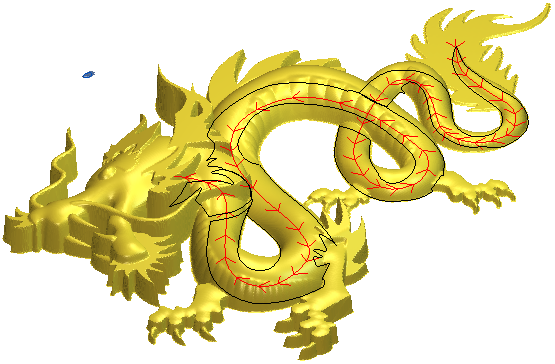
- Select the open vector you want to use to define the path and click Set Flow Vector. Direction arrows indicate the direction of the texture flow.
For example, the red vector shown below is selected as the flow vector:
- Define the parameters for your texture. Either select one of the preset texture flow patterns from the Presets area and click Apply, or enter the settings for your texture flow pattern in the panel.
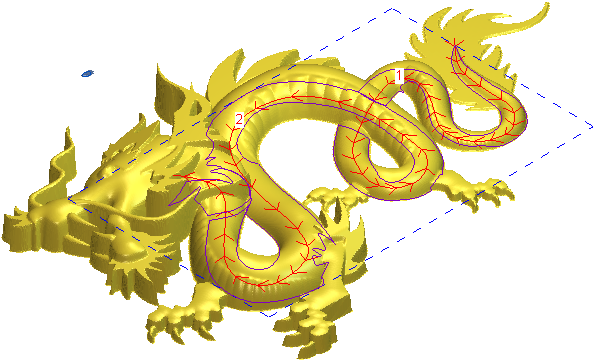
- Select the closed vector that defines the boundary of your pattern.
For example, the selected vector boundary in the 3D View is shown as follows:
- Click Calculate to generate the texture.
For example, the calculated texture could look as shown:

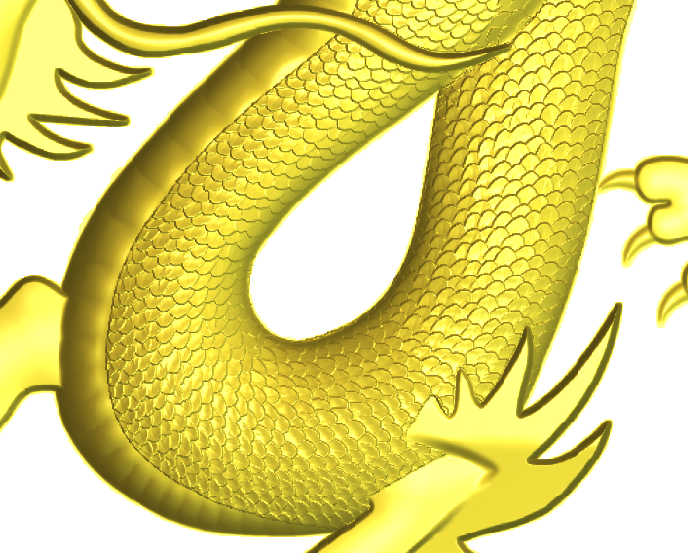
When zoomed, the detail in the texture looks as shown: