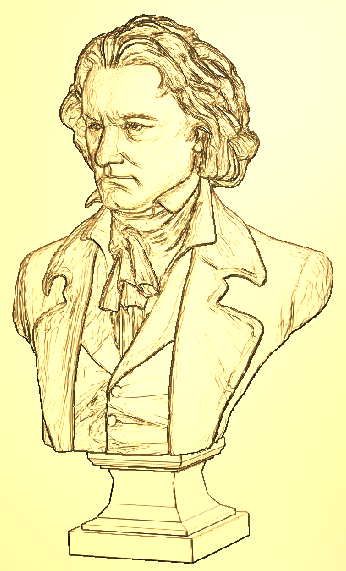
Use the Emboss Relief Wizard to flatten an assembly and create a relief.
To create an embossed relief:
- Import or create an assembly.
For example, this mesh of a bust.

- In the
Assembly panel, click the
Emboss Relief Wizard
 button to display the first panel of the wizard.
- In the 3D view, hold down the middle-mouse button and rotate your assembly until it is at the orientation from which you want to create an emboss relief.
- Click Next to display the second panel.
- Drag the slider to apply perspective to the model.
Note: If you want to make any changes to the position of the assembly, click Prev to return to the previous step.
- Click Next. The third panel is displayed and a model containing the relief is added to the Project Tree.
- In the Detail Height box, specify how much Z height is used for the emphasis of detail, edges, and features in the model.
- In the Shape Height box, specify how much of the original shape is incorporated into the embossed relief.
- Click
Finish to create your embossed relief.

You can now use sculpting and relief editing tools to edit the embossed relief.
Note: The availability of this feature is license dependent.