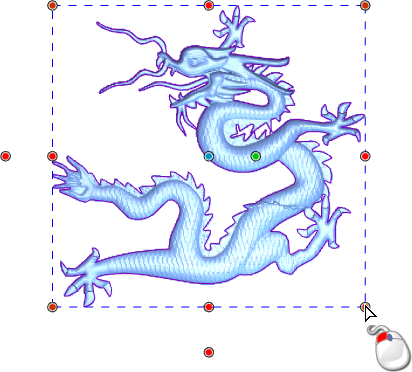
You can scale the relief clipart in the Z direction or set its height and width.
Resizing relief clipart using the cursor
To resize relief clipart using the cursor:
- Select the relief clipart you want to edit.
- Click the
Transform
 button.
- In the
Scale and Size area, click
Maintain aspect ratio
 to specify whether the values are linked.
Values which are linked update automatically when another linked value is changed. This limits the distortion of the relief clipart when you resize it.
- In the 3D view, position the cursor over one of the red handles on the transform box.
- Click and drag the handle to increase or decrease the size of the relief clipart.
 Note: Hold down Ctrl when you click and drag to leave behind a copy of the relief clipart in its original size. The cursor changes to
 .
.
Hold down Alt when you click and drag to resize the relief clipart relative to the Transform Origin rather than the opposite corner handle. The Transform Origin's position is not updated.
Hold down Shift when you click and drag to temporarily unlink the dimensions in the Scale and Size area.
Resizing relief clipart using exact values
To resize the relief clipart using exact values:
- In the
Scale and Size area, click
Maintain aspect ratio
 to specify whether the values are linked.
Values which are linked update automatically when another linked value is changed. This limits the distortion of the relief clipart when you resize it.
- Select whether you want the values to be mm or %.
- Enter the amount by which you want to resize the selected objects in the Width, Height, or Z Range boxes. All areas of the Tool Settings: Transform panel are unavailable except the Scale and Size area.
- Click
Apply. All linked dimensions are updated, and all areas of the panel are available.
Note: Hold down Ctrl when you click Apply to leave behind a copy of the selected objects in their original size.