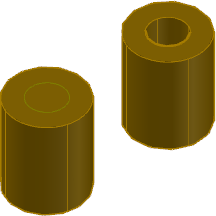
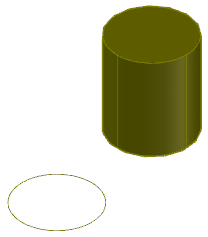
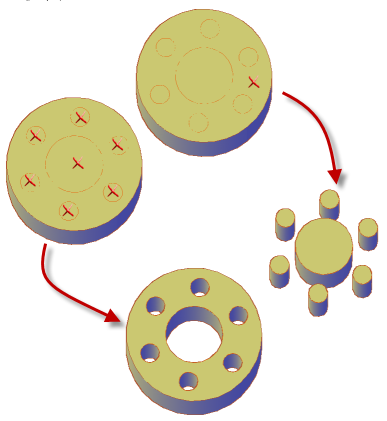
How to create holes and objects by pressing and pulling.
For best results, set your drawing to an isometric view before doing a press or pull operation.
Push a Hole Into a 3D Solid
- Create a circle or other closed shape on the surface of a 3D solid object.
- Click

 . Find
 - Click inside the closed shape or object and drag the cursor towards the interior of the 3D solid object to create the hole.

Create a Solid Object by Pulling a Closed Object
- Click

 . Find
 - Click a closed object such as a circle or spline and move the cursor to establish an extrusion direction.
- Enter a value or click in the drawing area to indicate the height of the extrusion.

Pull a Bounded Area to Create a 3D Solid
- Click

 . Find
 You can also press and hold Ctrl+Shift+E.
- Click any closed area that is bounded by coplanar objects or edges.
- Drag the mouse to establish an extrusion direction.
- Enter a value or click in the drawing area to indicate the extrusion distance.
Press or Pull Multiple Areas or Objects
Objects used for a multiple press or pull operation must all support the same type of behavior (extrusion or offset). The distance is calculated from the last object you select.
- Click

 . Find
 - Do one of the following:
- Press and hold Shift as you select the object, face, or area.
- Select the object, face, or area. Then enter m (Multiple) and continue to make selections.
- Press Enter when the selection set is complete.
- Follow the prompts to complete the activity.
