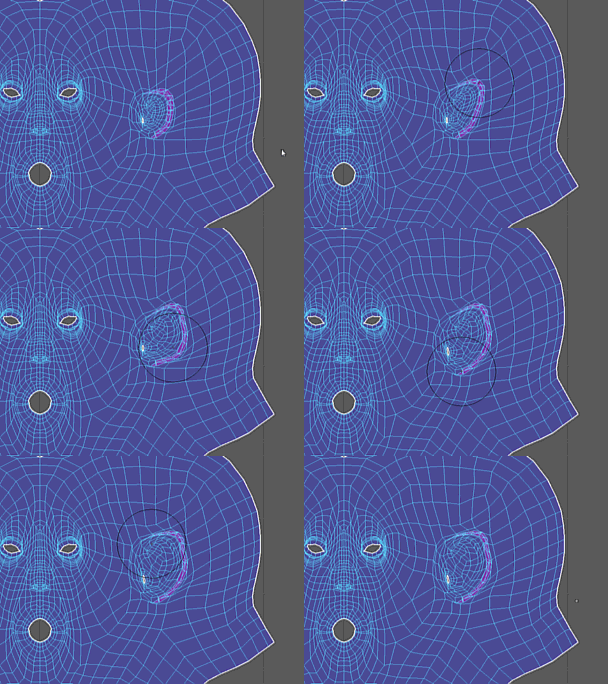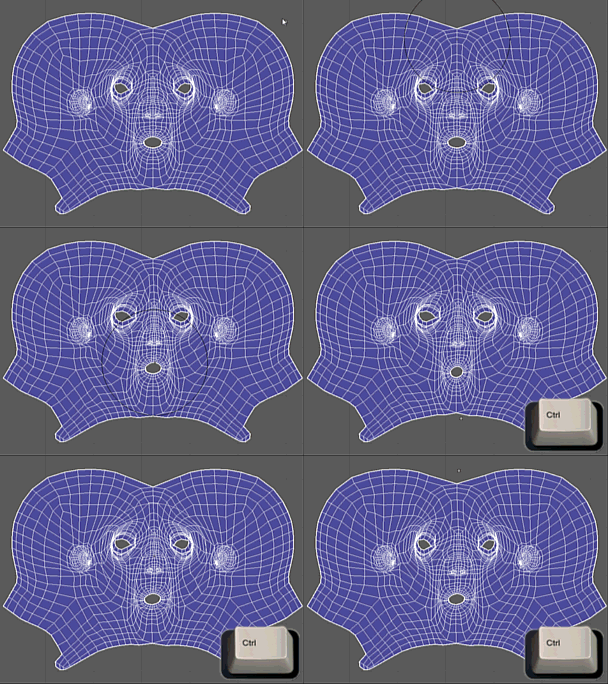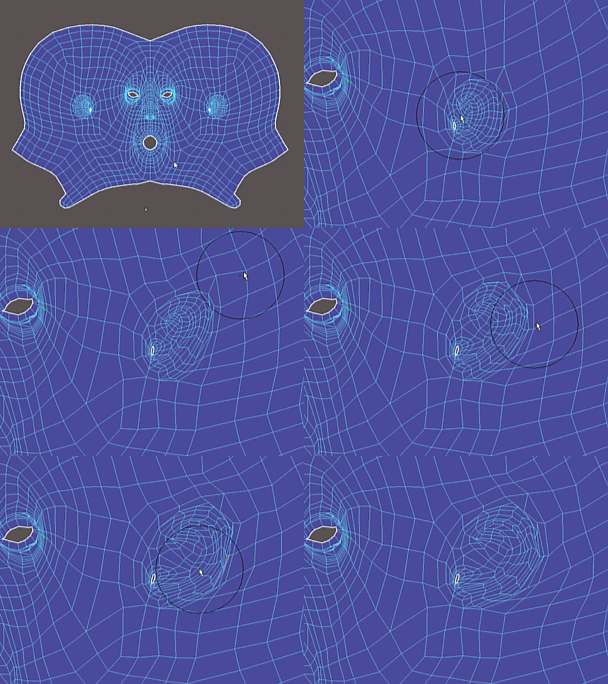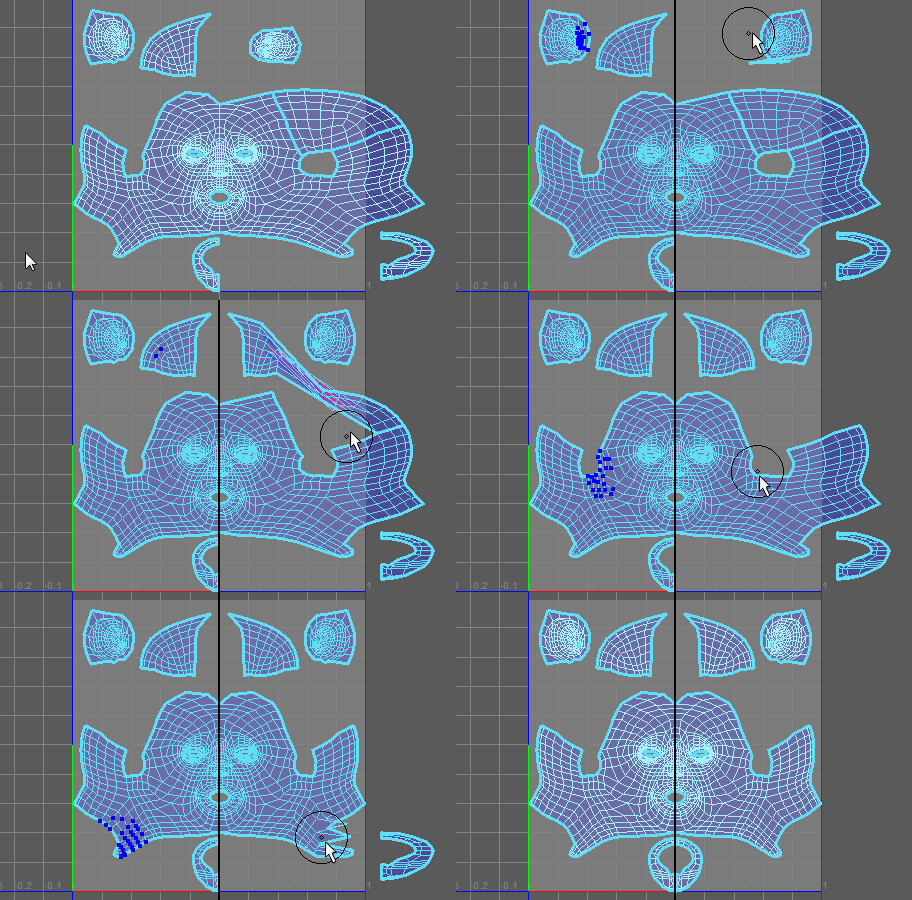
To alter UVs by dragging over them
- Select the appropriate tool from the Tools menu, or via the UV Toolkit's section.
- (Optional) Adjust the options in the Tool Settings to change the size, strength, and shape of the falloff radius.
- (Symmetrize Tool only) Select an edge along the mesh's axis of symmetry.
- Drag over UVs to alter them.
The effect you get depends on the tool used.
Note: You can
Pin UVs to avoid altering them during a brush operation.
| Tool | Effect | Example |
|---|---|---|
| Pulls UVs in the same direction that the mouse is dragged.
This works similarly to the Smudge UV Tool. |
 |
|
| Pulls UVs toward each other. |
 |
|
| Pushes UVs tangent to their original position in the direction that you stroke. |
 |
|
| Symmetrize UV Tool | Moves UVs to a position opposite corresponding UVs across a chosen axis. |
 |