Maya Time Improvements
When building complex scenes, much time is spent accounting for different frame rates and timing formats. Maya has updated how it handles time to make these processes less time-consuming by adding support for more frame rates and timecode options:
- Audio offset
- New support for BWAV audio format in the Import Options lets you import files that have an embedded sound offset.
- Updated Time Preferences
- Two Channel Box menu options Sync Timeline Display and Sync Graph Editor Display, have been added to the Time Slider Preferences to let you synchronize your Channel Box selections in the Time Slider or the Graph Editor.
- The Snapping option has been renamed to Snap to whole frames to indicate that Maya scrubs without considering sub-frames.
- 29.97 drop frame rate
- Maya now supports the 29.97 drop frame timecode in the Working Units section of the Settings preferences window.
- Updated Playback Options
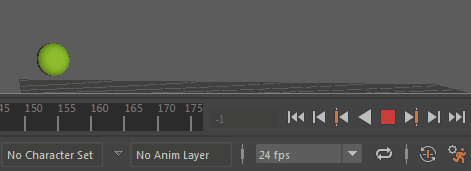
- A new area, Playback options has been added next to the Range Slider to incorporate the latest time improvements, including a Frame Rate menu that lets you set the scene frame rate located under the Playback controls. The frame rate updates in the viewport after the animation completes its cycle or you stop and restart playback.
-
- A
Loop button
 has also been added to the Playback options with three states so you can repeat once
 or oscillate (forward/reverse)
 the scene animation.
- Timecode support for MEL commands
- You can now enter timecode in MEL commands.
- Additional frame rates
-
Maya now uses a 64-bit counting system to reduce rounding errors and expand the list of supported frame rates. These additional frame rates let you align various media within Maya, without the need for time-consuming conversion.
- 23.976
- 29.97 drop
- 47.952
- 59.94
- 44,100
- 48,000
You can specify a frame rate for the scene in the File > New Scene options, Import options, Settings Preferences, or Time Slider; once changed, the frame rate updates everywhere in Maya and is saved with the file. Once a frame rate is set, it persists until you change it.
An asterisk " * " appears next to any number in the Time Slider that has been rounded to indicate that the value has been approximated. This can happen when you switch between Time Code and Frames.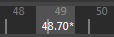
- Support for imported framerates
- If your scene is empty and the imported file has a different framerate, Maya will adopt the framerate of the imported file. To change this default so that the imported file inherits the Maya scene framerate instead, turn off the Always Override if Scene is Empty option in the Import options.
- If you import framerates that are multiples of each other, they will import absolutely (should be correct and aligned) unless different options are specified by the user through the import options.
- If imported framerates are not multiples of each other, a warning appears to let you know that the frame rates are not aligned. If Always Override if Scene is Empty is active, the file is imported absolutely in the scene time. If Override to Match Source is active, the framerate of the current scene framerate is overridden with the framerate of the imported file.
Modern Graph Editor
- New display option in the Graph Editor Outliner
- A new option in the Outliner Display menu is of interest to anyone who uses the Graph Editor and Time Editor. An Organize by Clip option has been added to the Display menu to let you arrange an object's animation curve by Time Editor clip. Time Editor Clip Layers are shown as children of the clips that they are assigned to.
-
- Access the Graph Editor Display options by right-clicking the Graph Editor Outliner.
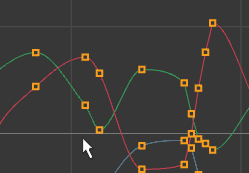
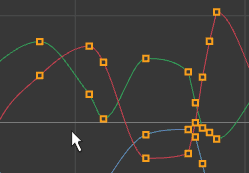
- Updated Curve Selection
- Based on customer feedback, curve selection in the Modern Graph Editor has been updated, as the earlier single-click method could let you move curves accidentally. Now, curve selection is a two-click process that eliminates unintentional repositioning.
- The hotkey M for curve selection is no longer used and curve selection in the Modern Graph Editor is now active by default. To toggle default curve selection mode off, uncheck Curves in the Graph Editor Select menu.
-
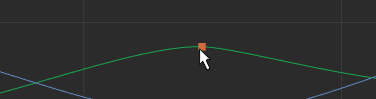
To select a curve:
- Click (or drag-select) the curve between two keys to select it.
- Click (or middle-mouse-click) the curve again to move it.
- Weighted Tangents
- Based on customer feedback, tangents are now non-weighted by default in the Graph Editor. If you want to revert to the default curve type weighted, activate Weighted Tangent option in the Animation (Settings) preferences.
- Updated Graph Editor colors
-
- Based on feedback, colors in both the Modern and Classic Graph Editor have been updated.
- The Modern Graph Editor default colors have been lightened to provide a lower-contrast appearance. You can also set your own default colors for many Graph Editor settings in the Preferences Color Settings window.
- The appearance of selected items have been dimmed so that is not as striking, and now there is a larger difference between the primary and secondary selection colors.
- Along with the new Modern Graph Editor color defaults, there are now more customizable settings have been added for the Classic Graph editor to let you change colors, plus a few other additions.
- Renamed Tangent options
-
Lock Tangent Weight and Free Tangent Weight options are now named Lock Tangent Length and Free Tangent Length in the Graph Editor toolbar and Tangent menu.
- Locked and muted curves
- A new look has been created to identify of locked curves and keys and muted keys.
-
- Locked Curve
- Locked curves are represented by a grey dotted line to indicate its locked state.
- Muted Key
- Keys that are muted turn black to indicate their locked state.
 Note: Currently, muted keys do not display on the Mac OS.
- Autoframe
-
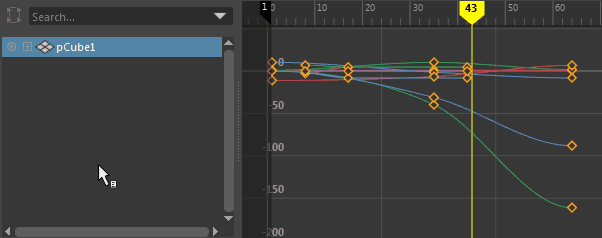
Auto frame is now the default setting in the Graph Editor, and now, when you select a single curve from the
Graph Editor channel box, or when you select a single attribute in the Channel box with
Sync Graph Editor Display activated, it is framed automatically in the view. You can activate or disable this default in the
Graph Editor View Menu and also in the
Animation (Settings) Preferences.
Note: The framing applies only to the vertical scale.
- Also, Autoframe is applied when you open the Graph Editor for the first time.
- New tangent coloring
- Now, when you lock the tangent length, it turns black in the Graph View.
-
- Customizable colors
-
You can customize the color of the following items of the
Modern Graph Editor in the Preferences
Color Settings window:
- Translate X, Y, Z curve color
- Rotate X, Y, and Z curve color
- Scale X, Y, and Z color
- Default key color
- Buffer Curve color
- Breakdown Key color
- Key on Buffer curve color
- Time Marker
- Miscellaneous Graph Editor fixes and improvements
-
Other fixes include improving the position of the selected curve in Stacked view, adding offset and scaling factors for Time Editor clips, restoring shift-click multiple key selection, undo and refresh issues, as well as:
- Nearest picked key tool now respects the "constrained y-axis drag" mode
- Custom curves interpolator support
- Improved quaternion curves and tangent manipulation
- Stacked view now restores correctly between sessions
- Fixed Text fields update with display of Time Editor clip
- Improved default colours for better visibility) and improved design for muted curves and muted keys.
Classic Graph Editor
- Unify Tangent
- The Unify Tangent option has been restored to legacy behavior that had changed in an extension release. Unify Tangents lets you preserve the angle and length of tangents. This addresses a change where the unify function preserved only the length of the tangents, but mirrored the angle based on the in-tangent's angle.
Time Editor
The following updates are for the Time Editor.
Create Walk cycles with Loop Progressive
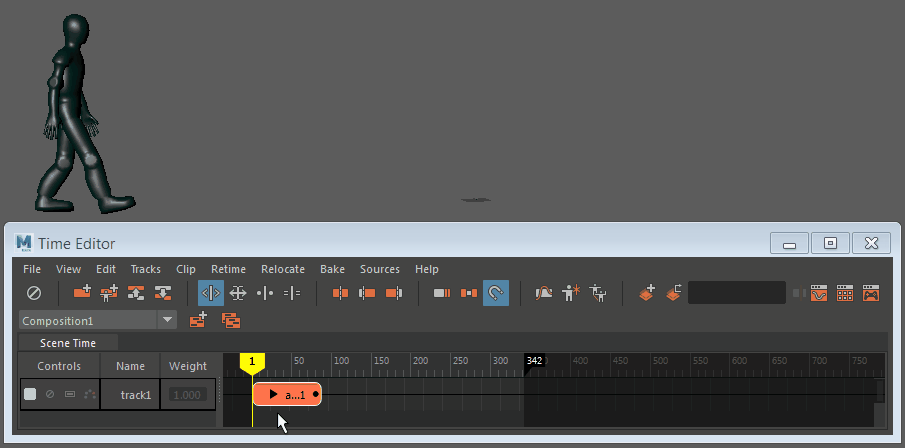
A new looping option has been added to the Time Editor Looping functionality that lets you extend animation continually: Loop Progressive. This new mode lets you quickly create walk cycles from an animation clip lasting only a few steps.
New Relocator option
A new option, Edit Relocator has been added to the Time Editor Relocate menu to let you assign or change a clip animation locator. Select this option to open the Edit Relocator options.
Use default clip root for locator is the default setting in this window, and is useful for animation clips with a single root node. However, in circumstances where a clip has multiple roots, such as, a rig with no explicit hierarchy that has a controller acting for the entire character, the Clip Roots list displays all the roots associated with your clip so you can choose which roots to use as relocators.
An example of where Choose custom relocator from clip roots option is useful is when you want to relocate a controller-based character. You must create Relocators for a central "body" controller and feet, or for the master controller, if one exists. In other worse, you have to select the same controllers that you use to manipulate the entire character in the viewport.
- Pose Matching
- Now, when matching poses with the Time Editor, you can use custom root relocators by choosing them from the Matching Options Root Object list; only selected roots are considered. Previously, you could only use one selected root.
Animation Layers in the Time Editor
Time Editor Animation Layers have been renamed Clip Layers in the documentation to differentiate between them (Time Editor animation clip layers) and the Animation layers used in the Animation Layer Editor. Animation Layers are not supported in the Time Editor as they create conflicts. However, to add layers to Time Editor animation clips, you can use Clip Layers. See Key on Clip Layers.
Time Editor Clip Layer highlighting
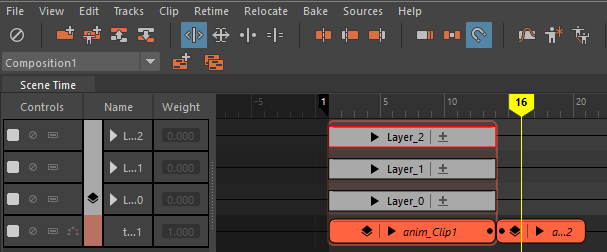
The active clip layer is outlined in red