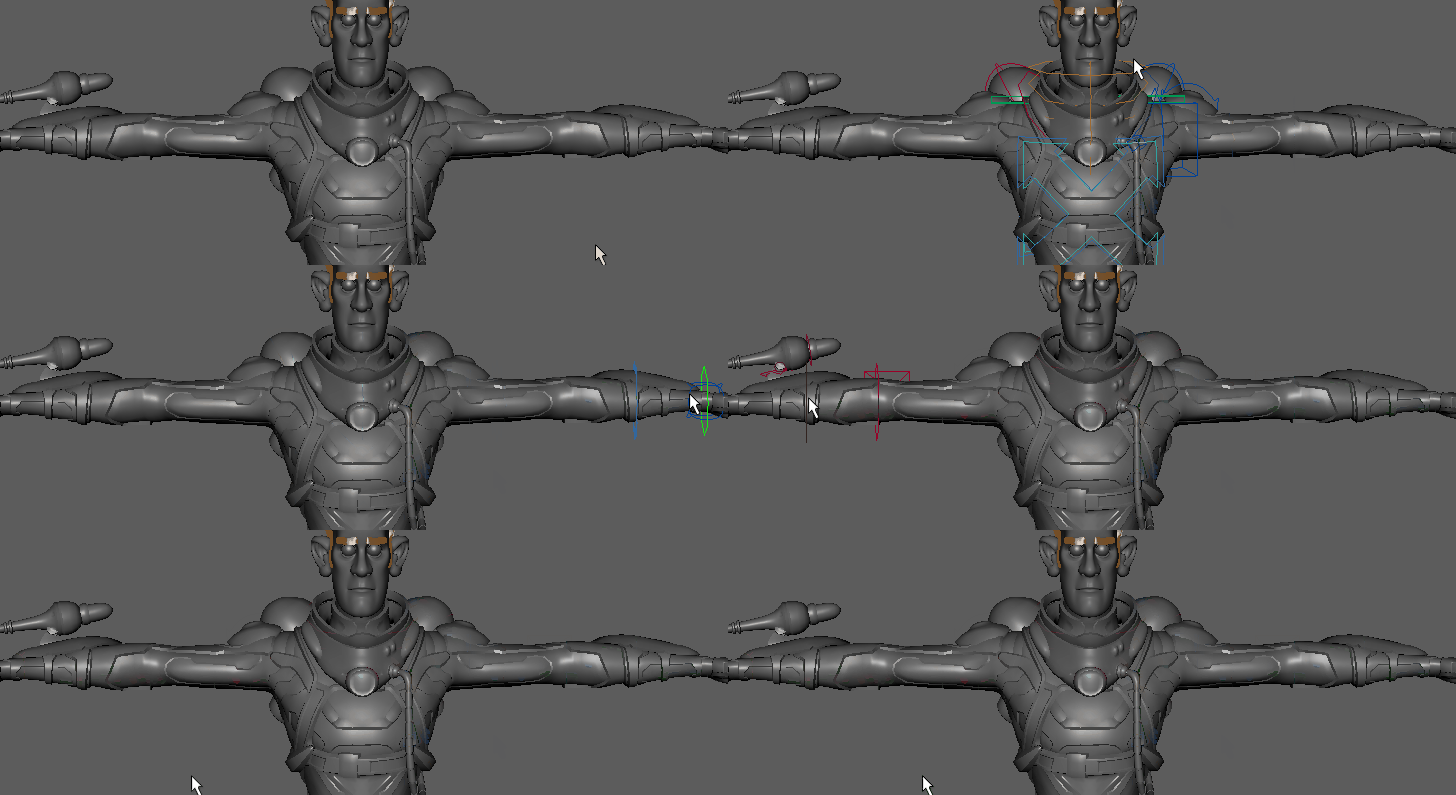
Distance-based controller visibility
A new
Visibility mode has been added to let you show controller nodes only when your mouse passes near them, which is useful for minimizing viewport clutter in scenes with many rigs.


Quick select base mesh in the Shape Editor
You can now select a blend shape's base mesh just by right-clicking it in the Shape Editor.
Deformer Improvements
- Lattice deformer GPU support
- Maya's Lattice deformer has now joined the list of GPU-supported deformers as part of the ongoing project to update deformers for GPU support, letting you increase playback speed of dense meshes by offloading their processing to your graphics card. GPU support is available in Viewport 2.0 only. These changes have had an added benefit of improving CPU support as well.
- Activate the GPU Override option in the Animation (Settings) preferences. However, the GPU Override option is active by default .
- Lattice deformer weights are now paintable. See Paint attribute values.
- Bake deformers
- The new Bake Deformation to Skin Weights option lets you calculate smooth bind weights that approximate deformations from arbitrary deformers. This can have good results with deformers such as Rigid Bind. It uses a method to calculate 'smarter' weight values than other bind methods.
- Bake Deformation to Skin Weights lets you export complex rigs to applications that have limited deformer support, as well as being a quick trick for determining default character bind weights.
Note: In Maya Update 3, this tool was only available by script command, and was referred to as Bake Deformer. It has been renamed Bake Deformation to Skin Weights for clarity.
-
To open this tool:
- From the Rigging menu select:
- With the BakeDeformerTool command in the Maya Command Line
HIK evaluation
A new HIK evaluator increases the speed of HumanIK characters by up to 6 times and is on by default.