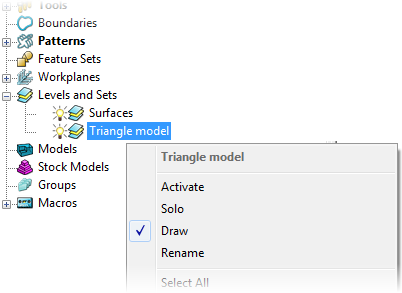
Use the individual Level or Set menu to manage and edit the selected level or set.
To display the menu, in the Explorer, right-click on a Level or Set. The menu is the same for either a level or a set.

Triangle Model — The name of the selected level.
Activate — When selected, activates this level (or set) and de-activates any currently active level (or set). When deselected, de-activates this level (or set).
Solo — Select to display this level (or set) and undraw all other levels and sets.
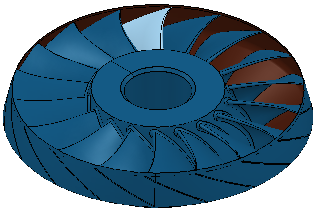
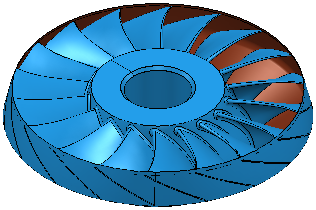
Draw — When selected, displays the level (or set). Deselect to "hide" it. This option toggles between  and
and  .
.
Rename — Select to rename the entity.
Select All — Select to select all entities on this level (or set).

Select Wireframes — Select to select all the wireframe objects in this level (or set).
Select Surfaces — Select to select all the surface objects on this level (or set).
Deselect — Select to deselect all entities on this level (or set).

Acquire Selected Model Geometry — Select to place the selected entity on this level (or set).
Remove Selected Model Geometry — Select to remove the selected entity from this set.
Mesh — Select to display the Tolerance dialog. Enter the machining tolerance used to triangulate the surfaces and click  . The surfaces on this level (or set) are meshed to this tolerance (if possible) and an information dialog is displayed to show whether the meshing was successful or not. This is useful when PowerMill cannot triangulate a model at the original machining tolerance because of problems with the model.
Properties — Select to display information about the components used in the selected level or set.
Delete Level or Set — Select to delete the level or set. You can only delete empty levels (or sets). If you want to delete the level (or set) you must first move all the entities on the level (or set) to another level and then delete this level (or set).