Use the information in this topic to set up and print worksheets.
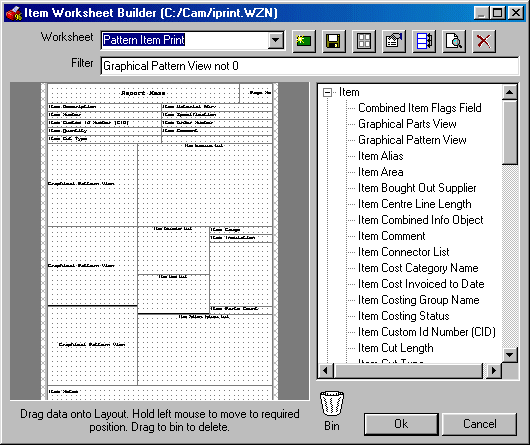
Use the Item Worksheet Builder dialog to create new worksheets.
To set up worksheets
- Open a Revit model and select fabrication parts.
- Click Add-Ins tab
 Revit Extension for Fabrication panelFabrication Reports drop-downSetup Worksheets.
The Item Worksheet Builder dialog displays.
- Click OK to save your changes to the item reports.
Refer to the information below to set up worksheets.
Worksheet: Select an existing worksheet from the drop-down list.
 Create New Worksheet: Creates a new worksheet. You can create a new blank worksheet, or create a copy of the current worksheet.
 Rename: Displays the Save Layout File dialog which lets you specify a new filename and or location for the current worksheet.
 Header Layout: Lets you drag selected data onto the Worksheet. This can be used to create labels from worksheets if the information required on the labels is only available in the Worksheet Builder.
 Properties: Displays the Worksheet Properties dialog which lets you set the following options:
- Group Items By: This option lets you create a single worksheet or label for each instance of a selected (print) object from the list of print objects that are displayed in the current worksheet layout. Select a print object from the Group Items By drop-down list, and the resulting worksheet will produce a single worksheet or label for each instance of the selected print object type. For example, Item Spool Name could be selected to produce one worksheet for each spool. Or Item Material+Gauge could be selected to produce one worksheet for each material. Similarly, if Item Source Name is selected, one worksheet would be produced for Item Source Name; typically, this is either the parametric pattern item or catalogue item.
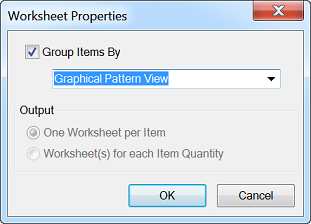
When this option is selected, the Output options below it are disabled.
- One Worksheet per Item: Each item is included on its own individual worksheet.
- Worksheet(s) for each Item Quantity: All items of the same type are included on a single worksheet.
 Define Print Order: Displays the Pattern Item Print dialog. Items can be added to the right column from all of the possibilities in the left column by highlighting the desired Print Object and clicking the arrow button
 . Remove objects using the left button,
 and drag them up and down, changing their order of appearance in the report.

 Reverse Order: This button on the Pattern Item Print dialog reverses the order of the items displayed in the Order pane.
 Print Preview: Displays the selected worksheet based on the currently open job.
 Delete: Deletes the worksheet layout.
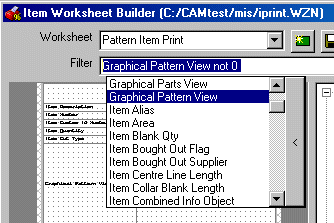
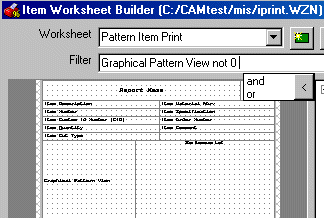
Filter: A filter for the report can be constructed by clicking in the entry field, and then clicking the required entry from the drop-down list, or entering a value using the keyboard.
For more information on setting up worksheets, see Worksheets in the Autodesk Fabrication 2018 Help.