Creates a roof by extruding a profile that you sketch.
- Display an elevation, 3D, or section view.
- Click Architecture tab
 Build panel
 Roof drop-down
 (Roof by Extrusion).
 - Specify the work plane.
- In the Roof Reference Level and Offset dialog, select a value for Level. The highest level in the project is selected by default.
- To raise or lower the roof from the reference level, specify a value for Offset. Revit places a reference plane at the specified offset. Using the reference plane, you can control the position of the extruded roof in relation to a level.
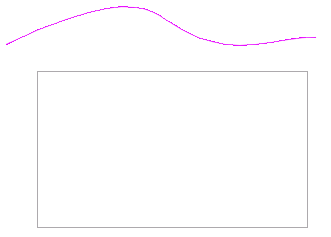
- Sketch the profile of the roof as an open loop.

Roof profile sketched using spline tool
- Click
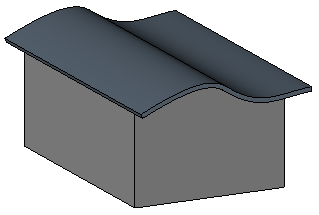
 (Finish Edit Mode), and then open a 3D view.

Completed extruded roof
Attach walls to the roof, if desired.
After you create a roof by extrusion, you can rehost the roof or edit the work plane of the roof.
Note: To apply sloped glazing, select the roof, and in the Type Selector, select Sloped Glazing. You can place curtain grids on the curtain panels of the sloped glazing. Press Tab to switch between horizontal and vertical grids.